These fluffy and slightly sweet rolls are perfect for sandwiches, burgers, or simply enjoyed on their own.
In this article, we will share a six-step recipe that will guide you through the process of making your own challah rolls at home.
With a few simple ingredients and some patience, you can create these beautiful and tasty rolls that are sure to impress your friends and family! Let’s get started.
What Are Challah Rolls?
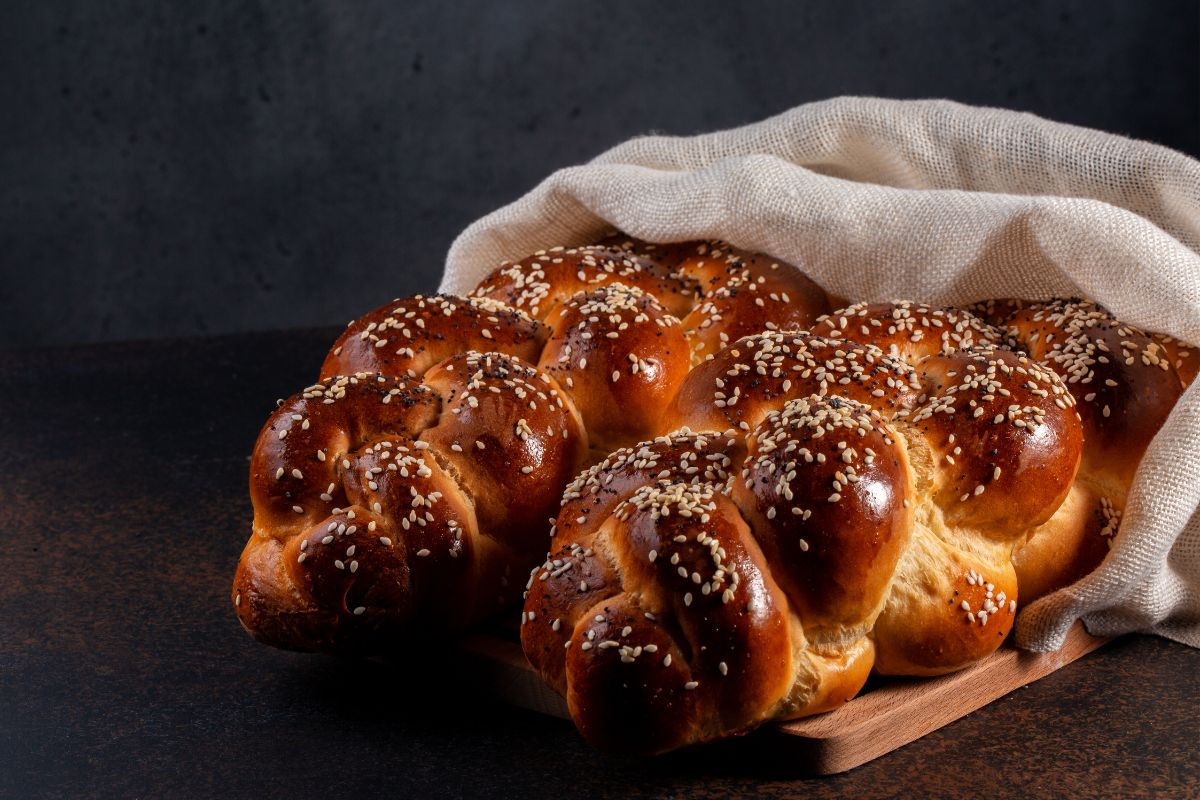
Challah rolls are a type of bread made from a dough that is enriched with eggs, oil, and sugar. They are similar to traditional challah bread but are shaped into individual rolls instead of a large loaf.
Challah rolls have a slightly sweet flavor and a fluffy texture, making them perfect for sandwiches, burgers, or as a side to any meal.
Challah rolls are a staple in Jewish cuisine, often served during holidays or special occasions. However, they have become popular among bread lovers of all backgrounds and can be found in bakeries and restaurants worldwide.
Making challah rolls at home can be a fun and rewarding experience, as the dough requires some patience and effort to create the perfect texture.
The result is delicious and impressive bread that is sure to be a hit at any gathering or meal.
The Ingredients To Make Challah Rolls
To make challah rolls, you will need the following ingredients:
4 cups bread flour (or all-purpose flour)
2 1/4 teaspoons instant yeast (or 1 packet)
1/4 cup granulated sugar
1 teaspoon salt
1/4 cup vegetable oil
3 large eggs, plus 1 egg for egg wash
3/4 cup warm water
Optional: sesame seeds, poppy seeds, or other toppings for sprinkling on top of the rolls.
These ingredients can be found at most grocery stores and are relatively common in most kitchens.
It’s important to note that using bread flour will result in a lighter and fluffier texture, but all-purpose flour can also be used if that’s what you have on hand.
The Tools To Make Challah Rolls
Make sure that you have the following tools to hand before you start to make your rolls to make the process go as smoothly as possible:
Two large mixing bowls
Measuring cups and spoons
Whisk
Pastry brush
Baking sheet
Parchment paper
Sharp knife or dough scraper
Optional tools that may make the process easier include a stand mixer with a dough hook attachment and a kitchen scale for precise measuring.
Six-Step Recipe To Make Challah Rolls
So now you should have all of your ingredients and your tools, and you are ready to start baking your very own challah rolls!
Let’s take a look at a simple yet highly effective six-step recipe on how to do so.
Step One: Prepare Your Challah Dough
In a large bowl, whisk together the flour, sugar, salt and yeast until well combined.
Grab your other mixing bowl and whisk the wet ingredients, those being the oil, two of the eggs, and one of the egg yolks. Mix everything well until the batter becomes smooth and well combined.
Add the wet ingredients to the bowl with the dry ingredients and mix until a shaggy dough forms.
Slowly add warm water, 1/4 cup at a time, mixing after each addition until the dough comes together and forms a smooth, slightly sticky ball.
You may need more or less water depending on the humidity and temperature of your kitchen.
Turn the dough out onto surface- make sure that it is floured- and knead it for about 10 minutes, until it becomes elastic as well as smooth in consistency.
Alternatively, you can use a stand mixer with a dough hook attachment and knead the dough on low speed for 5 to 7 minutes.
Step Two: Proof Your Challah Dough
You should now be ready to start the process of proofing your challah dough for your rolls, but let’s first have a quick look at what precisely the term proofing means in baking to avoid unnecessary confusion!
Proofing, also known as fermentation, is a critical step in the bread baking process where the dough is allowed to rise after it has been shaped but before it is baked.
During this time, the yeast in the dough ferments the sugars, producing carbon dioxide gas that causes the dough to expand and rise.
Proofing allows the gluten in the dough to relax and gives the bread a light and airy texture. It also enhances the flavor and aroma of the bread by allowing the yeast to develop its characteristic taste and aroma.
There are different methods for proofing bread, including letting it rise at room temperature, in a warm oven, or in a proofing box.
The length of time required for proofing depends on factors such as the type of bread, the temperature and humidity of the environment, and the amount of yeast in the dough.
Overproofing, where the dough is allowed to rise for too long, can cause the bread to collapse in the oven or develop large air pockets.
Underproofing, on the other hand, can result in a dense and heavy loaf. Therefore, it is important to follow the recipe instructions for proofing and to monitor the dough closely during the process.
When it comes to proofing your challah dough, place the dough in a greased bowl, cover it with a damp towel or plastic wrap, and let it rise in a warm, draft-free place for 1 to 2 hours, or until it has doubled in size.
You can also place it in a turned-off oven with the oven light on, on a warm windowsill, or on top of a warm appliance like a refrigerator or oven.
Don’t forget to cover the dough, as this will prevent it from drying out.
Step Three: Dividing Up Your Challah Dough
After the dough has been proofed, it’s time to start dividing it up to prepare for the shaping process.
First off, you will need to deflate the dough. Carefully remove the proofed dough from the bowl or container and then gently press down on the dough to deflate it slightly.
Once it’s deflated, you should be ready to divide the dough. Use a sharp knife or dough scraper to divide the dough into equal portions.
The number of portions will depend on the recipe and the size of the loaf you want to make.
For example, you might divide the dough into two or three portions for a larger loaf, or into eight or nine portions for individual rolls.
Step Four: How to Shape Your Challah Dough
Next up is the fun part: shaping your challah dough! Prepare a clean work surface, such as a lightly floured countertop or cutting board. This is where you will shape the dough.
Determine the shape you want to create for your challah loaf. The most common shapes for challah are round or oval loaves and braided loaves.
There are also many variations of braided loaves, including three-strand, four-strand, six-strand, and even more.
For a round or oval loaf, shape the dough into a smooth ball or oval shape, tucking the edges under to create a tight surface.
For a braided loaf, divide the dough into the desired number of strands and braid them together tightly.
Once the dough is shaped, allow it to rest for a short time, typically 10 to 15 minutes, before baking. This allows the dough to relax and settle into its final shape.
Step Five: Egg Washing the Challah Dough
This step isn’t essential, but egg washing the challah dough does have its benefits, so let’s have a look at why you might want to consider it first.
Egg washing the challah dough can be done for both practical and aesthetic reasons.
Firstly, egg wash helps to give the challah a shiny, golden-brown finish. This makes the bread more visually appealing and appetizing.
Egg washing also helps to seal the surface of the dough and prevent it from drying out during baking. This is especially important for enriched breads like challah, which contain eggs and other fats that can cause the surface to dry out and become tough.
Finally, the egg wash can also add flavor and richness to the bread, especially if additional ingredients such as honey or milk are added to the egg wash mixture.
Overall, egg washing the challah dough is a simple but effective technique that can enhance the appearance, texture, and flavor of the finished bread.
With this in mind, let’s now get into how to egg-wash your challah dough!
First, you will need to prepare your egg wash by grabbing a small bowl and cracking in an egg.
Beat the egg with a fork until the yolk and white are well combined. You can add a small amount of water, milk, or honey to the egg wash if desired.
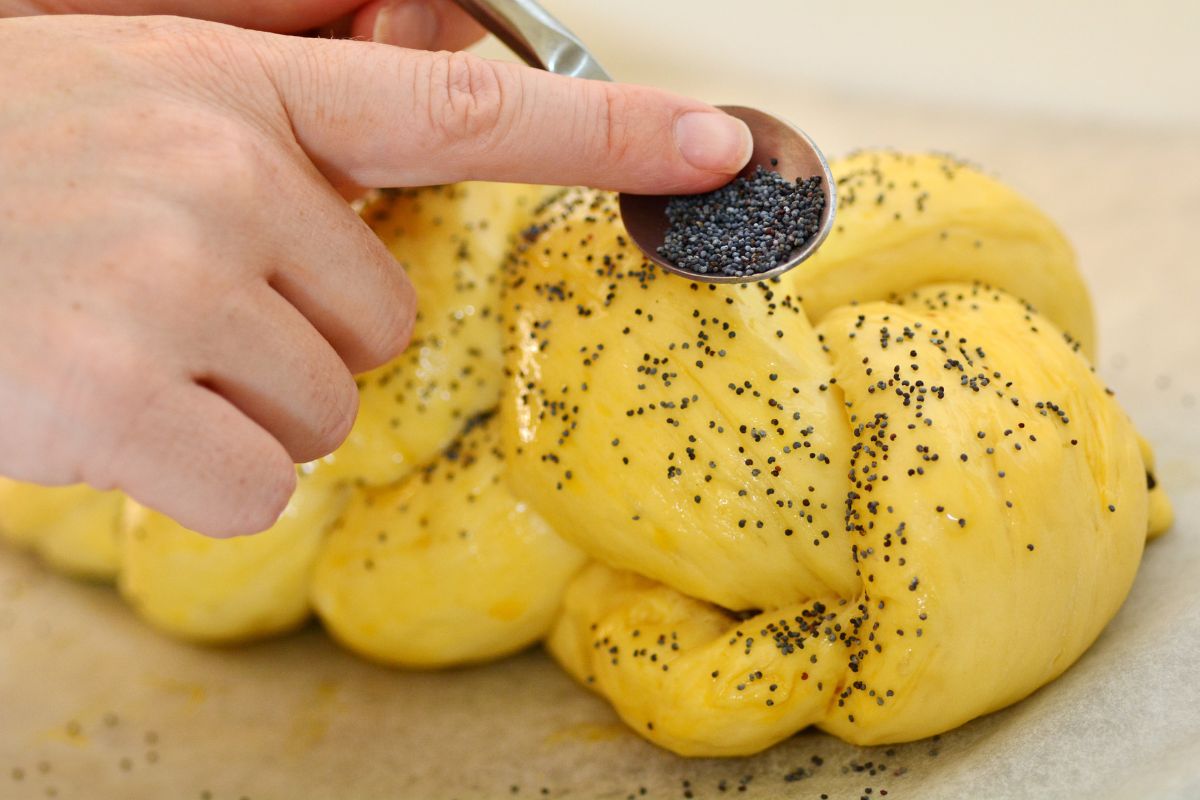
Use a pastry brush and gently brush the surface of the shaped challah dough with the egg wash. Make sure to cover the entire surface evenly, taking care not to brush too hard and deflate the dough.
Lastly, you can choose to apply some optional toppings if you so choose. If so, all you need to do is sprinkle the egg-washed dough with your choice of toppings, such as sesame seeds, poppy seeds, coarse salt, or a combination of these.
Once the dough is brushed with egg wash and toppings (if using), allow it to rest for a short period of time, typically 10 to 15 minutes, before baking.
Step Six: Baking Your Dough to Make Your Challah Rolls
You should now be on the final stretch when it comes to making your challah rolls! All that is left is to bake them, so let’s take a look at how to do so.
Preheat your oven to the temperature specified in your recipe. This is typically around 350-375°F (180-190°C) for challah rolls.
Next, arrange the shaped and egg-washed (if you chose to egg-wash them) challah rolls on a baking sheet lined with parchment paper, leaving a small amount of space between each roll to allow for expansion.
Once the dough is arranged on the baking sheet, allow it to rest for a short period.
Place the baking sheet with the challah rolls in the preheated oven and bake for the amount of time specified in your recipe, typically around 15–20 minutes, or until the rolls are golden brown and sound hollow when tapped on the bottom.
Once the challah rolls are baked, remove them from the oven and transfer them to a wire rack to cool completely before serving.
How To Serve Up Your Challah Rolls
Need some fun ideas on how to serve up your challah rolls? No problem! We have plenty of ideas for you to try out, so let’s go through some of them.
Serve With Butter
Warm up your challah rolls and serve them with a pat of butter on top. The butter will melt into the warm bread, making it even more delicious!
Make Sandwiches
Challah rolls are perfect for making sandwiches, especially if you slice them in half and fill them with whatsoever you so choose.
Challah rolls are usually somewhat sweet, but nothing is stopping you from experimenting with different flavors and textures.
Toast And Top With Toppings
Toast your challah rolls for a bit of crispiness and top them with your favorite toppings!
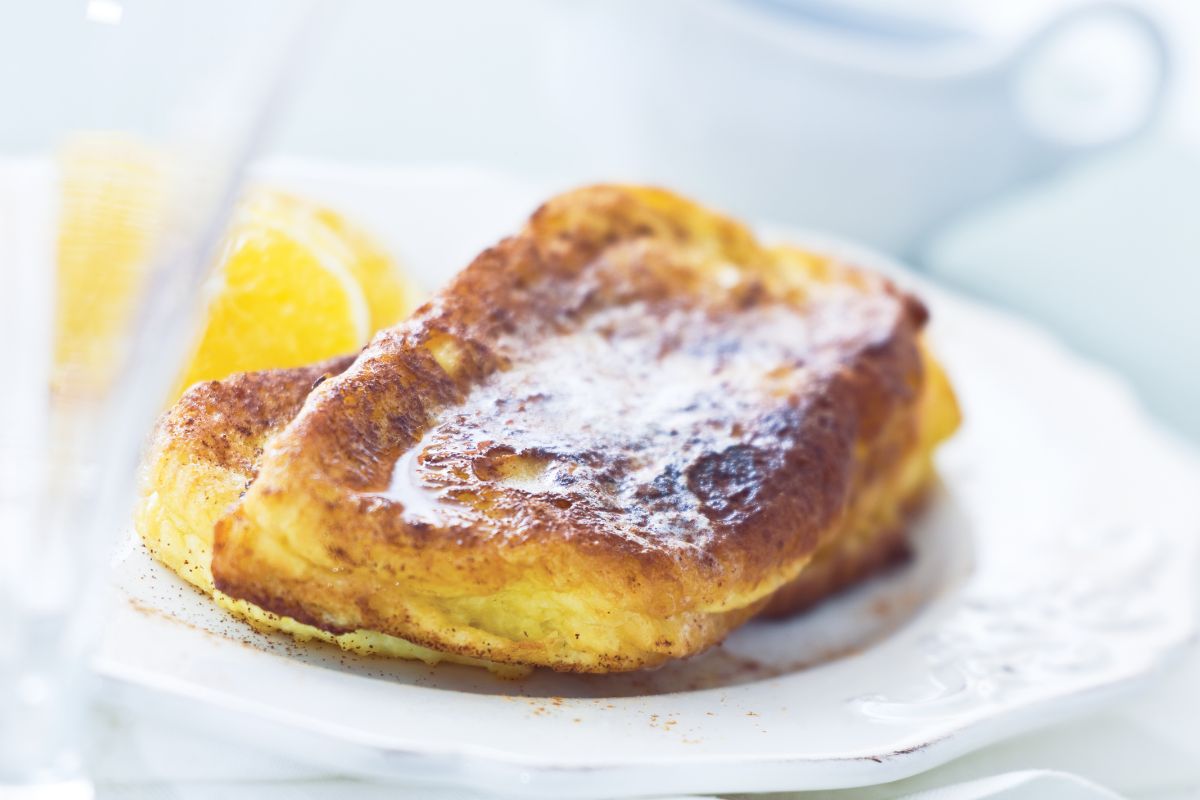
Use For French Toast
If you have leftover challah rolls, you can use them to make delicious French toast for breakfast. Simply slice the rolls in half, dip them in an egg mixture, and cook them on a skillet until golden brown.
Serve As A Side Dish
Challah rolls make a great side dish for any meal. Serve them alongside soups, stews, or salads for a hearty and filling addition to your meal.
Final Thoughts
Making homemade challah rolls is a rewarding and delicious experience that anyone can enjoy. With these six simple steps, you can create fluffy, flavorful rolls that are perfect for any occasion!
By preparing your dough, proofing, dividing, shaping, rinsing, egg-washing, and baking your dough, you’ll be able to create beautiful and tasty challah rolls that your family and friends will love.
The process is a little tricky, but the results are sure to be worth it.
Whether you serve them as a side dish, use them to make sandwiches or toast, or simply enjoy them with butter, these challah rolls are sure to become a favorite in your household.
So why not give it a try and impress your loved ones with your homemade bread-making skills?
Have you ever made something so delicious that you wished you could savor it forever?
Only to find that the recipe has now mysteriously vanished from your phone and the entirety of the internet. Yep, there’s not much more painful than that.
Hi, my name is Mark Williams and I have been infatuated with cooking since I was young. I would beg my mother to pull a chair up to the counter so I could watch what she was doing.


")


