Everyone loves biscuits in America, whether you want them with jam, butter, or even your favored gravy, there are so many uses for biscuits, and when you have an easy recipe down and in your arsenal you can whip up these babies whenever you get a biscuit urge.
Buttery and soft, but importantly made from scratch, these biscuits can do everything you want with little effort, being made from a meager 6 ingredients, many of which we can nearly guarantee you will already have in your pantry, and if not you can grab them at pretty much any store without breaking the bank.
This is why biscuits have been feeding all of our great nation for so long. They are cheap, easy to make, but ultimately very satisfying.
Whether you want a simple recipe you can whack out when you need it, or if you are tasked with making some biscuits for a potluck, cookout, or BBQ, we have you covered.
This recipe is easy and great and we have loads of tips to make it even easier. But the buck doesn’t stop here, we are also filled with ideas on what you can do to make these biscuits even better.
So, keep reading to find a recipe that will last you a last time, as well as how you can make these biscuits your own, find this out and more below!
The Ingredients
The ingredients needed to make biscuits are pretty simple and should be stuff you probably have lying around anyway, which is useful for us.
2 cups (250g) of all purpose flour. If you have self raising this is fine too, just exclude the baking powder as you won’t need it.
1 tablespoon baking powder (exclude this if you are using self raising flour)
1 tablespoon granulated sugar (any kind of sugar will work here, really.)
1 teaspoon salt
6 tablespoons of butter (85g) If you have salted butter, this is fine just exclude the teaspoon of salt. With unsalted butter add the salt.
¾ cup of whole milk (177ml) you can also use buttermilk or 2% milk if you wanted to, this just changes the flavor a little.
The Instructions
First things first, a few preparatory steps ensure you get the best results. You want to ensure your butter is pretty cold by the time you use it later in the recipe. Depending on the temperature of your area and house, either keep it in the fridge until you use it, or throw it in the freezer for 10-20 minutes before use. You really want it to be cold later on, as we will get into.
Like any baking recipe, we need to preheat the oven. Preheat your oven to 425 F (219 C) and line a large shallow baking pan with non-stick parchment paper and set aside for later.
Combine your dry ingredients in a bowl – the flour, baking powder, sugar, and salt. Give them a cursory mix to homogenize the mixture.
Now remove your butter from the fridge, ideally we don’t want it to freeze completely. We want to combine the butter and flour by agitating the butter as little as possible. We do this by ‘cutting’ the butter into the dry mixture. Without any tools you could do this with a knife and simply chop the butter into the butter. As it should be very hard after being in the fridge, one way to do it is with a grater, or you could do it with a food processor. See the tools section for more information.
We want the dry mixture to look like lots of coarse crumbs, in other words we don’t have one cohesive dough ball, but lots of small granules of butter and flour. In an ideal world we still want our butter to still be reasonably cold.
Now add your milk element. The liquid milk will combine with the dry crumbly butter-flour mixture to make a more cohesive ‘dough’ to work with. We want the milk butter and flour to all be combined but we don’t want to overwork the dough simply mix it together.
We should have a crumbly, semi cohesive biscuit dough now. If the dough is too dry to come together somewhat, add more milk. If the dough is too wet and sticky add some more flour.
Flour a clean work surface generously and transfer the shaggy dough onto the surface. Work it together until it becomes cohesive, and stop as soon as it comes together. We don’t want to overwork the dough, we just want something we can divide into single biscuits.
Once you have a cohesive dough we want to flatten it out and start to build layers. Using your hands or a rolling pin make the dough fairly flat, no need for accuracy here. When you have a flat single layer of dough, fold it over itself in half. Turn the dough 90 degrees and fold it in half again. We want to do this maybe 6 times, but we want to be careful not to overwork the dough but keep it fairly shaggy and crumbly.
After we have built up a few layers, you want to flatten the dough out again, being careful not to overwork, into around a 1” layer.
Once there is one layer of the biscuit dough, get your biscuit cutter, or a pint glass, and start cutting out biscuits as efficiently as you can. Once you can’t get any more circles out, bring the dough together and flatten it out again. Repeat these steps until you have used all your dough.
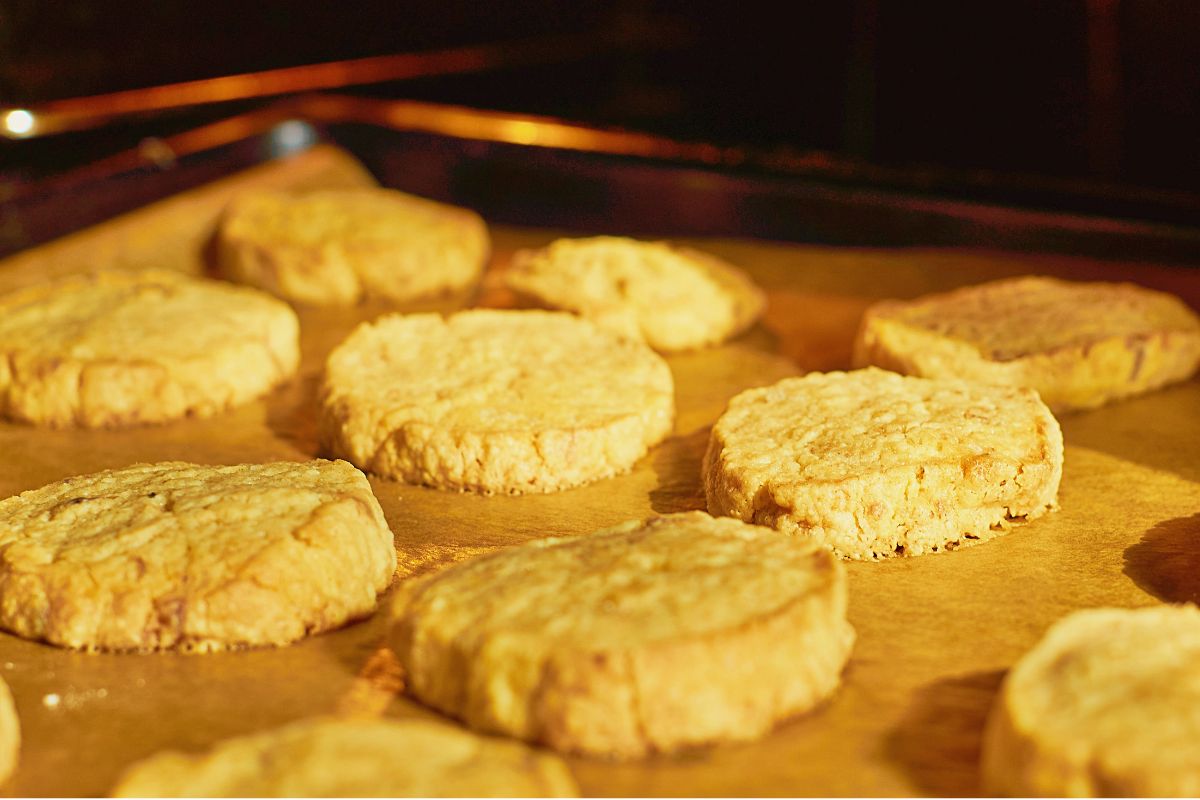
Place your biscuits on the baking tray lined with parchment paper. Leave a little space between the biscuits so they don’t squish together as they grow in the cooking process, as they will spread out.
Bake the biscuits on 425 F for about 12 minutes, or until the tops of the biscuits become golden brown. If you are baking more than one tray it can be good to switch them around so all the biscuits cook evenly.
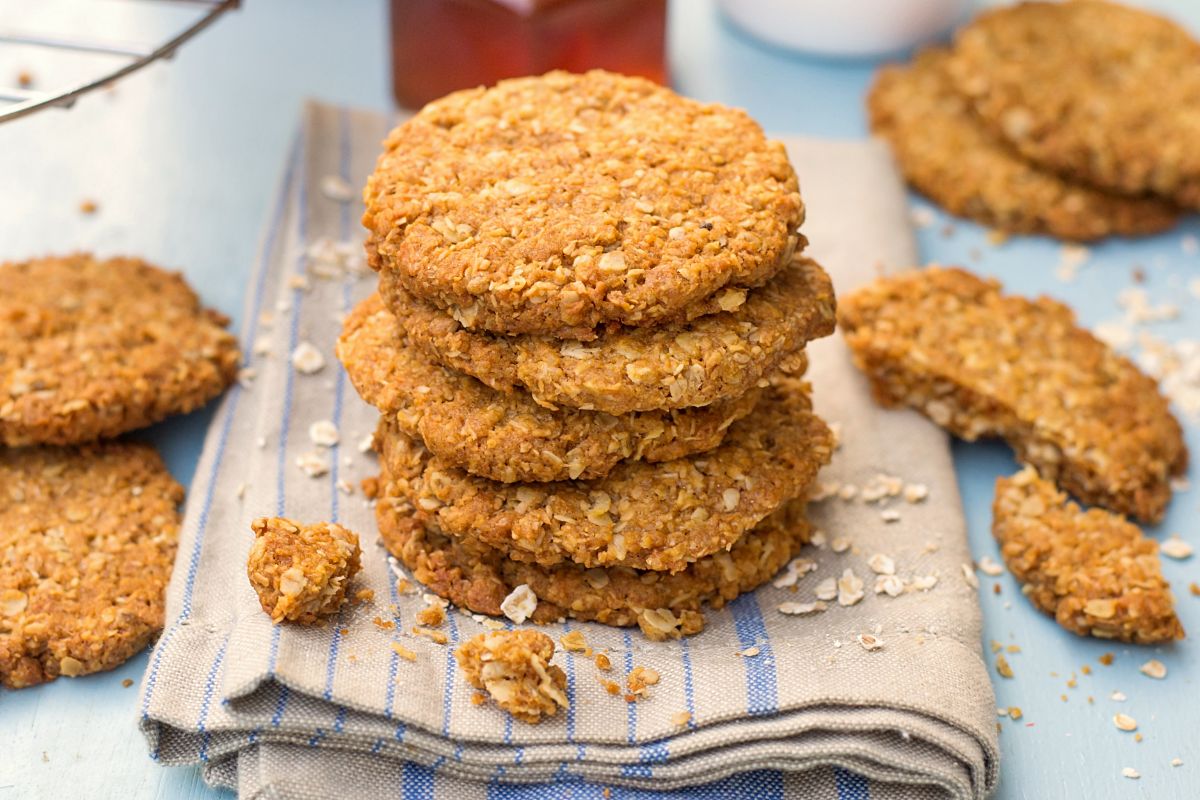
When your biscuits are done, try to let them cool a little before breaking straight into their buttery layers, but they are best served warm. It can be a good idea to brush them with some melted butter when they come out of the oven for a truly indulgent experience, and to get the best out of your work.
Enjoy!
Helpful Tools When Making Biscuits
There are some tools that may make this recipe a little easier, and create their own shortcuts to better biscuits. Yet, there are also some swaps if you want something a little quicker or if you lack any of these tools themselves.
Cutting Butter Into Dry Ingredients
One of the big steps is cutting your butter into your dry ingredients, a common step when incorporating butter into flour. There’s loads of ways you can achieve this step but there undoubtedly some tools that can help you out.
This is probably the most labor intensive and important step of the biscuit making process so this is where the right tool can be most effective.
The recipe recommends freezing your butter, which we stand by. This makes it easier to incorporate the flour into the butter, but also makes it easier on the tools you use.
This freezing step also means you work your butter as little as possible, allowing it to remain as cold as possible until it gets into the oven – this ensures you get a nice flaky texture.
Pastry Cutter
Not everyone has a pastry cutter, that’s for sure. This can be a very effective way to chop up the butter into the flour without working it too much. If you do have a pastry cutter, then use it as it can be quite effective.
Cheese Grater
One thing we all probably have is a cheese grater. Assuming your butter is hard from being partly frozen, it should be pretty easy to grate with a similar texture to cheese itself, should it not melt half way through.
This is a great technique that does a great job finely shredding the butter into perfect little fakes, ensuring a flakey texture with a pretty common gadget.
Food Processor
One thing people love to use is a food processor when they are baking or cooking.
It can certainly make things quite easy, and is a good tool to use when you want to speed things up a little. It can be just as easy and quick to grate the butter, but if you have a food processor you can totally use that too.
What To Top Your Biscuits With?
How you choose to top your biscuits is totally up to you, you go the sweet route or go the classic savory route.
No matter what you choose there is a plethora of toppings you can use to spruce up your biscuits into a full meal, a dessert, a sweet treat, or lunch – whatever takes your fancy.
Sausage Gravy
Biscuits and gravy is a quintessential American meal, it’s cheap, easy and economical to make, but is really satisfying and has fed our great nation for many years, great for when the weather gets a little colder, but ideal in any weather.
All you need to make sausage gravy is sausage, whole milk, flour, and salt and pepper.
The great thing here is that we only need to buy sausage with all the ingredients we should already have after making the biscuits. It’s the perfect thing to make while your biscuits are cooking so you can have fresh biscuits and gravy, a true American delight.
Simply add your sausage to a pan and break it up, you may need to remove it from the casing first depending on what type of sausage you are using. Get it into a minced consistency and let it cook a little.
Once reasonably well cooked add tablespoons of flour to the mixture, allowing it to mix with fat initially. Once the pan is dry slowly drizzles in bits of milk at a time, stirring until it is fully absorbed into the flour, then adding a little more.
Keep doing this and letting it thicken until you feel it has reached your desired consistency, then add salt and pepper, or whatever seasoning you prefer, to taste.
This is a really easy foolproof recipe that has been used for a long long time so you can almost always rely on this working and is a great way to learn how to make general pan sauces. But in combination with the biscuits this is a really great, traditionally American, treat.
Jam And Cream
Have you ever heard of English scones? Scones are pretty much the English version of biscuits, or the other way around, it’s a classic egg or chicken argument.
In any case, they are similar to biscuits and one way the Brits love to serve scones is with jam and cream, and there’s little reason this isn’t great with our flaky buttery biscuits.
There are loads of jams, preserves, sweet chutneys, compotes, and other sauces out there which go perfectly with biscuits. Whether that is marmalade, strawberry jam, blueberry compote, or mango chutney, you can basically use any flavor combination you like.
In terms of cream there is also a pretty good amount of variability here as well. Namely, you could simply use whipped cream from a squirty can, double cream, freshly whipped cream, or even just butter, or butter cream.
You could add vanilla extract or even fresh vanilla to your cream for something more indulgent. Our point is, there are loads of flavor combinations you can go for here, demonstrating how versatile biscuits are.
Biscuit Sandwiches
One awesome way to use your biscuits, something there are always plenty of leftovers of, is to use them as a sandwich. Once you cut your biscuit in half there is no stopping you adding any sandwich meat or cheese as a filling.
If the biscuits are fresh out the oven they could even melt your cheese for you and stay warm when you serve them. They may get a little messy but you can be sure that the flaky and buttery biscuit makes the perfect carb for any sandwich.
Perhaps you have struggled to get through all your biscuits, and find you have a few stale ones left. We want to still use these rather than waste them, but there are loads of ways you can do this, such as biscuit pudding.
This is a riff on a European recipe known as ‘strata’ that is basically just stale bread used in the same way.
Simply combine your stale biscuits with egg custard to make them soft again, and then mix in whatever you feel could work – your favorite cheese, perhaps some bacon, some vegetables for health, and of course some seasoning.
Throw the mixture in a dish, top with cheese or more seasoning, and cook it in the oven until the top is crisp. Now you have turned what were leftovers into a full meal, served with a side salad and you have the perfect economical lunch for the whole family.
Breadcrumbs
Maybe your biscuits are a little too stale to use, one way to continue using them without wasting them is to turn them into breadcrumbs. Either throw the stale biscuits into a food processor, and break them up into a crumby consistency.
Or another way could be to throw them into a plastic bag or clean dish towel and smash them up. You could use these breadcrumbs to top a pasta or add to a salad, a real score from what might have simply gone in the trash.
Final Thoughts
As you can see biscuits are such a great recipe to have in your arsenal. They are really easy to make and can be had for any meal of the day. You can get creative and top them with whatever you like, or incorporate other things into your biscuit recipe like cheese or fruit.
An ideal recipe to learn if you’re a beginner baker and want to learn your trade. Once you have nailed your recipe then the world is your oyster.
Even when you have leftovers you can still use them to make a whole bunch of other useful ingredients to spruce up another dish or even use them to make a dish of their own.
Have you ever made something so delicious that you wished you could savor it forever?
Only to find that the recipe has now mysteriously vanished from your phone and the entirety of the internet. Yep, there’s not much more painful than that.
Hi, my name is Mark Williams and I have been infatuated with cooking since I was young. I would beg my mother to pull a chair up to the counter so I could watch what she was doing.