Boiled chicken is perfect for meal prepping and makes it easy to get soft, juicy, and tender chicken. Boiling chicken is a quick method that you may use to make several dishes, like casseroles, soups, and salads.
You can do a lot of things with boiled chicken, as it’s a very versatile food. However, it’s important to make sure that you boil the chicken for the right amount of time.
Overcooked chicken is dry and unpleasant, while undercooked chicken can lead to sickness and food poisoning.
If you’re wondering long you should boil chicken for, keep reading. You’ll find out how much cooking time different types of chicken need, including boneless, skinless, and whole chickens.
We’ve also included a step-by-step guide on how to boil chicken properly, so you’ll end up with succulent chicken each time you make it!
Chicken Boiling Time
The cooking time needed to boil different chicken cuts differs, based on thickness, consistency, and size of the chicken pieces.
In most cases, thin chicken breast pieces will need to boil for eight minutes. Bigger chicken breasts will need 15 minutes, while bigger bone-in chicken breasts need around 20 minutes.
If you’re boiling chicken thighs, boneless thighs will cook in roughly ten minutes. Bone-in chicken thighs will need a little longer, around 15 minutes to cook.
Remember that no matter how you cook your chicken, its internal temperature needs to be 165°F before it’s safe to consume. You can use a probe thermometer to check by inserting it into the thickest part of the chicken’s meat.
Here’s how different types of chicken affect the overall cooking time.
Skinless And Skin-On Chicken
Chicken skin will give the chicken and its stock a distinct flavor, but this won’t affect cooking time. This is why it’s best to leave the skin on when boiling chicken.
Whole Chicken
If you’re boiling a complete chicken, make sure your pan is big enough to hold the entire bird. The pan needs to be around double the chicken’s size.
Boiling a whole, fresh chicken takes around an hour and a half, though this may differ based on how much it weighs.
Frozen And Fresh
You can boil chicken straight from the freezer without defrosting it, but this will increase the boiling time by 50%.
For instance, if you’re preparing a meal that involves boiling chicken for 20 minutes, add around 15 minutes when using frozen chicken.
Boneless Or Bone-In
Chicken bones give the meat moisture and flavor as they cook. This is why we’d always recommend cooking chicken on the bone.
Despite its advantages, bone-in chicken takes more time to cook compared to boneless cuts.
How To Boil Chicken Properly
Now that you know how long your chicken needs to boil, here’s a step-by-step guide to follow when boiling chicken.
Step One: Choose The Chicken
You can boil any part of a chicken that you like, even a whole one if your pan is big enough!
We’d recommend using bone-in, skin-on pieces, as this keeps the chicken flavorful and moist.
Remember that cooking time will vary based on the cut and number of chicken pieces you use.
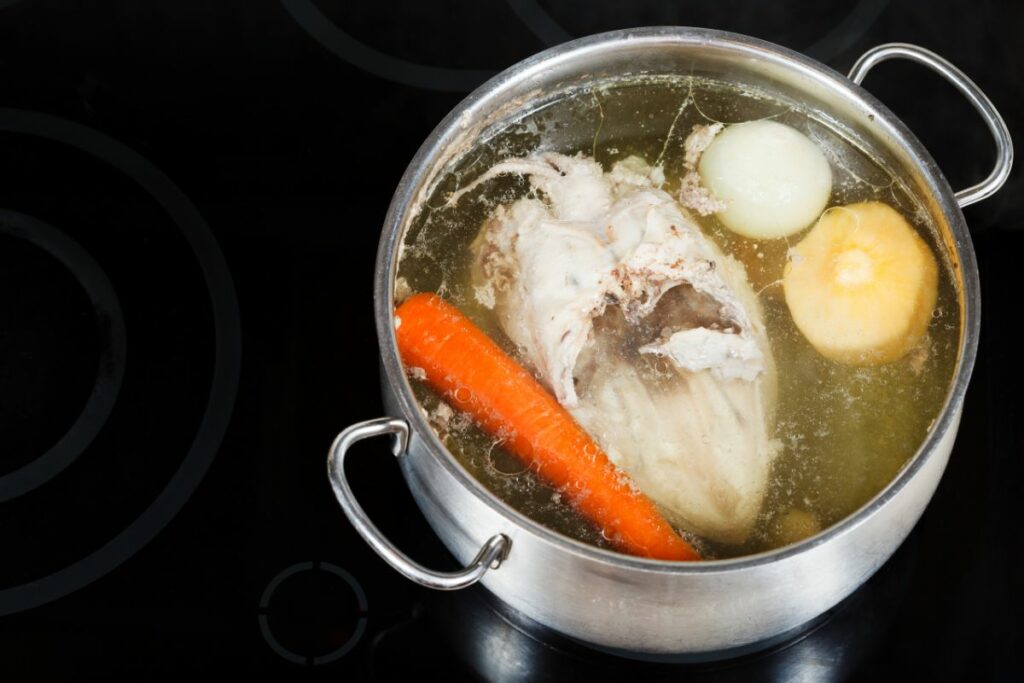
Step Two: Add The Liquid
Now, submerge the chicken pieces in your chosen cooking liquid. The liquid should be around an inch above the chicken in the pan.
We’d advise using stock over water, as this infuses the chicken meat with flavor. You can also add flavor additions, like vegetables, herbs, and aromatics.
Thyme, bay leaf, and parsley are nice options, as well as garlic cloves, ginger, and citrus peels. You can add vegetable pieces, like carrots, celery, or onions to add even more flavor.
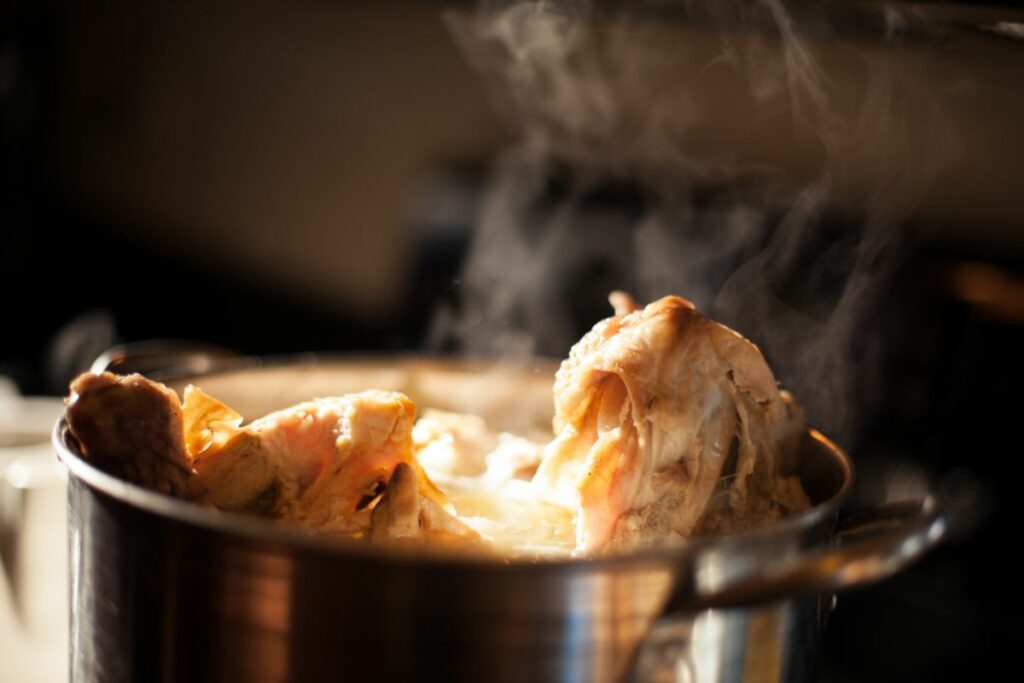
Step Three: Boiling The Chicken
A lot of people think that boiled chicken is ‘boiled’, but it’s technically poached with a few steps.
This involves bringing the pan to a boil, lowering the heat, and covering the pot, allowing the meat to poach for 20 minutes.
Boiling chicken until it’s cooked isn’t recommended. Water begins to boil at 212°F, which is best for fibrous food, like pasta or vegetables. This is too hot for the chicken’s poultry makeup, leading to tough, dry, and unpleasant chicken meat.
It’s best to cook chicken at a lower temperature, around 160°F to 180°F. This is hot enough to form juicy chicken without overcooking it.
As you’re poaching the chicken, you should note little, periodic bubbles on the pan’s edges. When the chicken has cooked, the meat should be firm and opaque, but not rubbery or tough.
Next, take the pan off of the heat and leave it to cool. Leaving the meat to cool before cutting increases your chances of juicy, tender chicken.
Step Four: Keeping The Chicken And Stock
Once you remove your chicken from the pan, you’ll be left with the flavorful cooking liquid. This homemade stock is perfect for future recipes, but if you don’t need it yet, skim, strain, and store the stock for later use.
You can freeze stock so it lasts for longer, as it will keep in the freezer for a maximum of six months. It’s best to keep the stock in ice cube trays for convenience. You can defrost a cube or two and add them to your recipes over the next few months.
After the chicken is cooked, you can cut the meat in several ways, depending on what you plan on doing with the pieces.
We recommend leaving the chicken to rest for ten minutes after you take it from the pan.
This keeps the chicken moist on the inside so it doesn’t become dry, but it also lets it become cool enough to slice or shred later. Either use a knife to slice chicken pieces or two forks to shred the meat.
Boiled chicken lasts between three and four days in the fridge and around three months in the freezer. Make sure that the meat cools fully before you store it, but avoid keeping it out for more than two hours.
Final Thoughts
A chicken’s boiling time depends on the meat’s size, thickness, and consistency. Bone-in, frozen, and larger chicken pieces will need more cooking time compared to smaller, fresh, and boneless cuts.
When chicken is boiled right, it should be opaque and firm, not rubbery or slimy. If you notice a pink tinge or red juices from the meat, you’ll need to cook the chicken for longer.
If you prefer, you can purchase a probe thermometer to check the chicken’s internal temperature has reached 165°F. Make sure you follow the guide above to end up with flavorful, moist, and delicious chicken!
Have you ever made something so delicious that you wished you could savor it forever?
Only to find that the recipe has now mysteriously vanished from your phone and the entirety of the internet. Yep, there’s not much more painful than that.
Hi, my name is Mark Williams and I have been infatuated with cooking since I was young. I would beg my mother to pull a chair up to the counter so I could watch what she was doing.