You didn’t need a food processor to make a pie crust in the good old days. Admittedly, while I love my food processor, it’s best to know how to make a pie crust without it.
How Can You Make A Pie Crust Without A Food Processor?
While you might want to depend on your food processor, it doesn’t hurt to use some other methods. But you can also make it with your hands and other tools around your house, like pastry cutters and forks.
Of course, more challenges are involved when making a pie crust by hand, and that’s because you have a higher chance of overworking the dough. So, let’s take a look and see how it’s done.
What Do You Need To Make A Pie Crust?
Flour
Ideally, you should use 2 ½ cups of all-purpose flour. All-purpose flour is perfect for any beginner, as you can handle the crust easier. Many different types of flour are available to use, each changing the texture of your pie.
However, if you’re new to baking, you should use all-purpose until you become more comfortable making pie crusts.
Salt
Use one teaspoon of salt to enhance your pie crust’s flavor. Of course, regular table salt is the best to use, so you don’t need to find anything fancy.
Sugar
While you don’t have to add a tablespoon of sugar, doing so can sweeten the flavor and help brown the crust. Sugar helps to tenderize it, so don’t use more than a tablespoon, or the crust itself will become too hard.
Buttermilk
Use ½ a cup of buttermilk to help keep the crust held together. Adding buttermilk will prevent the crust from breaking when you roll it. If you don’t have buttermilk, you can use ½ a cup of ice water.
Butter
Use ½ a cup of cold unsalted butter to make a flaky crust that will melt in your mouth. If you were to use butter on your own, it might taste better, but it might also not have the same tender feeling.
Shortening
Use ½ a cup of cold shortening to ensure the crust is tender. Shortening crusts tend to be the opposite of butter in terms of taste, as they don’t taste as good as butter, but the crust is much more tender.
I recommend using butter and shortening as you can have the best of both worlds. You can enjoy the great looks of shortening crust with the melt-in-your-mouth flavor of butter.
How To Make Pie Crust By Hand
Making The Dough
Step 1
Grab a large mixing bowl and put all your dry ingredients into it. You’ll need to whisk your flour, salt, and your sugar (if you’re using it) together.
Step 2
Throw in your chilled butter and shortening into the flour. Using your hands, quickly coat the fat with the flour.
Step 3
Grab a fork. Now that the fats are coated, you don’t want to mix the fat with your hands. You need to use a fork to cut the fat into the flour. If you have a pastry cutter, you can use that instead.
Using your fork, press the bottom of the fork into your mix until it looks like cornmeal. Don’t worry if large chunks remain, as they’re supposed to be there.
Step 4
Now, you’ll want to grab your buttermilk. Add four tablespoons and gently mix the buttermilk into your mixture with a spatula or wooden spoon. Add another tablespoon and stir.
Repeat this until the dough comes together. You don’t want to add too much buttermilk or mix the dough too much, so you’ll need to be careful with this step.
Step 5
Spread flour over your work surface and put your dough down. You should form it into a bowl with your hands. Once you do this, split your dough in half and flatten each half into a disc.
These should each have a thickness of an inch. If you’re using two discs for a single pie, you should ensure one disc is larger to cover the bottom of your pie and hold in filling.
Step 6
Wrap your discs in plastic wrap and put them in the fridge for either two hours or leave it overnight. You can leave it in the refrigerator for up to four days, or if you’re not sure when you want to use it, you can freeze it for up to three months.
If you’re leaving it to freeze, let it thaw overnight before you use it again.
Making the Pie
Your crust should work for most recipes, so follow these three steps to put your dough in your dish.
Step 1
Once ready to make your pie, take one disc from the fridge and let it rest for about five minutes. Use this time to put more flour on your work surface, and do the same to your rolling pin.
Step 2
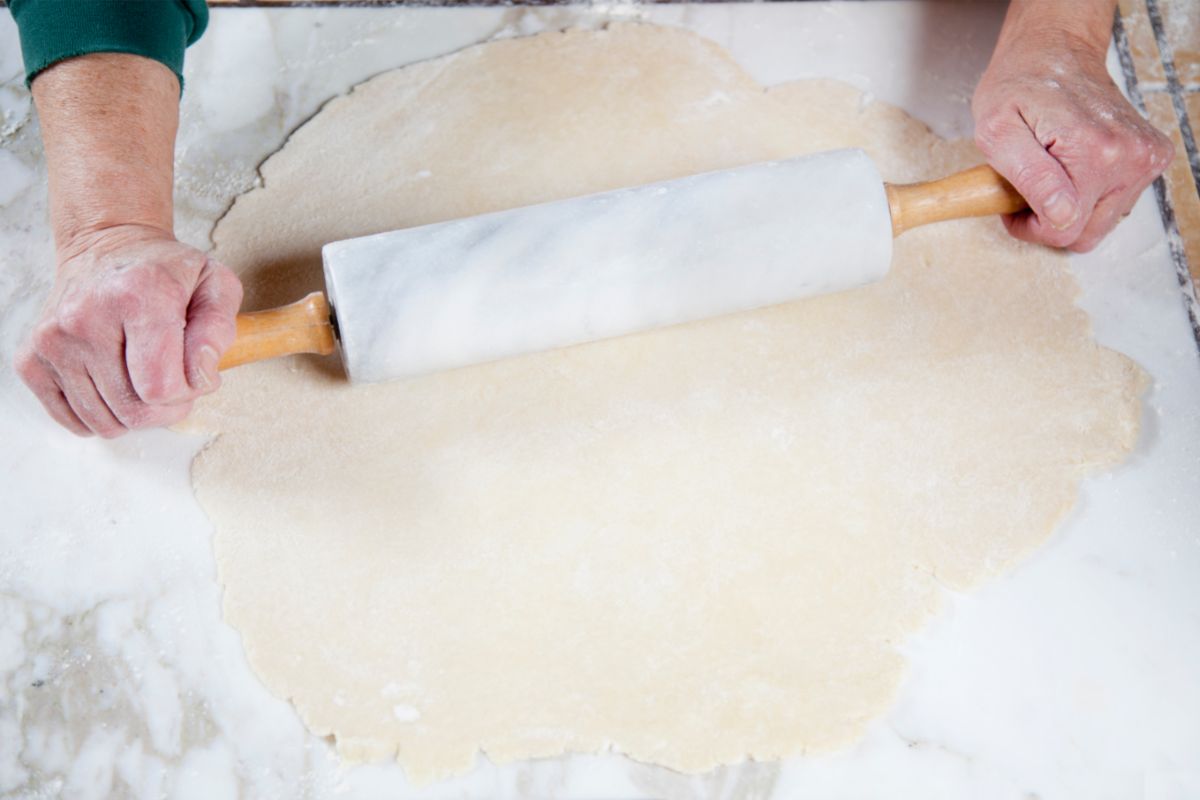
Put the dough disc down and roll it from the middle to the outer areas. You’ll need to lift it every once in a while to ensure it’s not sticking. Roll it out, so it’s larger than your pie dish, preferably, so its diameter is larger by three inches.
Step 3
Now, it’s time to put it in your pie dish. You can do this by carefully rolling your dough over your rolling pin. Then put your rolling pin over the dish and unroll the dough into it.
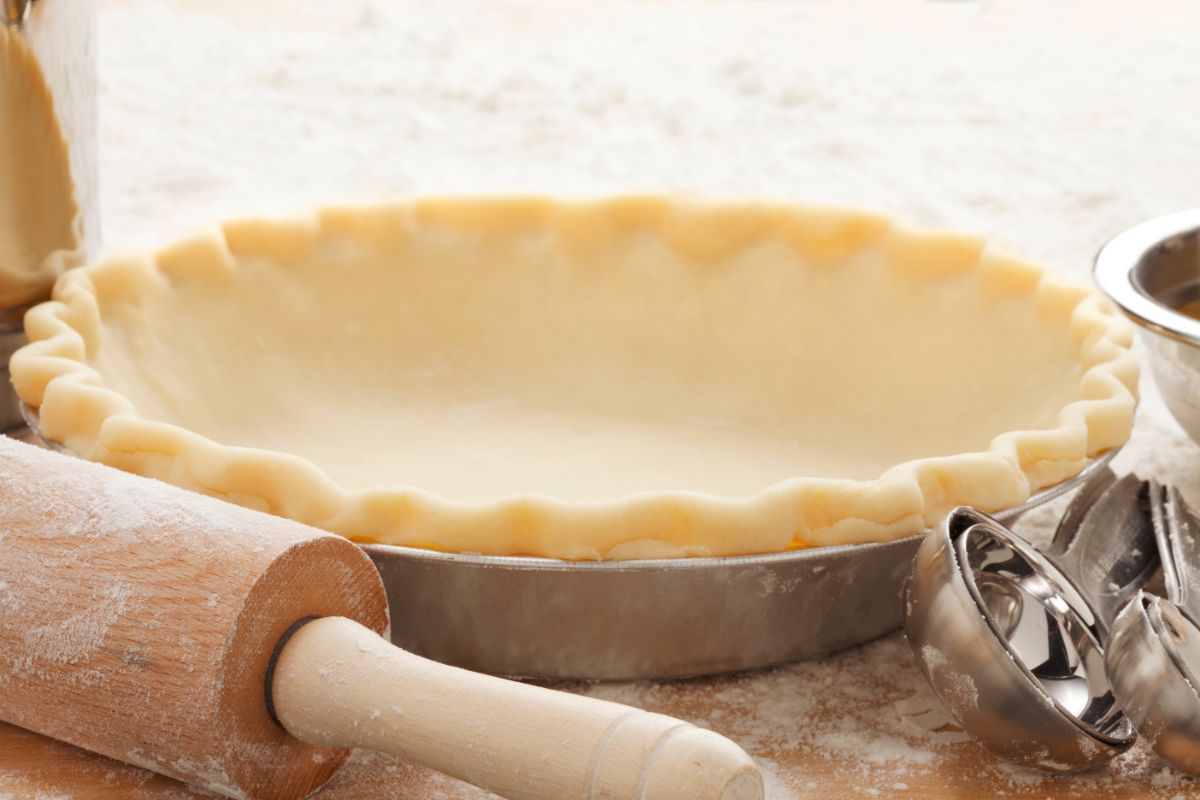
Then, press down on the dough to cover the dish, and use a knife or scissors to remove the overhang. Once you do this, just crimp the rim of the crust with your fingers.
Final Thoughts
Now that you’ve made your pie crust, you can put it in the oven once you’ve filled it. You can use your second disc for another pie or a top layer of crust. Regardless, now you should be able to use this for any recipe.
Have you ever made something so delicious that you wished you could savor it forever?
Only to find that the recipe has now mysteriously vanished from your phone and the entirety of the internet. Yep, there’s not much more painful than that.
Hi, my name is Mark Williams and I have been infatuated with cooking since I was young. I would beg my mother to pull a chair up to the counter so I could watch what she was doing.