Let’s take a minute to sing the praises of Costco – after all, they deserve it. If you’re looking for a cost-efficient place to purchase a super scrumptious meal Costco almost always has you covered.
Don’t believe me? The proof is in the pudding. Well, technically the rotisserie chicken, but you get the point. Each year Costco sells around a whopping 60 million rotisserie chickens a year – now that’s a whole lot of chicken.
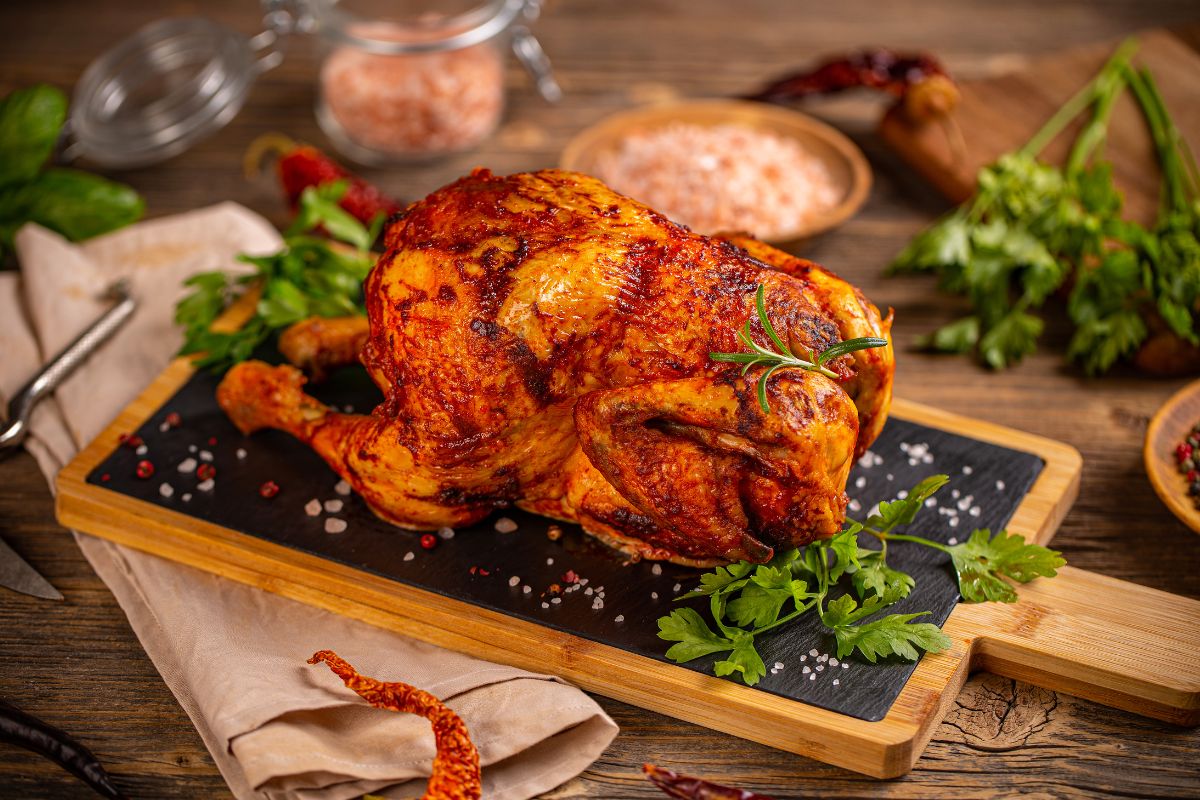
So, clearly, we’ve all fallen head over heels for this juicy and moist chicken and it’s crunchy and crispy skin. Yum. And it’s such a cheap option it’s hard not to opt to purchase a second one to use at a later date – and why shouldn’t you, it’s actually a really good idea.
However, some can feel a little apprehensive when it comes to reheating chicken. So, I thought it would be in everyone’s best interest for me to create a quick and handy guide as to how to go about reheating your delicious costco chicken.
So regardless of whether you just have left overs, or purchased a second chicken to cook at a later date, buckle down and enjoy the journey as we learn how to reheat it safely and effectively together!
Reheating Costco Rotisserie Chicken
Now, there are a few different methods you can choose from when it comes to reheatting your chicken, so let’s go through the process for each option in more detail.
Reheating Chicken In The Oven
The last thing you’ll want when reheating your chicken is to lose all the moisture and those delicious juices.
So, to ensure that it tastes just as delicious as the day you purchased it, you’ll want to reheat it the same way it was originally cooked where possible. Here’s how to go about it in the oven.
Preheat – Preheat your oven to 350 degrees Fahrenheit
Add Some Water – Place your chicken into an oven-proof baking dish and then add one cup of water to the dish.
Cover – Loosely cover the chicken with foil
Roast – Roast the chicken for around 25 minutes. At this point the chicken should be heated throughout and the water should be bubbling.
Crisp The Skin – To get that crunchy skin you’ll want to then increase the temperature by 50 degrees Fahrenheit and remove the foil and allow to cook for a further 5 minutes.
Serve – Once hot and crispy, the chicken can be removed from the oven and served immediately.
Reheating Chicken In The Air Fryer
If you already have an air fryer, you’re probably well aware of its ease and effortlessness when it comes to reheating food. It’s an invaluable appliance that cooks most food perfectly.
This method will ensure that you’ve got moist and delicious chicken with the perfect crunchy and crispy skin.
Set Heat – Turn your air fryer on and set the temperature to 350 degrees Fahrenheit.
Place In Air Fryer – Remove all outer packaging and then place in the air fryer for around 3-4 minutes.
Serve – Ensure the chicken is piping hot (if not pop back in for a couple more minutes) then remove from the fryer and serve immediately.
Reheating Chicken On The Stove Top
This method is more suited to off-the-bone chicken. It’s a great option for those looking for a quick and convenient option for reheating chicken for barbeques or casseroles.
Grease The Pan – Add around a tablespoon of butter or oil to the pan ensuring it coats it thoroughly.
Remove Bones – Remove the chicken from any bones and then place the meat in the pan.
Cook – Cook the chicken on a medium heat ensuring that you stir the meat occasionally.
Serve – Once hot, remove your chicken from the pan and serve immediately.
Reheating Chicken In The Microwave
I’ll preface these instructions by stating that this method should always be your last resort option. Cooking chicken in the microwave often dries the meat out and does not achieve that desired crispy-skin coating. This method will reduce the quality of the meat.
Remove Bones – Pull all the chicken meat off the bones and then place the chicken onto a microwave-safe dish or container.
Add Water – To help retain some of the moisture, add a teaspoon of water to the container or dish.
Heat – Heat the chicken for around one to two minutes until thoroughly cooked.You can repeat this step as needed.
Serve – Once hot enough, remove from the microwave and serve immediately.
The Pros & Cons Of Each Cooking Method
When it comes to choosing your preferred cooking method, it’s worth considering the following points. Let’s go into a little more detail now.
Chicken In The Oven
Pros
Closest Imitation – Food is often best reheated using the same method that the food was originally cooked with. In this case the oven is the closest option for a rotisserie chicken.
Easy & Clean – This is one of the easiest methods for reheating your cooking and it also requires very little clean up once done.
Cons
Time Consuming – This option takes the longest of all the methods so isn’t a great choice if you’re pushed for time.
Limited Dishes – It can sometimes be a struggle to find a dish that is shallow and long enough to fit the chicken in.
Chicken In The Air Fryer
Pros
Crispy & Crunchy – If you love a truly crispy and crunchy chicken skin, then you’ll adore this method. The skin doesn’t go soggy or moist when cooked in the air fryer and keeps that much-preferred texture of the skin. Which, let’s be honest, is the very best bit.
Quick & Convenient – This option doesn’t take all that long to cook at all, so is perfect for when you’re a little more strapped for time.
Cons
Must Cut Chicken – A whole chicken will rarely fit in the air fryer baskets and so you’ll have to cut the chicken into smaller pieces. This can mean more effort as well as a larger clean-up afterwards as well.
Not Always Accessible – An air fryer is more of a luxury gadget than a staple piece of kitchen equipment and so not everyone will have access to it.
Chicken On The Stove Top
Pros
Very Quick – This is a pretty quick way to heat up your chicken which makes it a very convenient option.
More Flavorsome – The addition of oil or butter to the pan adds more flavor to the chicken making it a tastier treat.
Cons
Must Cut Chicken – You need to de-bone the chicken for this method which can get messy and take up a little extra time.
Not Crispy – Should you choose to also cook the chicken skin it is likely that it won’t recreate that crunchy and delicious texture and instead will be slightly soggy.
Chicken In the Microwave
Pros
Quickest Method – If you are really stuck for time this will definitely heat your chicken up the fastest.
Super Easy – Out of all the methods this one requires the least effort.
Cons
Dry Chicken – The microwave is known for drying out meat and is likely to drain the moisture level in your chicken so it won’t be as juicy and delicious as the other options.
Soggy Skin – There is no way to create crunchy chicken skin using this method. You will definitely have soggy and unappealing skin using the microwave.
Final Thoughts
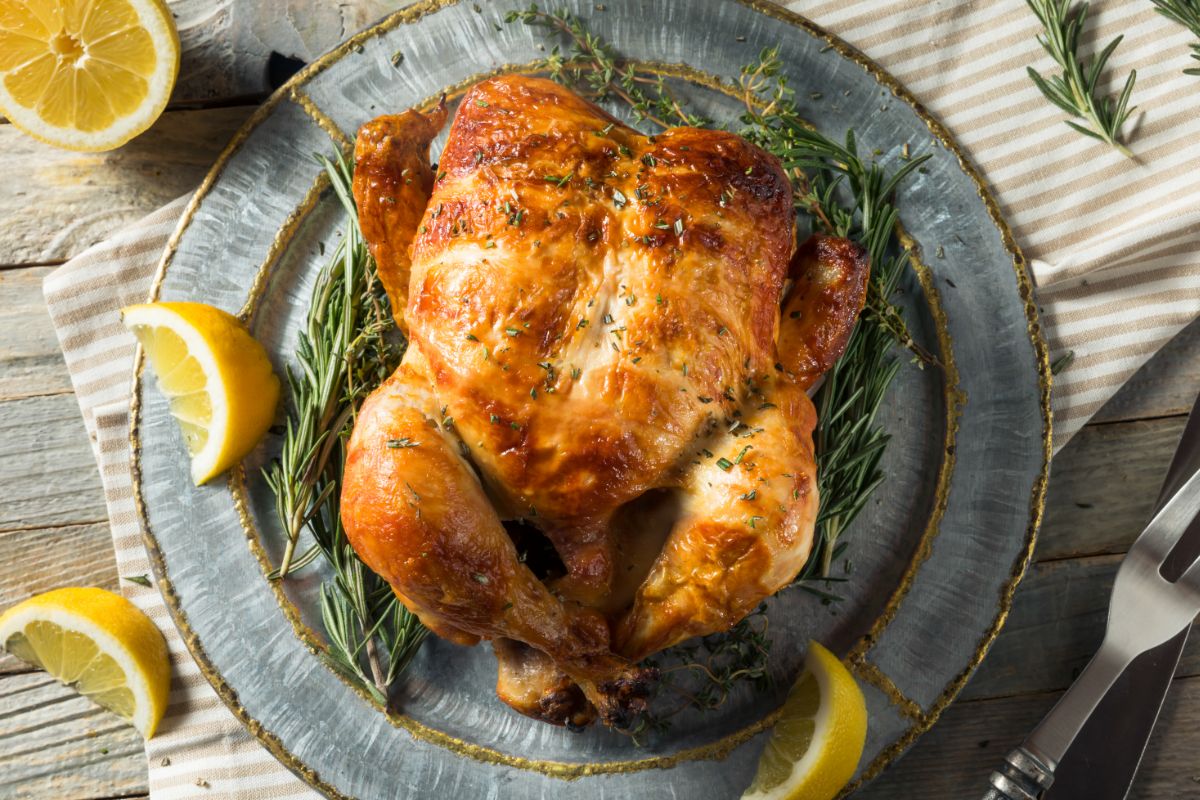
Costco chicken is a delicious bargain that everyone should get their hands on. There are so many different scrumptious meals that you can make with the helping hand of a rotisserie chicken.
And luckily, reheating it is actually a really simple procedure. So, don’t let that leftover chicken be destined for the trash.
Simply choose your preferred cooking method and follow the instructions outlined in this article, and you are sure to have a super scrumptious meal the second time around.
Remember that each cooking method has its own set of advantages and disadvantages, so you’ll want to make sure that you know exactly what you’re after before selecting your method of choice.
For example, a slow oven roasted chicken or an air fried chicken will produce the best results whereas the stovetop or the microwave methods will produce the fastest results.
Have you ever made something so delicious that you wished you could savor it forever?
Only to find that the recipe has now mysteriously vanished from your phone and the entirety of the internet. Yep, there’s not much more painful than that.
Hi, my name is Mark Williams and I have been infatuated with cooking since I was young. I would beg my mother to pull a chair up to the counter so I could watch what she was doing.