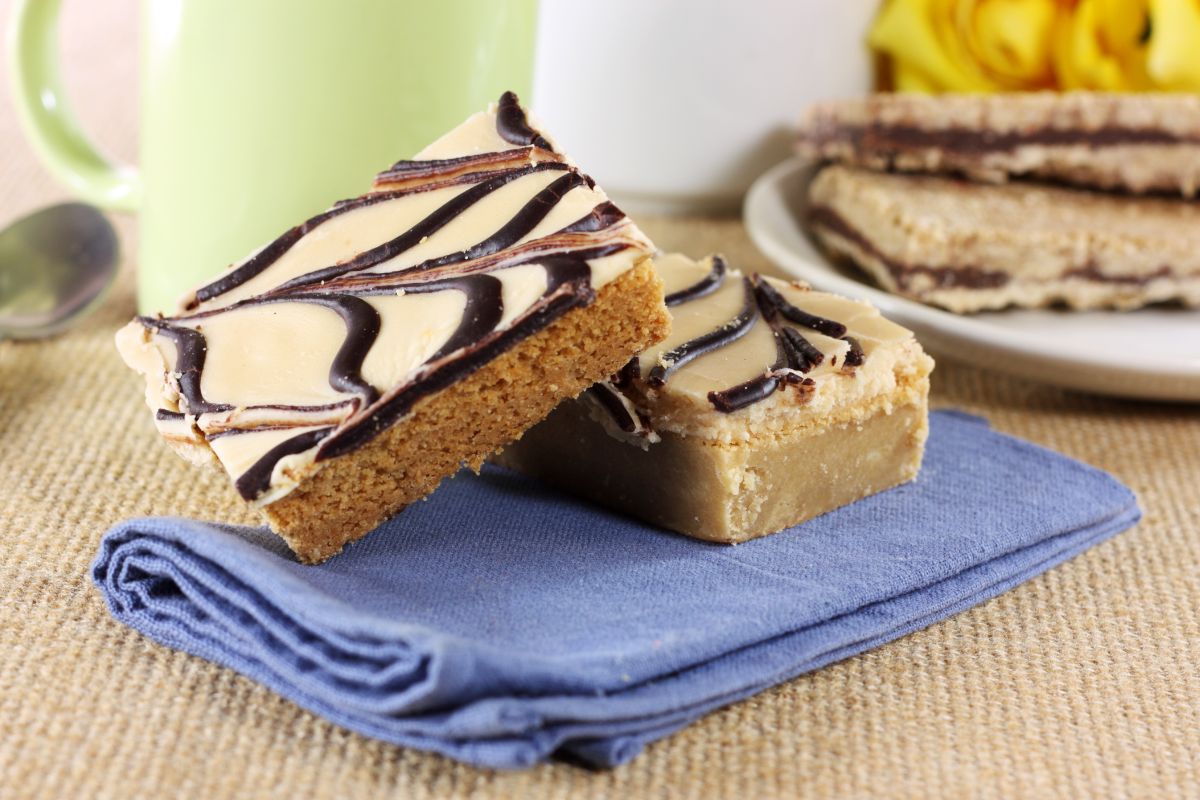
For those of you out there who have already had the pleasure of tasting homemade peanut butter fudge, you’ll know that it’s one of the most delicious things on the entire planet.
It’s incredibly soft, gooey, and packed with sweet and savory flavors that leave your mouth watering.
Many of us shy away from trying to make our own fuge however, as we believe that it’s a super intricate process. This simply isn’t the case however, and if you follow the instructions provided below, you’ll have this tasty treat whipped up in no time.
Many fudge recipes that are circulating at the moment aren’t truly authentic, and involve using a microwave and canned frosting. Although this might seem like an easy option, it just won’t yield the same results.
If you want to learn how to make real, traditional peanut butter fudge, then we’re here to let you know that you’ve come to the right place. Below, we’ve compiled a handy guide that will show you how to make the most delicious fudge imaginable.
How To Make Peanut Butter Fudge
Now, why don’t we just jump straight into the matter at hand, and delve into this delicious recipe. Below, we’ve provided you with a full ingredient list, as well as giving you the method for making this traditional fudge recipe.
To find out more, simply keep reading below.
Ingredients
1 Tsp Vanilla
1 Tbsp Butter
1 Cup Smooth Peanut Butter
12 Oz Evaporated Milk
2 ½ Cups White Sugar
Method
Step 1
In order to get started with making your tasty fudge recipe, the first thing you’re going to need to do is gather together all of the ingredients. After you’ve done this, you can go ahead and start greasing your pan.
Your fudge is going to need to be baked later on as a part of the final process, so you can prepare for this by lining a 20cm pan.
You can either line it with foil, or parchment paper, both of which will have the same effect. This will make it much easier for you to remove your fudge later on after it’s finished baking.
Then, after you’ve done this, you’re going to want to grab your pan that you’re going to be making the fudge mixture in, and greasing all of the sides with butter.
If you don’t butter the sides adequately, then this can cause the sugar to crystalize and stick to the sides when you’re making it.
Step 2
For the next step, you’re going to need to measure out all of your ingredients. Make sure that you do this as accurately as possible, as too much or too little of an ingredient may be detrimental.
After you’ve measured out all of the ingredients, you can then go ahead and set them aside.
Step 3
The next thing you’re going to want to do is to heat up your pan. You’re going to want to set it on the lower end of medium, so that the ingredients don’t curdle.
After it’s come up to temperature, the next thing you’re going to need to do is add in the milk and sugar.
You’re then going to want to stir this mixture carefully until you can see that all of the sugar content has dissolved into the milk. This may take a number of minutes, so just be patient.
Step 4
After you’ve done this, you’re going to want to crank up the heat. You should set your pan to a medium high setting, which will be approximately 237 degrees fahrenheit.
Step 5
After you’ve noticed the fudge beginning to form, you can then take it off of the heat. You’re going to need to be quick in this stage, so that the fudge doesn’t dry up.
Add in the vanilla, and also the peanut butter, then stir them in thoroughly so that everything is combined.
After you’ve stirred these in, you’re then going to want to transfer them onto the baking tray that you prepared earlier. Pour the mixture into the tray and flatten it out if need be so that it’s all even.
After you’ve done this, and you’re satisfied that it’s all nice and flat, you just need to wait for it to cool. This can take anywhere up to 2 hours, and after this period is up, you can then start cutting into it with your knife into equal portions.
That’s it! You’re done. Go ahead and enjoy your traditional peanut butter fudge.
How Do I Store My Homemade Fudge?
Those of you reading this article may be wondering about the best way to store your fudge after you’re finished making it. After your fudge has finished cooling, then you can transfer it to a plate or airtight container, still attached to the parchment paper.
When stored in this manner, your fudge will last for approximately 3 weeks.
We would recommend that you never place your fudge in the refrigerator, as this can cause it to become incredibly dry and crumbly.
Final Thoughts
To sum up, making your own traditional peanut butter fudge couldn’t be easier with this handy recipe. We hope that we’ve inspired you to get baking, and we hope that you enjoy making these delicious little treats.
Have you ever made something so delicious that you wished you could savor it forever?
Only to find that the recipe has now mysteriously vanished from your phone and the entirety of the internet. Yep, there’s not much more painful than that.
Hi, my name is Mark Williams and I have been infatuated with cooking since I was young. I would beg my mother to pull a chair up to the counter so I could watch what she was doing.