It’s delicious and easy, especially if you like to keep multipacks of pre-prepared popcorn chicken in your freezer!
But if you want to take your comfort dinner to the next level, you need to start making breaded chicken at home.
It’s quick and cost-effective, plus you can play around with the flavors and textures.
Ready to start making your own breaded chicken? Read this guide to find out how to bread chicken.
What Do You Need To Bread Chicken?
Breaded chicken is one of those dishes you can make with limited ingredients.
It’s great for when you don’t have much time (or energy) to throw together a more complex meal. Breaded chicken is also a real crowd-pleaser!
To make breaded chicken, the most important ingredients are: chicken, flour, eggs, and breadcrumbs. Let’s look at what you need in more detail.
Chicken Cutlets
You can really use any cut to bread chicken, but cutlets work best because they’re so easy to handle.
If you plan on using chicken cutlets, it’s important to get an even thickness. You can try butterflying the chicken if it’s particularly thick.
Alternatively, use a meat mallet to pound the chicken piece until it’s even all the way across.
This extra step will make it easier for the chicken to cook evenly all the way through.
Plus, if you butterfly or bash your chicken, there’s more surface for breadcrumbs to stick to!
Flour
Flour is the first step in the standard breading procedure. A light coating of flour all over the chicken dries the surface out. This makes it easier for the next layers to stick.
You can use either all-purpose or self-raising flour for breading chicken.
Some people feel that self-rising flour gives the chicken a fluffier crust and more crunch. But all-purpose will work well!
Eggs
The next step in the standard breading procedure is dipping your flour-coated chicken in eggs. Make sure to beat the eggs well before using them to coat the chicken!
When the eggs meet the flour on the chicken, the two will combine to create a gel. This helps the breadcrumbs stick better during the prep phase.
When everything is ready for the oven (or fryer), the eggs cook quickly, keeping things together during this next phase.
Breadcrumbs
The final step is to add your breadcrumbs. These give that delicious crispy texture that contrasts perfectly with the juicy chicken inside.
You can use any type of breadcrumb, but Panko breadcrumbs are popular for their crunch. If you have a coarse breadcrumb, you’ll get a crisp finish.
You can also make your own breadcrumbs by blitzing old bread in a food processor.
Breadcrumbs freeze well, so try making up a batch the next time your bread is going stale.
Then when you want homemade breaded chicken, you’ll always have at least some of the ingredients to hand.
Seasonings
A touch of seasoning can take your breaded chicken from bland to restaurant quality.
For quick seasoning, sprinkle salt on your chicken before dipping it in flour. Also, try mixing salt and pepper into your breadcrumbs.
It’s in the breadcrumb mixture where you can experiment with seasonings!
Add some of your favorite dried herbs and spices to see what works. Rosemary is a great starting place.
Steps To Bread Chicken
Breading chicken is very easy to do, but it’s important to get everything organized beforehand! Follow these guidelines for delicious and juicy breaded chicken.
Lay Everything Out
The first thing you need to do is get your workspace ready. You need every step in the standard breading procedure to be prepared before you get going.
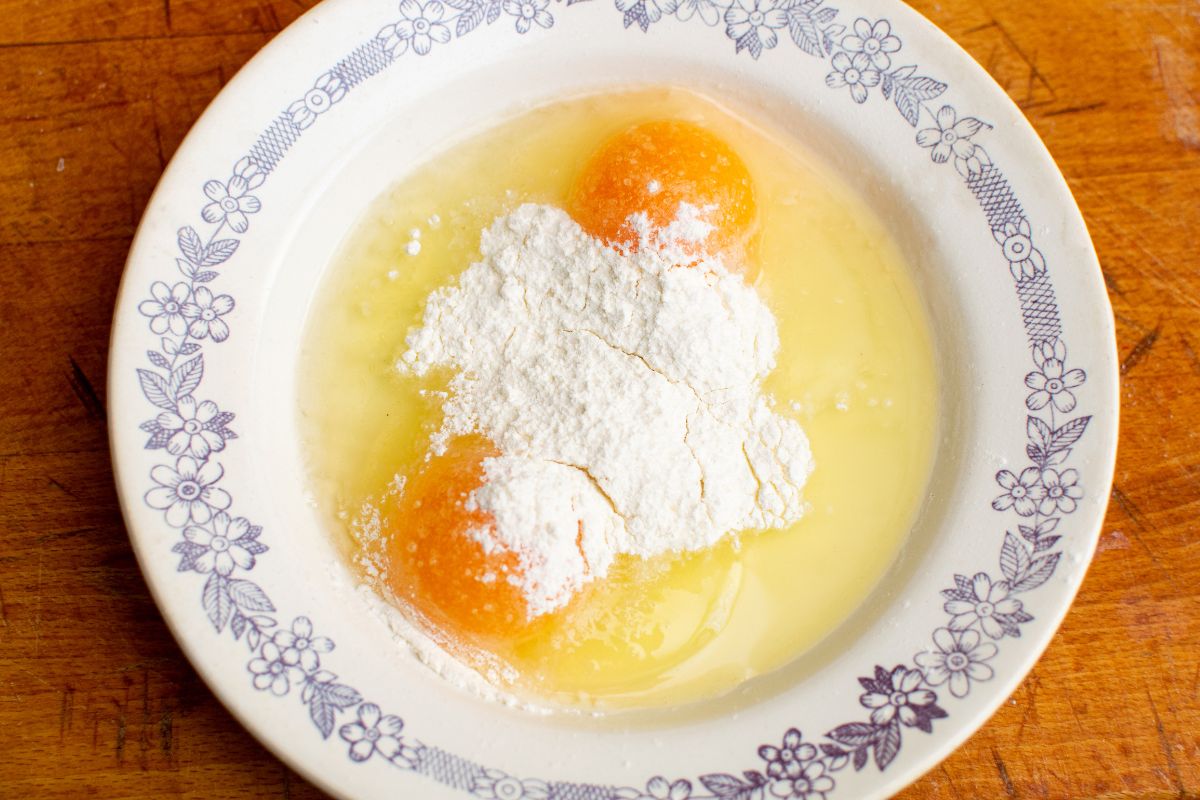
Start with three shallow bowls. Fill one bowl with flour, the next with beaten eggs, and the third with your breadcrumbs.
The amounts don’t need to be exact — enough to cover each piece of chicken!
Arrange each bowl from left to right, starting with the flour, then the eggs, and then the breadcrumbs.
Prepare Your Chicken
If you have particularly thick chicken cutlets, you might need to butterfly them.
To butterfly chicken, lay the cutlet flat on your work surface. Place your hand flat on top of the chicken.
With a sharp knife, slice horizontally into the meat, starting at the thick end and cutting through to the thin end.
Next, place the chicken between two layers of cling film. Use a meat mallet (or a rolling pin) to bash the chicken to an even thickness throughout.
Discard the clingfilm. Pat the surface of the chicken dry using a paper towel. Season your chicken with salt.
Coat The Chicken In Flour
Dip each piece of chicken into the bowl of flour. The flour should adhere to every part of the chicken’s surface. Shake off any excess. Use your left hand to do this.
Coat The Chicken In Egg
Drop the chicken into the bowl with the eggs. Using your right hand, lift the chicken cutlet out of the eggs. Hold it above the bowl so that the excess can drip off.
Coat The Chicken In Breadcrumbs
With your right hand, press one side of the chicken into the breadcrumbs. Flip it, and repeat with the other side.
When you’re happy, lift the chicken out of the breadcrumbs and shake off the excess.
Cook And Enjoy
You can bake, shallow fry, deep fry, or air fry your breaded chicken.
If you plan on baking the chicken cutlets, spray them with cooking oil before you put them in the oven. This will give them an extra crunchy crust.
Conclusion
Quick, tasty, and perfect for a crowd, breaded chicken is much easier to make at home than you might have realized.
The key is to lay everything out before you start. Your hands are going to get messy!
Enjoy!
Frequently Asked Questions
What Is The Order For Breading Chicken?
The correct order for breading chicken is: flour, then eggs, then breadcrumbs. Dip the chicken in flour and shake off the excess.
Then dip it in the beaten eggs and shake off the excess. Finally, press the chicken into the breadcrumbs.
Can Chicken Be Breaded In Advance Of Cooking?
Yes, you can bread chicken up to 24 hours in advance of cooking and keep it in the refrigerator.
Lay each piece flat and avoid stacking them on top of each other. If the breadcrumbs look soggy, just add a little more.
Have you ever made something so delicious that you wished you could savor it forever?
Only to find that the recipe has now mysteriously vanished from your phone and the entirety of the internet. Yep, there’s not much more painful than that.
Hi, my name is Mark Williams and I have been infatuated with cooking since I was young. I would beg my mother to pull a chair up to the counter so I could watch what she was doing.