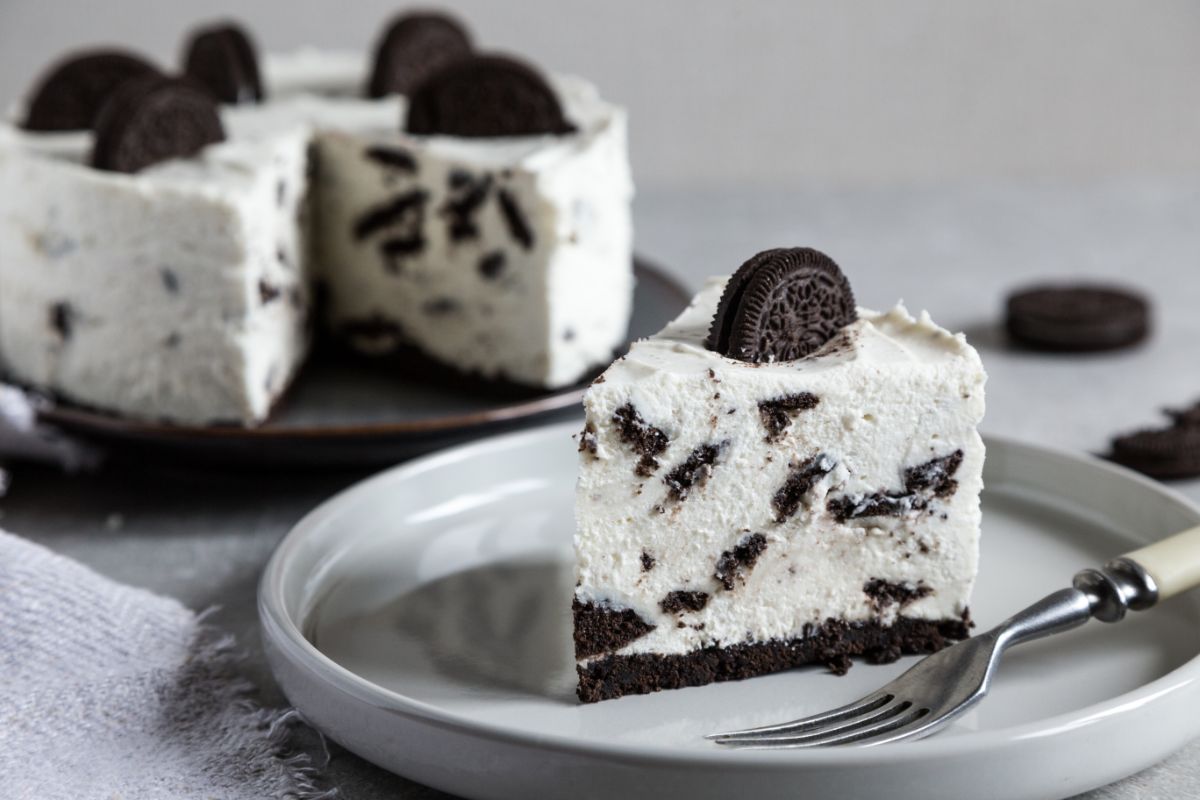
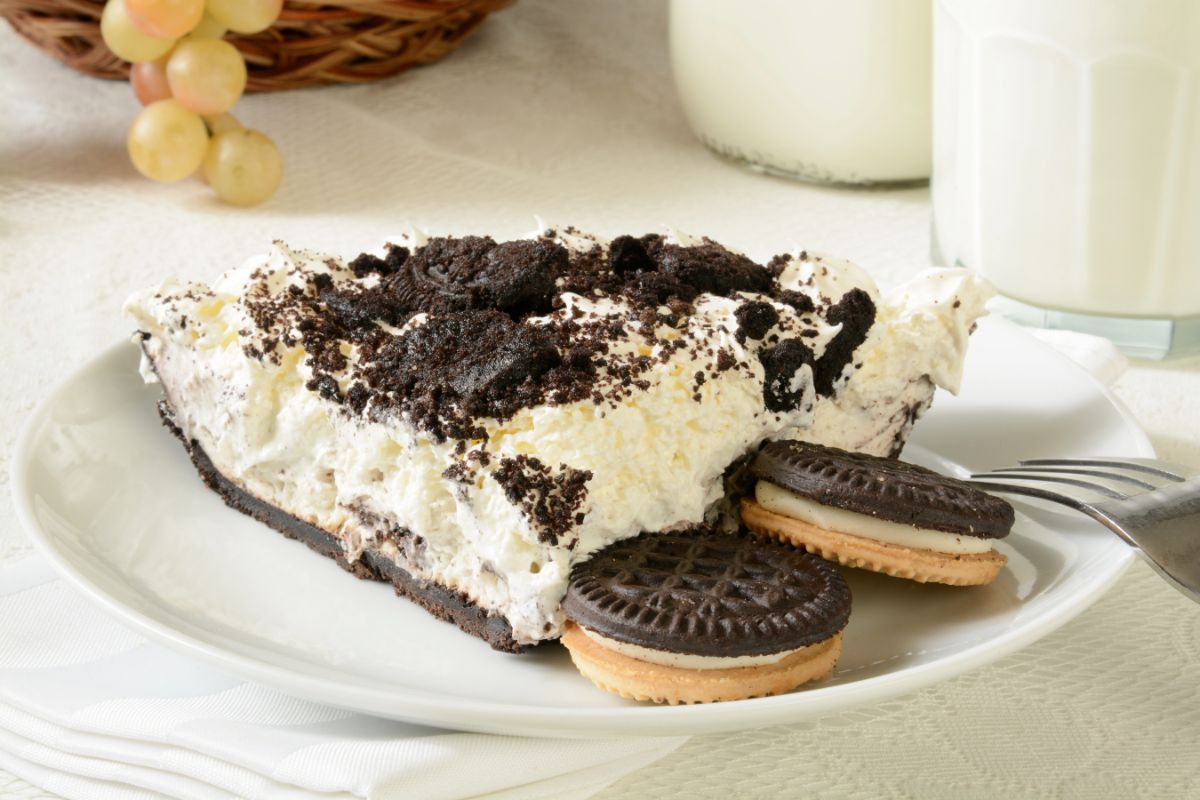
Sometimes it can be fun to switch up the standard pie crust with sometimes more unique – like a chocolate pie crust!
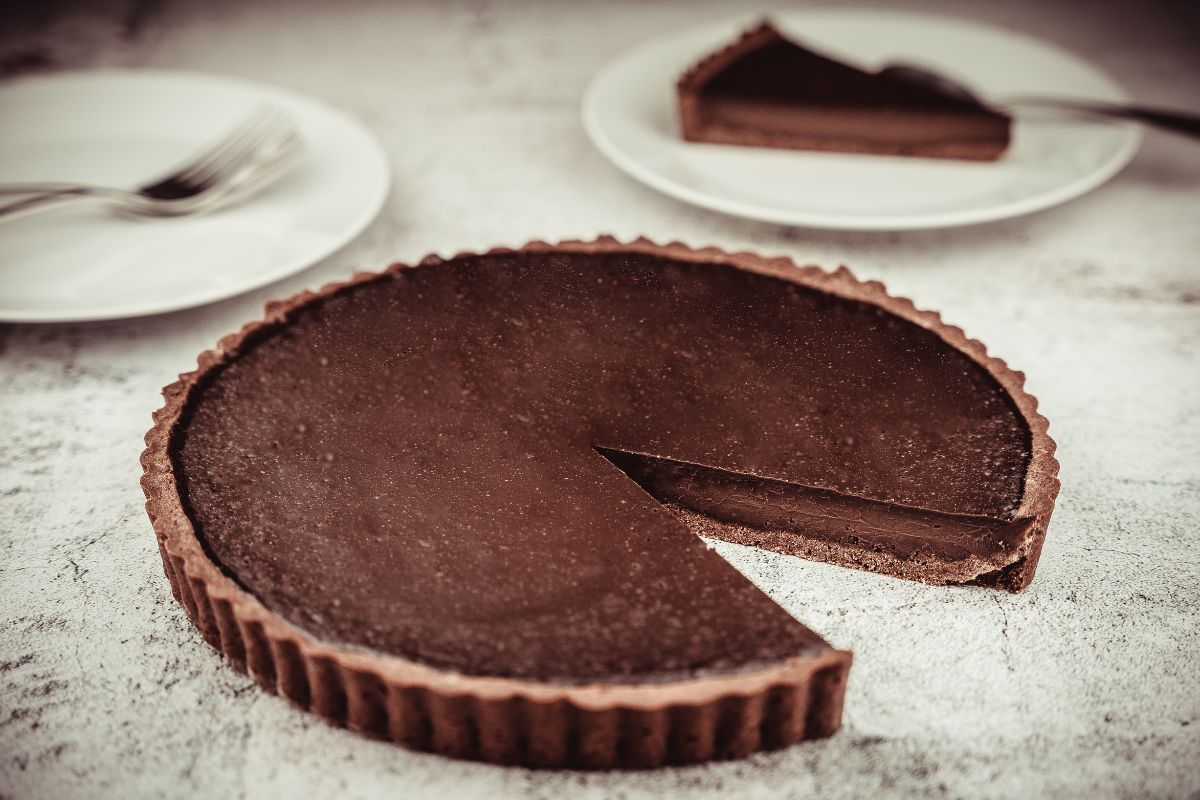
It can be considered more elegant than an Oreo Pie Crust but it is equally as delicious. It also makes for a sturdier crust – making it more versatile for a wide range of filling options.
Essentially, this chocolate pastry is a chocolate cookie baked within a pie tin. Using a food processor, it comes together super quickly and only requires six ingredients!
With this in mind, this article will explore everything you need to know about making a chocolate pie crust with tons of helpful information and tips to get you started.
Let’s jump straight into it!
Ingredients And Substitutions
To make this chocolate pie crust, all you need is six ingredients – including salt and water. Find all the ingredients you need below:
Cocoa Powder
To add some chocolate flavor to your homemade chocolate pie crust, you can use cocoa powder. Here, you can either choose Dutch-processed cocoa powder or natural cocoa powder.
Just note that the former will provide a deeper chocolate flavor. If you’re looking to enhance the chocolate flavor even further you can add instant espresso powder or instant coffee.
Flour
Whether you’re making a pie crust or any other pastry, you can use all-purpose flour. However, you can’t opt for pastry flour, too.
Butter
Use unsalted, cold butter.
Sugar
Since cocoa powder can sometimes be bitter, you may want to add some additional sugar to sweeten up the crust. ¼ cup of granulated sugar should work best.
Water
You can use an ice bath to hydrate the pie dough and bring it all together. You’ll want to make sure it is cold enough to not melt the butter.
Plus, make sure to not use too much water, since it can make the dough sticky and soft.
Alternatively, you can opt for a type of alcohol to replace some or all the water – this gives a flakier crust.
Salt
To enhance the flavor, use some kosher salt.
How To Make A Chocolate Pie Crust?
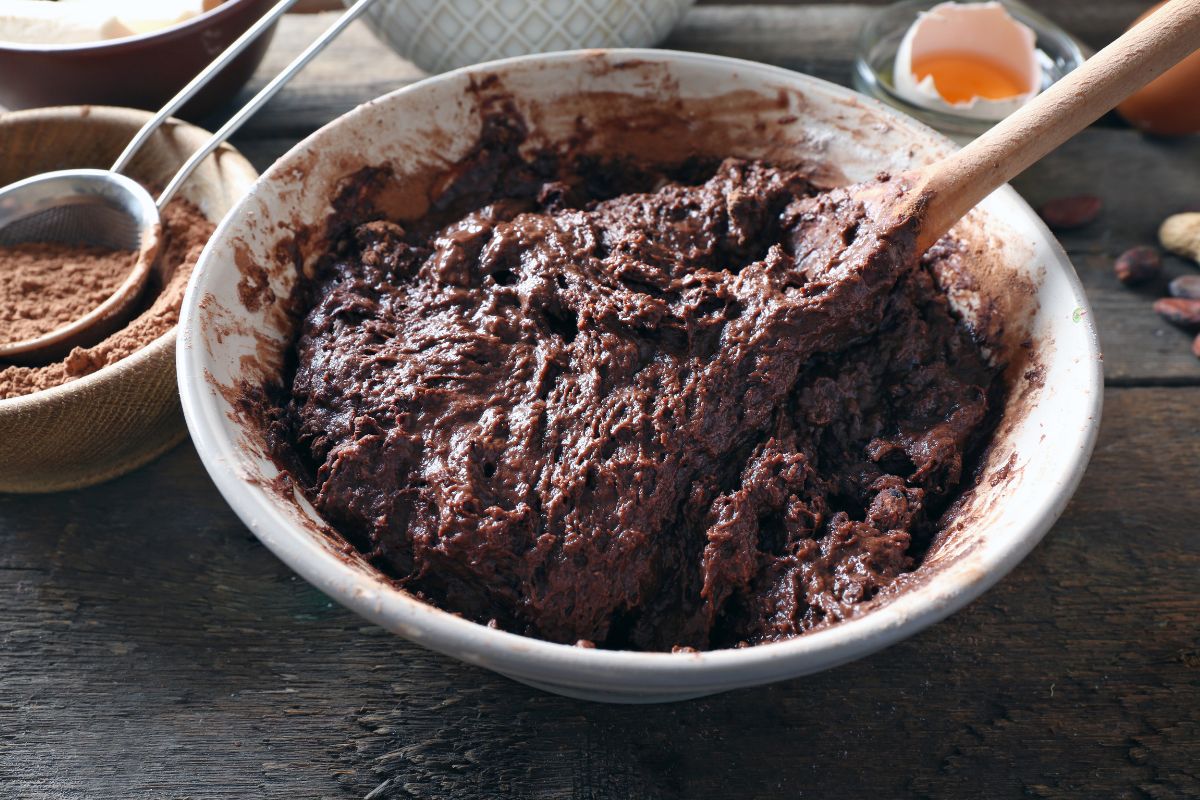
Combine The Ingredients
Before adding the butter, sift or mix the cocoa powder with the sugar, flour, and salt.
You can do this in a separate mixing bowl before adding it to a food processor – making sure the dry ingredients are thoroughly combined.
Note: If you’re using a stand mixer or a food processor, you can let your machine do this step for you. However, mixing it by hand ensures a more even mix.
Add your cold and cubed butter straight from the refrigerator into the flour mixture in the food processor using plastic dough blades.
Pulse the mixture until the pieces of butter are no smaller than a bean and pea size. While mixing, pour in cold water.
You can check whether or not the dough is ready by pressing a piece of dough between your fingers. If it holds together, then it is ready.
Note: This recipe requires 4 to 6 tablespoons of water. However, only add as much water as required for the dough to form.
Due to the addition of cocoa powder, the water quantity will be slightly more when compared to regular pie dough.
Form The Dough
Place some plastic wrap on your work surface/ cutting board and dump the dough onto the wrap. Take the plastic wrap and gather the dough to form a ball and then shape it into a disk.
Tip: Here, using plastic wrap to form the dough enables you to skip the need for extra flour.
Once done, you can allow the dough to rest for at least one hour or overnight in the refrigerator if you’re planning to make it ahead.
Forming The Pie Crust
Once you’re ready to make the pie crust, simply remove the dough from the refrigerator and roll it into a circle so it is approximately 2” larger than your pie dish.
Tip: You can use cocoa powder, flour, or a combination of cocoa powder and flour to prevent the dough from sticking on the counter when you’re ready to roll.
Alternatively, you can choose to roll out the dough on parchment paper, too.
After rolling out the dough, place it in a pie dish and remove any excess from the tin, making sure to keep some dough hanging over the edge.
Here, you can flute the edges for a decorative effect.
Tip: To transfer the dough onto the pie dish, you can roll it out using your rolling pin. For this step, it is better to have a long French-style rolling pin.
Then place the rolled-up pie dough on your pie dish and unroll it to completely cover the dish. Alternatively, if you have rolled the dough on parchment paper, you can flip it onto the pie plate.
After forming the pie crust on the plate, make sure to freeze it before baking or simply store it in the freezer until ready to serve.
Furthermore, you can even decide to roll out the dough between ⅛” to ¼” and cut it into any shape you desire.
This can then be used for pop tarts, hand pies, stuffed pie cookies, and a variety of other delicious sweet treats!
Once you make a chocolate pie crust, there is no going back!
Final Thoughts
Pies come in all shapes and sizes. This is certainly the case when it comes to pie crusts, too. You can’t get flavored pie crust, unflavored pie crust, and even chocolate pie crust!
If you’re looking to enhance the traditional pie crust, then you can’t go wrong with a chocolate pie crust!
Not only does it taste amazing but its contrasting color will stand out in your dish – perfect for all your different pie recipes.
Hopefully, this guide has informed you on everything you need to know about making a chocolate pie crust.
- How To Reheat A Cheesesteak - November 5, 2023
- What Are Three Must Have Kitchen Knives? - September 22, 2023
- How To Protect Edges Of Pie Crust - June 15, 2023


