Everyone loves bread, right? If you have been on the hunt for a fantastic homemade artisan bread recipe that will blow you away, then you’re in the right place!
The open crumb rustic bread recipe (with biga) that we’re going to talk about today is going to be a recipe that you make over and over again.
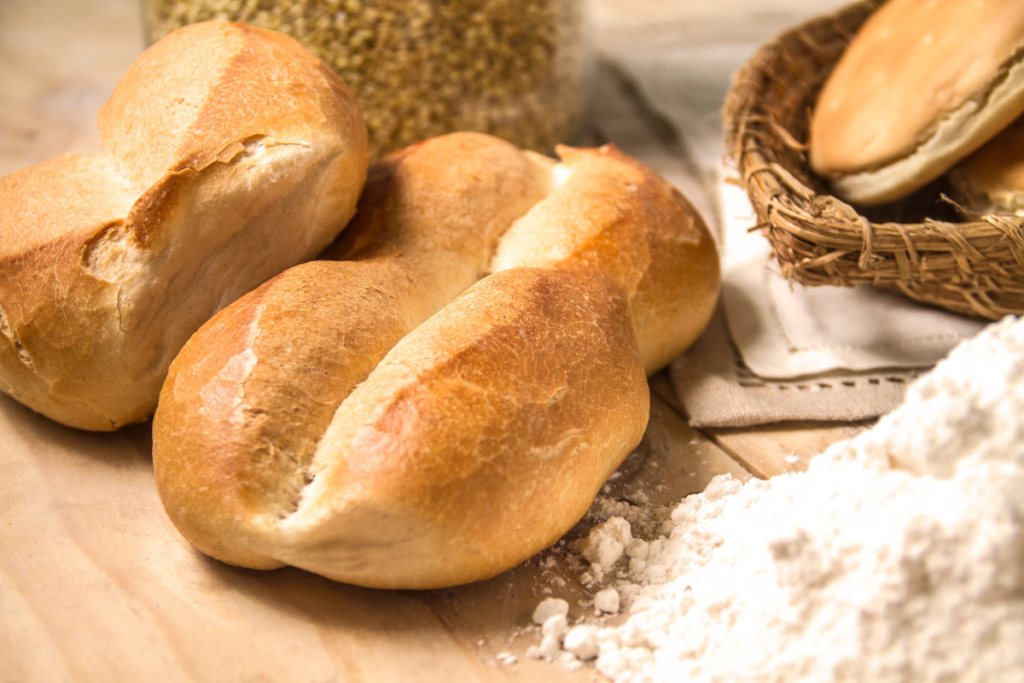
The taste and texture of this bread is to die for – there’s no denying that! It has a fluffy inside, and a crunchy outside, so you really can’t get any better than that.
The best part of? This is a no-knead recipe, so you are going to get amazing results with minimal effort.
If you are interested in finding out more about this mouthwatering recipe, just stick around! We will go through everything you need to know, including tips and tricks, and the step-by-step process.
It really doesn’t get any easier than this, so it would be silly not to make this treat!
What Exactly Is ‘Rustic Bread’?
There is no real definition for “rustic bread”. However, there is a general understanding that this term refers to bread that has a rough shape rather than being baked in a bread pan.
This achieves an “imperfect” look, and makes it look like it’s been baked in a remote cabin in the woods!
This kind of bread is usually only made with a handful of simple ingredients like water, flour, salt, and yeast or another leavening agent.
There are no additives or unnecessary ingredients added into the mix that will make the bread last longer like store bought stuff.
Overall, this is actually similar to artisan bread – which is usually handmade in small batches. This bread is also made using wholesale and simple ingredients like flour, water, yeast, and salt.
Artisan bread is never mass-produced, and popular kinds include brioche, ciabatta, and focaccia – some of our favorites!
Understanding What A Starter Is In Bread Baking
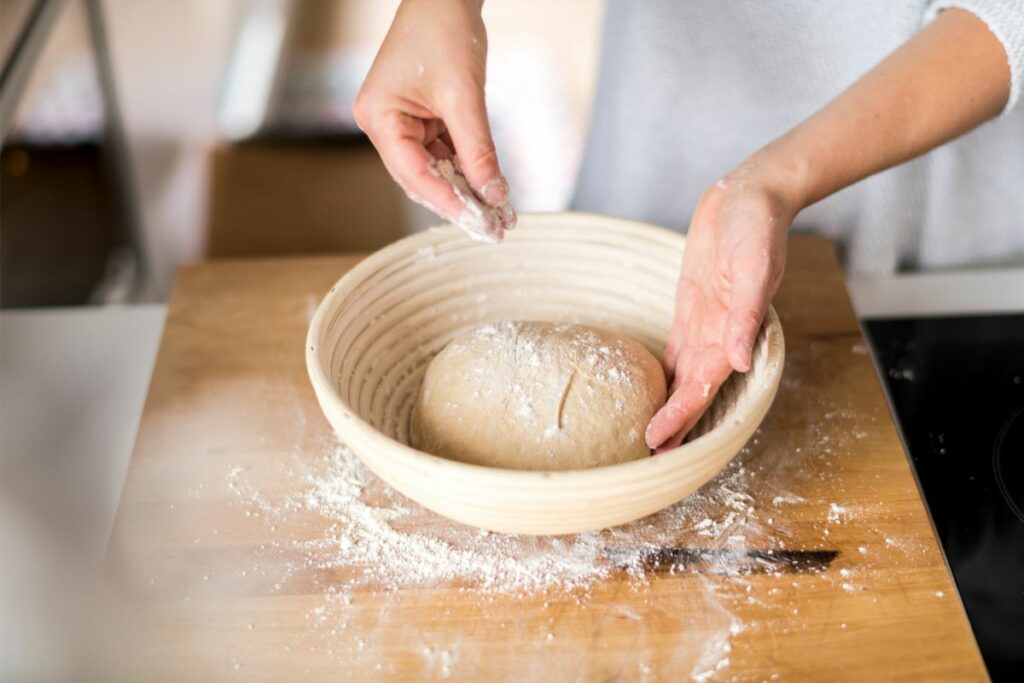
While you could jump straight into the recipe, it might be beneficial to have an understanding of what a starter is if you are new to bread making.
A starter is typically just a simple mixture of water, wheat flour, and a leavening agent of your choice. These are usually a sourdough starter or yeast, and it will vary depending on the recipe you are following.
This starter must be left to ferment for a while, then get added to the final dough.
It might sound like a small thing, but this is crucial for getting bread that tastes incredible. Without a starter, you will notice a big difference in flavor, and you probably are not going to enjoy all that hard work as much as you should.
Starters might be called preferments, poolish, or biga. There is little difference between them, with the only minor change being the water content found in each of them.
The Difference Between Biga And Poolish
Biga is a type of pre-fermentation that is used in Italian baking, while Poolish is used in French baking. While similar, the water content is different in these two starters, with biga having less water.
Poolish is a mixture of water and flour at near enough a 1:1 ratio, while biga is much thicker. These mixtures contain 85 grams of water for 100 grams of flour – making it an 85% mixture.
This can vary, but around 85% is the norm for this recipe. Some recipes will call for as little as 70%, so make sure you always check the recipe to see if they have any guidelines to follow!
Why Using These Starters Is A Good Idea
You might think that it doesn’t matter whether you use one of these starters or not, but it actually makes a big difference! There are two primary reasons why biga or poolish is used in bread recipes, which are:
- Breads made with these keep better – bread made from a straight dough usually will not keep as well as one that has been made with biga or poolish. So, if you want your bread to last longer, make sure you use one of these!
- The texture and taste improves – no other leavening method will give you the same incredible results that you get using either biga or poolish. Not only is the texture improved, but the flavor gets 100x better. You can always compare the options to see the difference for yourself!
The Only Problem Is Time
Of course, nothing is perfect, and there is one major drawback to this method – it takes time. You can’t rush these kinds of recipes (because you can’t rush perfection).
This can be an off-putting factor, because it means that you will need to plan things in advance.
Sure, impromptu bread making sessions are fun, but this is not the case with this rustic recipe. You will need to take the time to plan ahead to make sure everything gets the time it needs.
Don’t let this put you off, though! The results for these kinds of recipes are incredible, and it will probably be your favorite bread in the world. The time is well worth it.
It is important not to cut corners with recipes like this. However, you also can’t leave these recipes along for too long, because that will also be bad!
There is a perfect balance you need to strike to get the best results. But don’t worry, we will be going through everything you need to know so that you don’t make the same mistakes we did when starting out!
Why You Are Going To Love This Recipe
Besides the fact that this rustic bread is absolutely delicious, there are plenty of other reasons for you to fall in love with this recipe.
The unique and simple flavor of this dish means that it will pair beautifully with all your favorite snacks, so you already know this bread is going to be versatile.
Besides that, what else could you possibly love about this recipe? Let’s take a quick look at a few more reasons why you are going to love this:
- Anyone can make it – you do not need to be skilled in the kitchen to make this super easy recipe. Beginners will have a blast making it!
- No kneading! – little to no kneading is needed, isn’t that great? No one likes kneading!
- You only need four ingredients – that’s right, this recipe is this simple! Four ingredients, and you have everything you need.
- Very little hands-on time – in total, you will only be working with the dough for about 15 minutes. Three hours or so will be spent leaving the dough, and about half an hour in the oven!
- Great crunchy crust – who doesn’t love a delightfully crunchy crust? Your perfect bread dreams can come true with a crisp outside and a fluffy interior.
As always, you will probably find more reasons to love this recipe as you make it yourself and enjoy the fruits of your labor. Just keep adding them to the list!
Open Crumb Rustic Bread With Biga Recipe
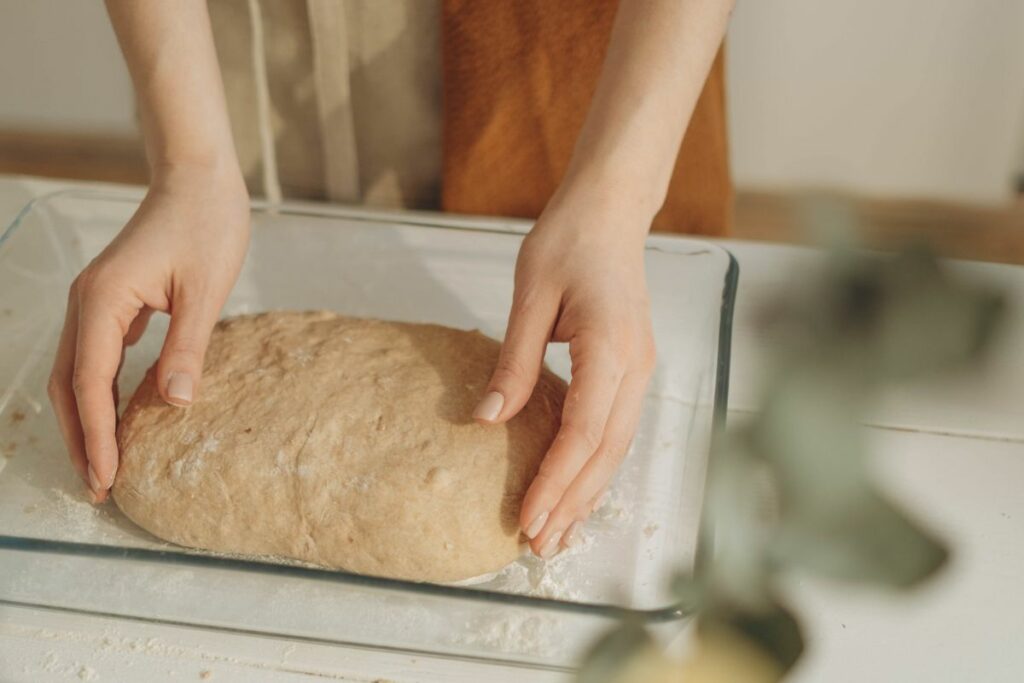
Here, we will go through everything you are going to need to make this rustic bread recipe, as well as a step-by-step guide. You should not have any difficulties, and you will have this bread ready to go in no time.
The Ingredients You Need
Below is a list of all the ingredients you are going to need to make this super easy recipe. No, there are no typos here, you really need this few to get the job done!
For the starter:
- 224 ml water
- 320 g flour
- 1 g / 2 pinches of instant yeast
For the bread dough:
- 8 g / ¼ teaspoon yeast
- 7 g salt
- 56 ml water
- 80 g flour
The Equipment You Need
You are not going to need any special equipment to make this easy recipe. Below is a list of things you might want to use, but you can just use whatever is available to you, really!
- Mixing bowl
- Measuring scale
- Measuring cups
- Measuring spoons
- Dutch Oven
Feel free to use whatever suits you!
The Recipe: A Step-By-Step Guide
Okay, now the fun starts! Now that you know some important information regarding this wonderful recipe, you can begin making it, starting with our starter – biga!
Preparing The Biga
First thing’s first – you need to get your biga prepared. It would be smart to get this started in the evening so that it can be left overnight to do its thing. By 9 am the following day, it should be ready to go.
It isn’t difficult, so just follow this step-by-step process outlined below:
- Add 224 ml of water to a bowl
- Add your 2 pinches of yeast to the water
- Stir everything until everything is dissolved in the water
- Add 320 g of flour (all-purpose flour will work perfectly) to the bowl and mix everything together to form a dough
- Ensure there are no dry patches, and everything is thoroughly mixed
- Once mixed, use plastic wrap or cling film and cover the bowl so that it is airtight
- Leave the mixture to ferment overnight (a minimum of 10 hours, but 16 or so is ideal)
There are some FAQs regarding biga at the bottom of this article, so be sure to check those out if you have any questions about this! One important one involves leaving the biga out for too long, which can easily happen.
Preparing The Dough
Now, it is time to begin preparing the dough! This is, once again, incredibly easy and all you need to do is follow these simple steps:
- Get a small bowl and add all the dough ingredients (mentioned above)
- Combine the dough until it’s a big, messy ball
- Add the dough to the biga
- Mix thoroughly until the dough and biga are combined. It must be homogenous with no lumps. You might want to use a stand mixer to make sure the dough and biga combine completely
- Once combined, cover the dough with plastic wrap or a cloth, and leave it to sit and rise
The Proofing Phase
The proofing phase is all about strengthening the dough, and it takes about 2 hours in total. During this time, you will do one round of “stretch and fold”, then “layering dough sheets” in 45-minute intervals.
So, when you have left your dough to proof for 45 minutes, you will do the stretching and folding in order to strengthen the gluten.
All you need to do is pull and stretch the dough, then fold it into itself, and repeat for all four sides. Once that is done, cover it again and leave it for another 45 minutes.
After the 45 minutes are up, empty the dough out onto a wet surface, and turn it into a rectangle by stretching it out. Simply fold the top and bottom third of the dough, then fold it again. That’s all!
After this, your dough should have a great texture, and is easy to work with. Now, you can transfer the dough into a well-greased container or bowl.
Leave it to rise for another 30 minutes and move onto the next step when you know your gluten is strong enough.
Shaping And Scoring The Dough
Now that your dough is ready, it’s time to start shaping and scoring it to get it ready for the oven. We will go through what you need to know right here.
You can shape your dough by following these simple steps outlined below:
- Flour your work surface, and transfer the dough onto it
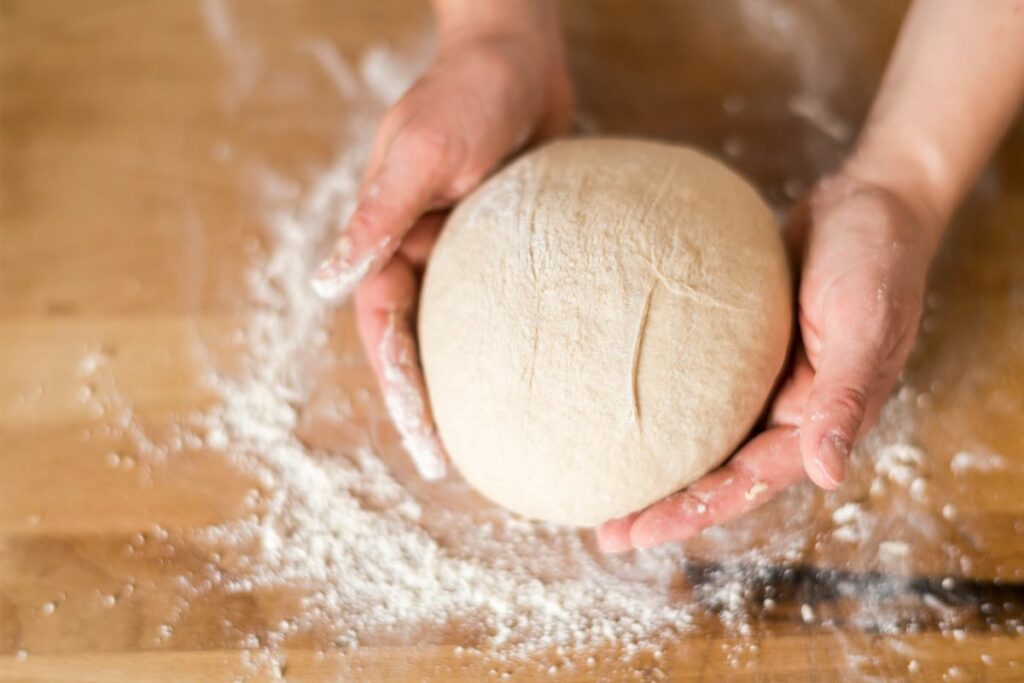
- Shape the dough into a boule (this is just a round or oblong shape)
- Put the shaped dough on a dusted kitchen towel and place it in a round bowl, cake pan, or something similar. Make sure the kitchen towel you are placing it on is well dusted with rice flour or gluten-free flour (rice flour or gluten-free will not stick to the dough)
- Leave the shaped dough to sit and continue to rise for another 50 minutes. If you live in a colder climate, leave it for 60 minutes
- With 10 minutes left, you can start preheating your oven and preheat your oven dish or Dutch oven
- After this time is up, flip the dough onto parchment paper and dust off excess flour from the top
- Use a sharp knife to score the bread
- Carefully put your shaped and scored bread into the preheated Dutch oven, oven dish, or whatever else you are using. All that matters is that the dish is oven-safe and has a functional lid
- Put the lid on the dish, and get it in the oven!
What Is Scoring, And Why Is It Important?
Scoring just refers to slashing marks on the shaped dough. Doing this allows the bread to expand properly as it bakes, instead of bursting. You can make your scoring as pretty or simple as you like!
You get to control how the bread expands while in the oven, because it creates a weak spot on the dough’s surface. It’s both functional and pretty. Scoring should be done bright before your dough gets put in the oven.
How To Score Your Dough
All you need to do to score your dough is the following:
- Get a sharp knife, bread lame, or razor blade
- Carefully slash the blade across the dough’s surface in any pattern you like
- To make the blade move more smoothly, we would recommend smearing a little oil. This works wonders!
- When making the cuts, make sure the movements are smooth and fast. The cut should be slightly angled rather than straight down, and should be around ¼ of an inch deep.
Finally, The Baking
Time to start baking! Follow these instructions below:
- Transfer your dough into a preheated Dutch oven (or something similar with a functional lid), and put the lid on
- Bake the bread in an oven set to (480 degrees F or 250 degrees C) for 18 minutes, keeping the lid on
- After 18 minutes, reduce the temperature to 450 degrees F or 230 degrees C and remove the lid. Allow the bread to cake for a further 8–12 minutes.
- After this time, the bread should be getting a beautiful golden brown and will be ready to remove from the oven
Be careful not to over bake your bread! Depending on how crunchy and hard you want the crust to be, you may choose to take the bread out of the oven sooner or later.
The longer it bakes and the crust hardens, the more nutty the flavor will become – and potentially burnt.
A Few Tips And Tricks To Help You Out
Since you might run into a few issues throughout this process, take a look at some tips and tricks that could help you out.
Also, be sure to take a look at the FAQ section, as there are some popular questions about the process down there!
Make Sure Your Dough Has Enough Gluten Strength
Be sure to test the gluten strength of your dough before you bake it! It needs to be sufficiently elastic in order for the recipe to come out right.
You can do this by taking a small piece of dough, and just stretching it! If it can stretch about an inch without breaking, then you’re good to go.
If it is not ready, and breaks, then you can do the stretch and fold again, and leave it to rest for another 45 minutes.
Use A Dutch Oven Or Something Similar For Crusty Bread
Using something like this will ensure that the inside of the bread gets cooked properly, and a great crust can form on the outside.
The steam that gets released by the dough will get stuck in the container to keep the dough moist. This, in turn, helps to create a fantastic crust.
How To Store This Bread Properly
To store this bread, you should keep it in an airtight container once it has properly cooled down. If you seal it when it’s still warm, the bread will continue to release moisture and sweat. This will make it soggy and unpleasant.
Keep the bread at room temperature. If you know you will not be able to finish the load, feel free to freeze it. Do this by wrapping it in plastic wrap, then foil.
You can freeze it for up to three months – past that point, the quality will begin to deteriorate.
How Long Will This Delicious Artisan Bread Last?
This bread should last up to three ways without a problem. However, this is only the case if it is properly sealed in an airtight container. If the bread is just left out, it will quickly go stale, and be unpleasant to eat.
How To Tell if The Bread Has Gone Off
You can usually tell when bread has gone off by the unpleasant smell and appearance. Mold is likely to form very quickly, so if you notice a gray, blue, or green color that isn’t supposed to be there, it has gone off.
Stale bread could also be seen as being “off”, and this will happen if the bread is left out and unsealed. The oxygen will make it go hard and unpleasant, resembling something like a cracker.
If you know what your bread is supposed to taste like, and it doesn’t taste correct after a few days, you can assume it has gone off.
The exact taste will depend on the kind of bread you have made, but you will probably notice a sourness that should not be there.
Final Thoughts
This rustic open crumb bread recipe is so easy to make, and you will always get great results. The amount of hands-on time for this recipe is minimal, and most of the time is spent allowing the bread to either ferment or proof.
This means that you can go about your usual day!
With that being said, it is worth reminding you that planning is required to make this bread. Over-proofing and fermentation is easy to do if you do not keep track of the hours.
As long as you can plan when you start the process to make it work for your day, you should not have a problem with this recipe.
Frequently Asked Questions
If you leave your biga to ferment for too long, the final bread will be flat, with no spring. Leaving the biga to ferment for too long will not get better results at all – it will only make it worse!
The bread will still be edible, but it won’t have that spring you’re looking for. It won’t have the right taste, either, so this is something to consider.
Technically, yes! However, you will probably get slightly different results depending on what you use. Even the same kind of flour from a different brand can result in slightly different outcomes.
This is because of the varying abilities for different flours to absorb moisture, so this is something to bear in mind. You might just need to try out a few different options to see which one works best for you.
Generally, all-purpose flour works well for this recipe, and it allows the bread to retain its structure better than bread flour
You will know the starter is ready when it is dome-shaped and has risen to what looks like it will be its peak. It won’t be long after this that the starter collapses and bubbles begin to form – you don’t want that!
Depending on the temperature you are working in, this can take between 12–15 hours, so prepare it with that timeframe in mind.
Over-proofed bread will collapse when it gets scored. This might be a learning curve, because temperature plays a role in how long you should leave your dough to proof.
Luckily, you can fix this by shaping the dough again and leave it to rise again (reducing the time). When it has roughly doubled in size, you can score it again.
Next time you make the dough, keep this in mind, and reduce the proofing time by 10–15 minutes.
- How To Reheat A Cheesesteak - November 5, 2023
- What Are Three Must Have Kitchen Knives? - September 22, 2023
- How To Protect Edges Of Pie Crust - June 15, 2023


