While a soft white roll is the standard type of bun that many people will use when they want to eat burgers.
However, if you want to try something a little different, then you ought to try brioche buns. While brioche dough is believed to be quite tricky, this recipe is in fact very easy and quick to complete.

This simple recipe only requires seven common ingredients, and takes only a couple of hours to complete. In the end you will have a batch of light, soft and incredibly delicious sliders to enjoy at your next social event.
Read on to discover our simple recipe for brioche slider buns and some tips to ensure you create the perfect brioche bun.
What Is Brioche?
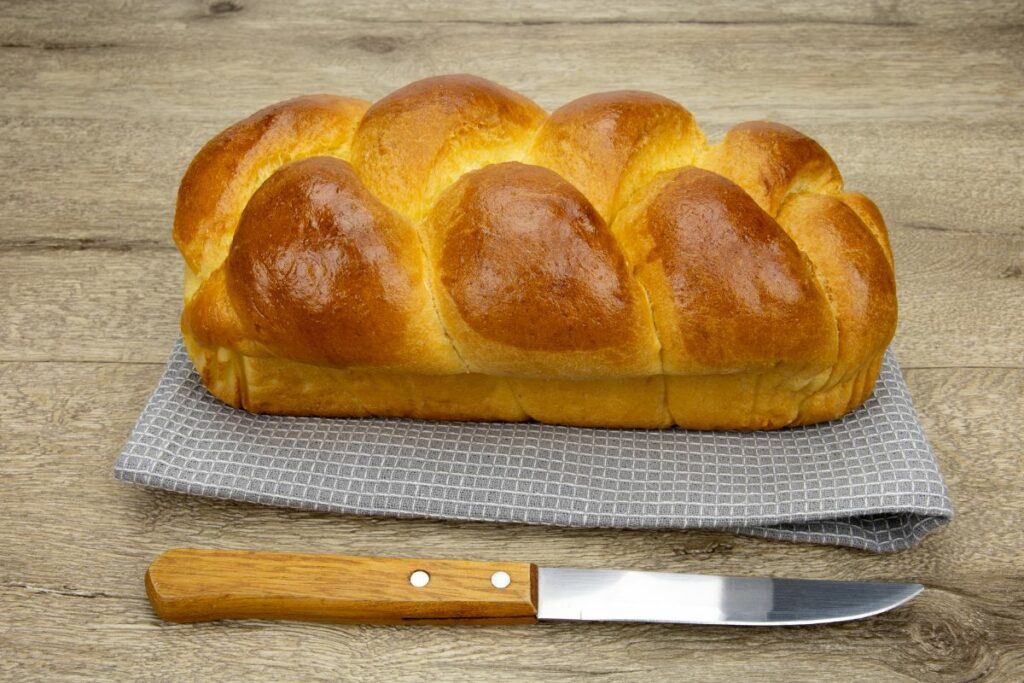
Brioche is slightly different to normal bread loafs, since it can be used for both sweet and savory dishes.
Brioche is a type of enriched dough that helps give the bread an extremely soft and rich flavor. It is considered a more indulgent version of bread.
In a wide variety of dishes, brioche is employed. This includes toasties, burgers, butter pudding and more. Any recipe that uses normal bread can be substituted out for brioche to provide a more luxurious feel and flavor.
Are Brioche Slider Buns Easy To Make?
A lot of recipes can make brioche dough sound like a lot of work and takes many hours to complete. However, with this recipe, your buns will be ready to be enjoyed within two hours.
Therefore, if you have never tried to make brioche dough before, this is a great recipe to start off with.
Overall, the recipe is split down into five very easy parts. This includes making the dough, kneading the dough, shaping the dough, proofing the dough and baking the dough.
It is really that easy to follow this recipe and make your own brioche slider buns.
Since this dough is quite stickier than normal bread, it is advised to make this dough in a stand mixer. This will help to make kneading much easier and less messy.
Brioche Slider Ingredients
You need the following ingredients to be able to make these sweet and tender brioche bun sliders.
- 2 ¾ cups of flour.
- 2 eggs.
- ½ cup of warm milk.
- 1 teaspoon of active dried or instant yeast.
- 1 teaspoon of salt.
- 4 tablespoons of softened butter.
- 2 ½ tablespoons of sugar.
Brioche Slider Buns Steps

As mentioned above, brioche slider buns can be broken down into five simple parts. Once you have collected all your ingredients, you can now start making these delicious buns.
Step 1: Create Your Dough
Into a large bowl, add your warm milk, eggs, sugar, salt, and yeast. Mix all these ingredients until they are blended.
After that, add your flour and softened butter to the same bowl, and mix once again.
Step 2: Knead Your Dough
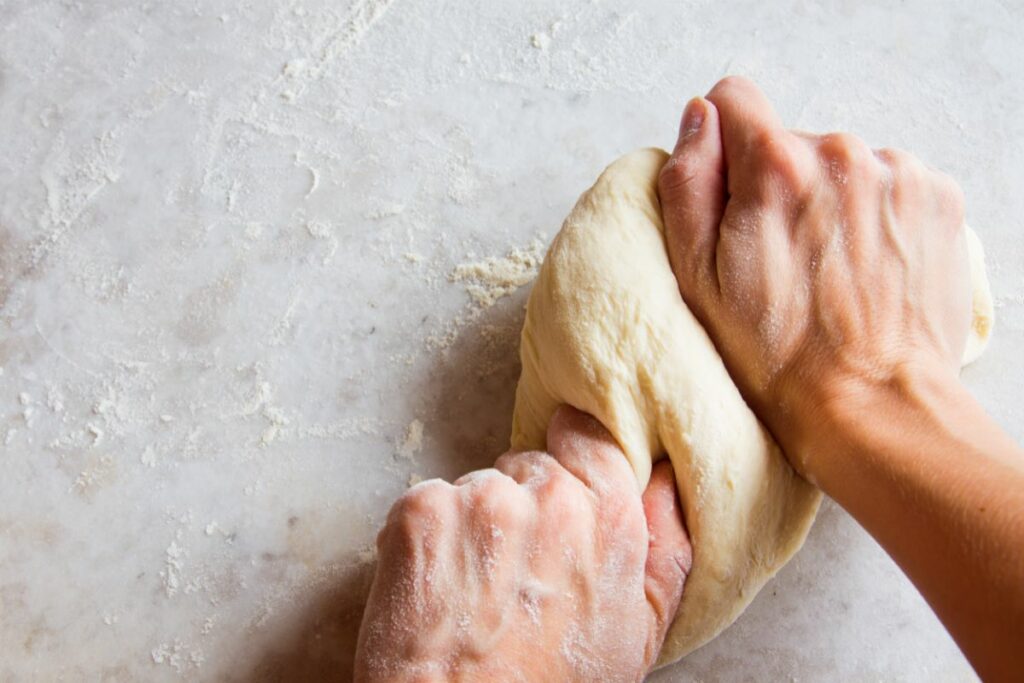
Once everything is combined, you need to knead your dough. You can either knead your dough by hand or use a stand mixer. However, a stand mixer is a lot easier than doing it by hand due to the dough being quite sticky.
If you are using a stand mixer, you need to attach your dough hook attachment. Then you can set your stand mixer to knead the dough on a low speed for 5 minutes.
You should keep the mixer on a low speed, to ensure you don’t overwork the dough.
If you are kneading by hand, this process takes a couple of minutes longer. The end result you are looking out for is a dough that is elastic and soft.
Further on in this article, we have spoken about a test you can complete to ensure your dough is well kneaded.
Step 3: Shaping Your Dough
When the dough for your brioche buns is prepared, divide it into 12 equal portions. You can divide them equally with more accuracy by weighing them on a kitchen scale.
The brioche buns will rise and bake uniformly in the oven if your balls of brioche dough are all roughly the same size.
With each piece of dough, roll the dough into a small ball shape. You can do this by tucking the edges of the dough into the center.
Or you can use the cage technique, where you create a cage around the dough with your hand and shape the dough. This will help you to create a perfectly round ball.
Repeat this process until all the pieces of dough have been shaped. Then place the balls of dough onto either a nonstick baking tray, or a baking tray lined with parchment paper.
Whatever you place your dough on, you need to ensure that it is well greased, so nothing sticks.
Step 4: Proofing Your Dough
Let the dough balls rise and nearly double in size by placing them in a warm place for 70 to 75 minutes. With 10 minutes to go, you should preheat your oven to 375 degrees Fahrenheit.
After rising, egg wash the tops of these small brioche rolls. As your brioche buns bake, this egg wash will aid to make them lustrous and golden brown.
Step 5: Baking The Buns
Once your buns are well proved and receive their egg wash, they can go into your preheated oven. Bake your brioche buns for 20 to 22 minutes, until they are golden brown.
Once they are golden brown all over, you can remove the buns from the oven. Allow the buns to cool on the tray before you try to move them.
Ensuring You Have Well Kneaded Dough

In this recipe, you need to knead your dough, as this is a vital step. This is because if your brioche dough isn’t well kneaded, then you won’t achieve really soft buns.
You need to ensure that your dough is well kneaded before moving on, however, there is a test you can follow to see if your dough is ready.
If the dough is correctly kneaded, it should stretch into a transparent membrane without ripping or breaking.
Using bread flour makes it simple to get the dough to this level. It will usually take around 10 minutes of kneading. As compared to all-purpose flour, bread dough has higher proteins.
However, if you are using all-purpose flour, then it takes a couple of minutes longer to reach this stage.
Can You Make This Recipe Without Egg?
Dough that uses eggs helps the dough to rise better. Due to the fact that eggs are a leavening agent, bread dough rich in eggs will rise quite high.
The fats that come from the egg yolk also aid in slightly lightening the texture and tenderizing the crumb. Lecithin, an emulsifier, is also present in eggs. Lecithin can improve the loaf’s overall consistency.
So, it is challenging to replace an egg with something else and achieve the same outcome. If you want to make an egg free version, then simply substitute milk or water for the 45 ml that one egg contains.
As a result, you can substitute 3 tablespoons of water or milk for 1 egg.
Can You Make This Recipe Without Milk?
For some people, they may wish to make a milk free version of this recipe if they are allergic or vegan.
In this simple recipe for brioche buns, ordinary water can be substituted for the milk in an equal amount. You can also use vegan milk alternatives such as soy or almond milk as well.
Storing Your Brioche Buns
Once the small brioche slider buns have completely cooled, store them at room temperature in a plastic bag or wrapped in foil. These fluffy brioche buns can be stored properly and kept at room temperature for about 3 to 4 days.
In exceptionally warm, humid environments, the small brioche sliders ought to be refrigerated or frozen for longer-term storage.
If you decide to freeze your brioche buns, wrap the small brioche slider buns tightly in plastic freezer wrap or aluminum foil before putting them in a heavy-duty freezer bag.
They retain their best quality for around three months when stored properly.
Reheating Your Brioche Buns
These homemade brioche slider buns should be defrosted before being brushed with water or sprayed with water and baked for five minutes at 350 degrees Fahrenheit.
The brioche buns will be tender and delicious, and they will smell fantastic.
Tips For Creating The Perfect Brioche Buns
As brioche dough isn’t like your usual bread dough, it can be a little tricky for beginners to get right. Therefore, we have provided you with some important tips to help you create the best brioche buns possible.
- Soft Butter – You must ensure that the butter is softened and at room temperature before you use it. If you use butter that is too cold, then you won’t be able to knead it properly. This will then cause your bread to have uneven texture.
- Yeast – Ensure you are using yeast that is still in date. Old yeast won’t create any froth and will struggle to make your dough rise. Within five minutes in step one, you will see the yeast begin to froth up, if the yeast is still healthy.
- Kneading – Kneading is a crucial element of this recipe. A kneading hook on a stand mixer will make kneading this dough easier, however you can knead it by hand. The dough may look like it is too sticky and won’t come together, but you just need to keep working the dough. Eventually, the dough will become less sticky and come together.
- Egg Glaze – An egg glaze helps the buns to achieve their beautiful golden brown color. However, if you don’t want an intense gaze, you can brush the top of our buns with milk. This will create a lighter and less heavy glaze and color.
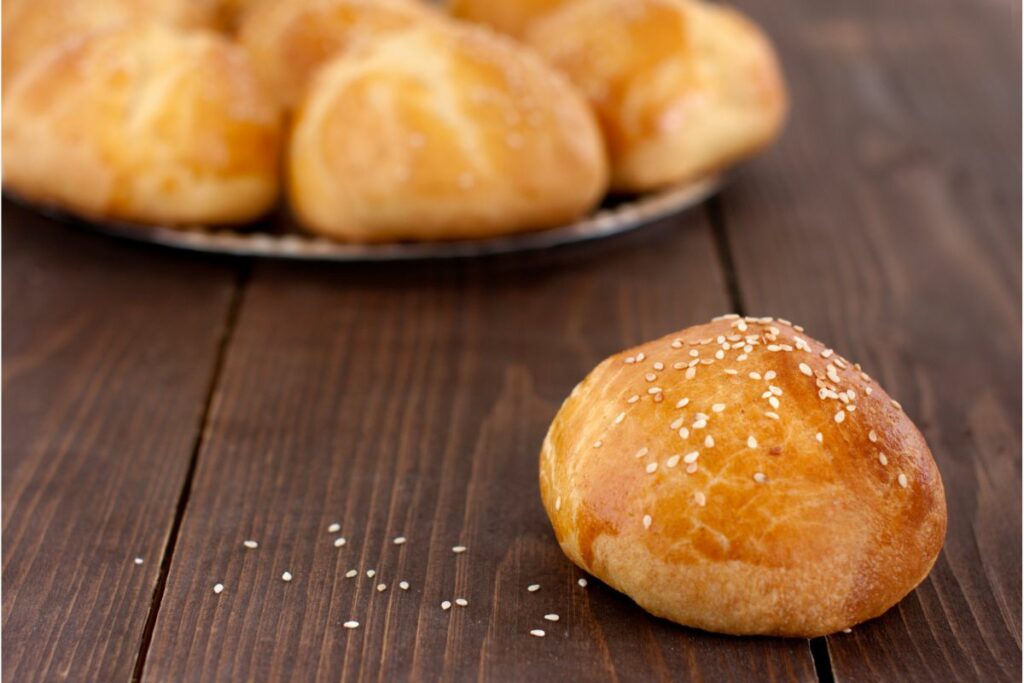
- Toppings – While the recipe we have mentioned does not include any toppings, you could add chia seeds, cumin seeds or grated Parmesan to the top of your sliders before they go into the oven. This will give them a more traditional slider appearance, and add another texture to enjoy while eating.
- Baking – You want your soldiers to be golden brown all over before removing them from the oven. However, to ensure they are cooked on the inside, you need to tap the bottom of a bun. If the bun sounds hollow, then you know the buns are cooked all the way through, and you have the perfect texture.
Final Thoughts
Brioche slider buns are a delicious accompaniment for burgers. While making brioche dough may sound difficult, this recipe shows you that it is really easy. In under two hours, you can have a batch of delicious and tender brioche slider buns ready to be enjoyed.
With brioche dough, it is important that you properly knead and proof the dough to ensure you obtain the perfect texture. In addition, you can easily make substitutions depending on your dietary requirements.
We hope this article has been helpful. Now you know how to make a batch of tasty brioche buns using this quick and simple recipe.
- How To Reheat A Cheesesteak - November 5, 2023
- What Are Three Must Have Kitchen Knives? - September 22, 2023
- How To Protect Edges Of Pie Crust - June 15, 2023


