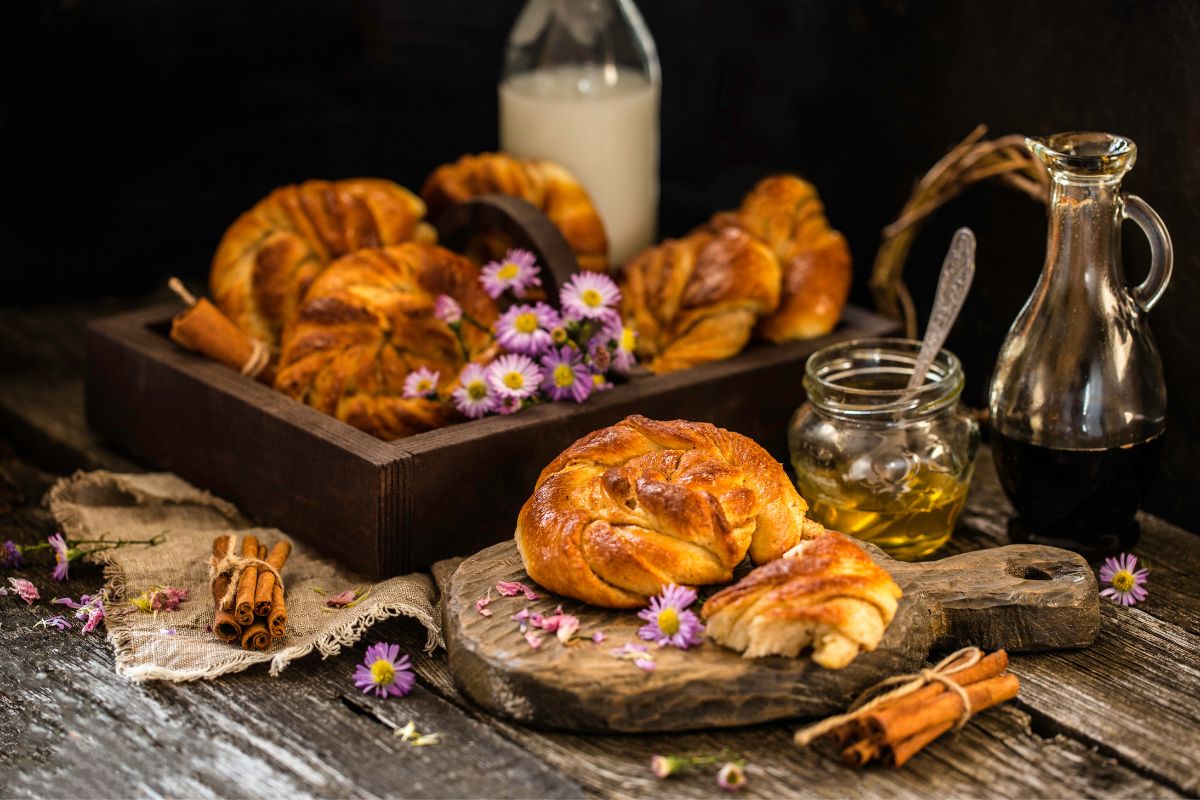
These cinnamon buns feature a whole load of soft and fluffy layers of bread, and are partnered with an amazingly sweet and buttery filling that will have you eager for more.
While you might think making these buns is somewhat difficult, the reality is that making them is actually much easier, and when you realize just how easy making them is, then you’ll be wanting to make them every week.
Almost nothing comes close to the sense of pride you’ll feel when you open up the oven and let the incredible aroma from these buns flood your kitchen!
So, if you’re looking for an easy to understand guide on how you can make your own Swedish cinnamon buns at home, then we’ll provide you with all of the details on how to do so. Let’s get started!
Why Use This Recipe?
There are a number of great and popular recipes for Swedish cinnamon buns online already, so why should you go ahead and use this one?
Well, if you plan on using this recipe in order to make your Swedish cinnamon buns, then you can be sure of a number of things:
Your cinnamon buns will have an airy, softy, and fluffy inside, with a perfectly lightly crisped crust.
The combination of cinnamon and cardamom used in these buns is perfect, and will be incredibly warming and comforting
You’ll be able to achieve that immensely satisfying swirly layers that make these buns so appealing and beautiful in the first place
The buns will be consistently golden brown thanks to the caramelization method.
As you can see, there are a number of benefits to using this recipe over some of the other ones available online, so if you want a guide that’s going to help you create some of the best Swedish cinnamon buns ever, while also guiding you through any mistakes or trouble you might encounter, then this is going to be the guide for you.
What Is The Difference Between American Cinnamon Rolls And Swedish Cinnamon Buns?
There’s a good chance that you may have never encountered Swedish kanelbullar cinnamon buns before, and if this is the case, then you’re probably wondering what the difference is between these cinnamon buns, and the typical American cinnamon roll.
Despite the fact that there are some similarities that lead to comparisons being drawn between these two sweet treats, the reality is that there are actually quite a few important distinctions between them, which are worth keeping in mind when people try to make the comparison!
The first real difference, and arguably the most important, is that Swedish kanelbullar contain cardamom, whereas American cinnamon rolls do not.
For those who don’t know what cardamom is, it’s a spice that originates from India, and is widely considered to be both comforting and warm, as well as being particularly aromatic.
Another one of the key differences between these two treats is that while American cinnamon rolls will typically have frosting or icing on top of them, Swedish kanelbullar will not.
Instead, Swedish cinnamon buns are known to have pearl sugar as a topping instead, which gives them a slightly different flavor.
So there you have it, some of the key differences between Swedish cinnamon buns (kanelbullar) and American cinnamon rolls.
Now that you know the differences, you’ll be able to help other people understand the distinction between the two when it comes to serving them!
On that note though, we should take a look at the ingredients you’ll need in order to make your very own Swedish cinnamon buns.
Ingredients Needed To Make Swedish Cinnamon Buns
While it might seem like these Swedish cinnamon buns would require a load of specialist or niche ingredients, they actually only use common ingredients, many of which you will likely already have in your pantry if you bake on a regular basis too, which makes gathering the necessary ingredients for these delicious buns even easier.
So, in order to make these amazing traditional Swedish cinnamon buns, you are going to need:
Either all purpose flour, or bread flour. 3 loosely packed cups, or 390g.
Warm milk. ½ Cup, or 120ml. If you don’t want to add milk to your buns, then you can simply substitute it with warm water instead.
Warm water. ½ cup or 120ml
Unsalted butter (soften beforehand). ¼ cup, or 57g.
Sugar. 2 and ½ tablespoons, or 32g.
Salt. 1 teaspoon, or 6g.
Yeast (You need either active dry or instant yeast). 1 tsp, or 3g.
These are the ingredients to help create that delicious dough. Now, let’s take a look at what ingredients you’ll need in order to make that dreamy filling!
Soft brown sugar. ½ cup (tightly packed) or 90g.
Unsalted butter (soften beforehand) ¼ cup or 57g.
Cinnamon powder. 2 teaspoons or 5g.
Cardamom powder. ½ tsp or 2g.
This final section of ingredients is for making the glaze to go on top of the buns. Of course, if this doesn’t sound appealing to you, or you just don’t want to add any glaze to your buns, then you can simply leave these ingredients out.
Water. ¼ cup or 60ml.
Sugar (either white or brown is fine). 5 tablespoons or 60g.
Method: How To Make Swedish Cinnamon Buns
Making these Swedish cinnamon buns is just as easy as gathering the ingredients, so if you’re looking for something uncomplicated to make on a regular basis, then these incredible buns might just be your new favorite thing to bake.
Infact, making these buns is so easy that you can split the process into just four easy steps, which makes following the recipe even easier, so even if you’re not a particularly experienced baker yet, you should still have no trouble with these.
So, let’s get started on making these incredible buns, just be sure to follow the recipe word for word to ensure that your buns turn out just as good!
1. Making The Bread Dough
In order to begin, we’re going to need to prepare the bread dough. Before you start, it’s worth ensuring that all of the ingredients you use in this section are at least at room temperature, aside from the milk and the water, which should be warm, although not hot.
Keeping the heat at around 100 degrees Fahrenheit is about perfect for this, especially since the yeast will die out at anything hotter than 130 degrees Fahrenheit, while its action will be impeded if the temperature is anything less than 70 degrees Fahrenheit.
With this in mind, let’s begin:
Get a good sized bowl, and add in your sugar, salt, yeast, and softened butter, as well as your warm water and milk in the quantities outlined in the ingredients list. Combine everything together.
Once this mixture has been well combined, you’ll then need to add in your flour to the bowl, and combine it with the rest of the mixture. The dough itself will look rather shaggy at this point in time, but that’s what we want.
You’ll then want to take the dough out of the bowl, and place it on a clean surface that has been dusted with flour and begin kneading your dough. It’ll feel sticky in the beginning, and although you might be slightly tempted to add more flour, it’s best to leave it. After around 6 to 8 minutes of kneading your dough should be smooth.
With your dough smoothed out, shape your dough into a ball shape, and then flatten it somewhat before covering it using a kitchen towel or bowl, allowing it to rest on the surface for 30 minutes uninterrupted.
This resting period allows the gluten stands in the dough to relax, and also helps to prevent any rebounding while trying to roll it out at a later point.
2. Dividing And Shaping Your Buns
This next part of bun making is slightly more technical, and it’s worth taking your time on this section if you’re not particularly adept at this sort of thing. With enough time and patience though, and you’ll be sure to nail it!
To begin, you’ll need to roll out your dough. The thickness of the dough needs to be quite thin, so try to aim for around a ¼ of an inch in thickness for the best results. Pat your dough, stretch it, and then begin rolling, aiming for a rectangular shape, 50 to 50 cm in length and 25 to 30 cm in width should be perfect.
At this point, you need to try and imagine that your rectangle has been divided into thirds. You can lightly score the dough if you need to, just make sure to be careful enough so that you don’t accidentally cut through the dough.
With your thirds marked, take your other quantity of soft butter, and spread it across two thirds of the dough, ensuring that the dough is thoroughly coated right until the edges.
Now that your dough has been buttered. Take a small bowl, and combine all of the sugar and spices you have for the filling, ensuring that they are well blended together.
Next, you’ll want to begin spreading the spice and sugar mixture across the buttered dough sections as evenly as possible. It’s the sugar and spices that really makes the Swedish cinnamon buns so aromatic and tasty, so getting the spread right is important.
With the sugar and spice coating two-thirds of the dough, you’ll want to fold the unbuttered section of the dough onto the middle third, and then the last third on top of that one, leaving two open ends of the dough. Turn the dough so that open ends are facing left and right, with the seam of the dough facing you.
You’ll need to make sure that the edges of your rectangle are even before you can go any further, so trim them using a pastry wheel or sharp knife if you need to.
Then, slice the dough lengthwise at 3cm wide intervals, you should be able to get around 10 equal dough strips.
Once you’ve done this, you’ll then need to divide these strips in half, but ensure that you stop before the end, leaving one of the ends joined together.
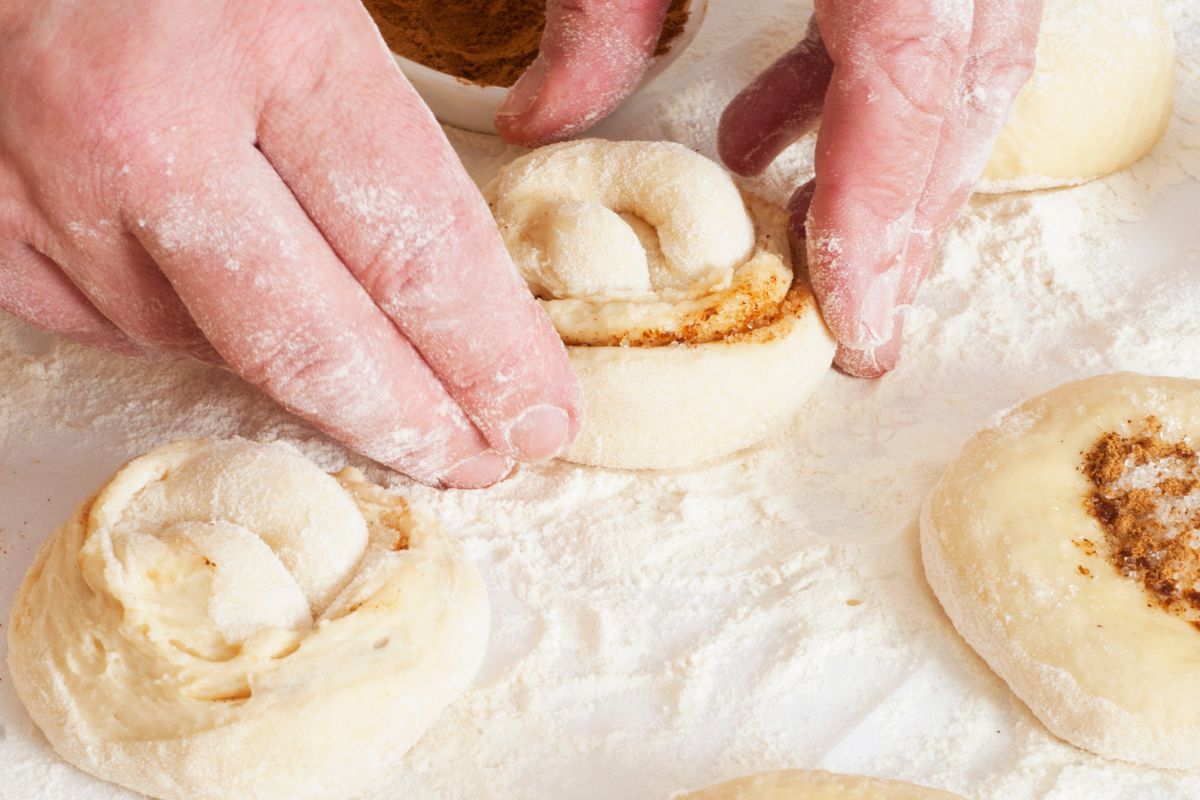
It’s now time for the difficult part; shaping your kanelbullar. Take one of your dough strips, and hold the joint end with your hand, then begin to twirl the two ends slightly, and then form a knot.
Try not to knot them too tightly as they’ll need room to expand in the oven. You’ll also need to pinch the ends together, as this will help to prevent them from unwinding while you bake them.
With all of the dough strips rolled, you can transfer them to a baking tray, lined with parchment paper.
3. Proofing The Swedish Cinnamon Buns
This third section of the process is an easy yet necessary step to ensure that your buns are perfect, so although you might think to just skip it, you absolutely must do it in order for your buns to turn out properly, so be sure to pay attention.
For the proofing process, take your lined baking tray and then loosely cover it using plastic wrap, leaving the rolls for around 60 minutes. This should allow them to rise nicely, and after an hour they should be nice and puffy.
It is worth noting that if the ambient temperature is cooler, then the proofing process will take longer, as the cold can prolong the action of the yeast. In this case, you might want to leave your buns proof for around 90 minutes if you’re proofing them in a particularly cold environment.
4. Baking Your Swedish Cinnamon Buns
With your Swedish cinnamon buns risen, it’s now time for the final step; to bake them!
Of course, there is just a little more preparation involved before we can get them into the oven, but just follow these last few steps and you should have no issues finishing off your incredible Swedish cinnamon buns.
Get one egg, crack it into a bowl, and then beat it.
Take a brush, and use it to coat the buns in the egg wash, ensuring that the coating is consistent.
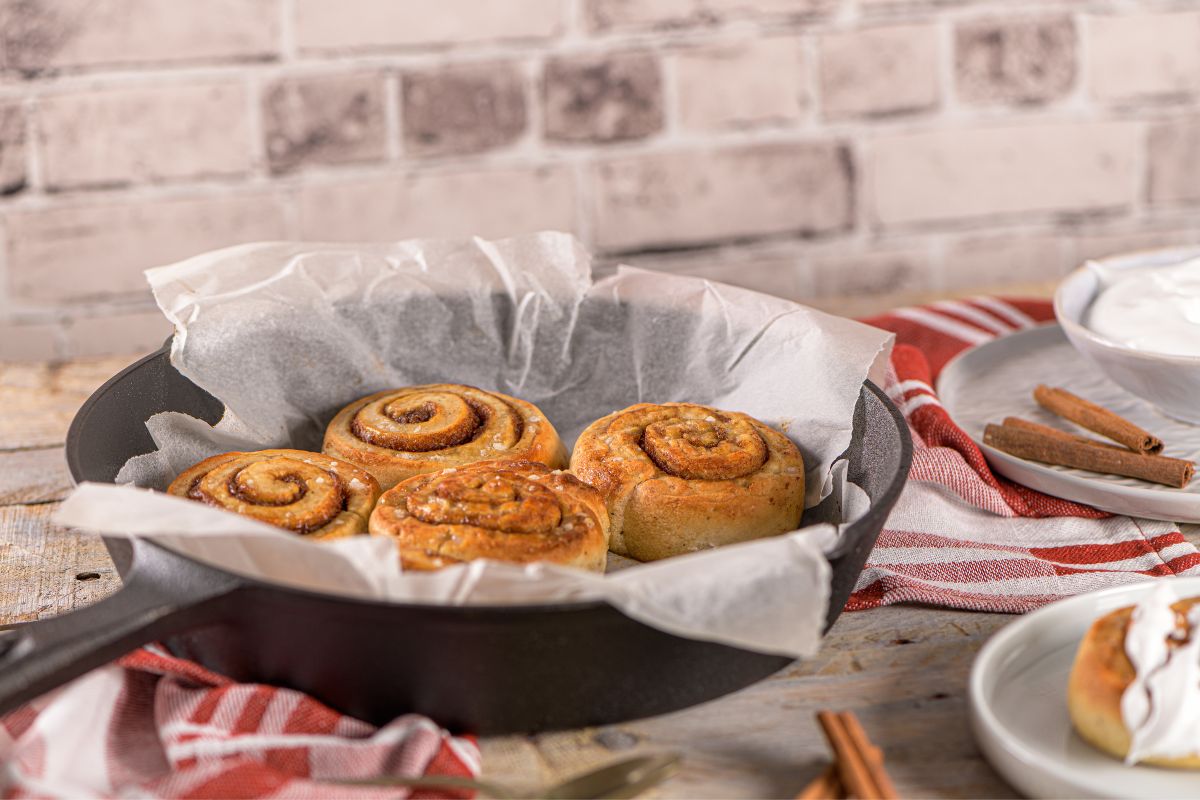
If you wish to, you can coat your buns using pearl sugar, although you could also use granulated sugar if you couldn’t manage to get any pearl sugar.
Bake your buns for somewhere between 14 to 16 minutes at 42 degrees Fahrenheit. The multiple layers found within the buns will allow steam to pass through them easily, which is why they cook so quickly. The high temperature for a shortened period ensures that the dough is light and fluffy on the inside, but crispy on the outside.
If you want to glaze your buns with sugar syrup, all you have to do is add 5 teaspoons of sugar and ¼ cup of water into a saucepan, and boil it until it begins to develop a syrup-like consistency. Remove from the heat and let it cool down before using it to coat your buns.
There you have it! Your very own Swedish Kanelbullar cinnamon buns. As you can see, the process really wasn’t as difficult as you would initially imagine, and these buns are sure to blow the minds of your friends and family when you offer them around!
But, how do you keep them ready for people to come around? That’s what we’ll discuss in the next section!
How To Store Your Swedish Cinnamon Buns
Now that you’ve made your delicious Swedish cinnamon buns, you’re probably wondering what the best way to keep them fresh for longer is. You want to make sure that everyone gets the chance to try one right? So what can you do to prevent them from going off too quickly?
Thankfully, you’ll be able to keep your cinnamon buns fresh with the use of just an airtight container, so you won’t need to worry about them going stale too soon, but be sure that they get eaten up before the final day.
If you need them to last a little bit longer, you can absolutely place the airtight container in the refrigerator, which should help to keep them fresher for just a couple of extra days, but it’s best not to leave them too long.
If you want to keep your Swedish cinnamon buns for any longer than this, then your other option is to freeze them.
If you want to do this, you’ll need to use some aluminum foil or plastic freezer wrap to cover the buns completely, alternatively, you could just place them in a freezer bag, ensuring that you squeeze out the excess air before placing them in the freezer.
In the freezer, the cinnamon buns will last for around 2 to 3 months, but it’s worth noting that the frost will remove some of the flavor as time goes on, so it’s worth keeping this in mind before leaving it too long.
So, with your Swedish cinnamon buns stored safely, the next thing you’re likely wondering is how you can recreate the warmth of the buns from when they first come out of the oven. Which is what we’ll explain next!
How To Reheat Your Swedish Cinnamon Buns
Reheating your Swedish cinnamon buns to exactly how they were when they first came out of the oven is slightly difficult, however, there are a couple of ways you can reheat the buns to ensure that you can enjoy them warm.
There are two ways to reheat your Swedish cinnamon buns, the first way is by using an oven, and the other way is by using a microwave.
Of course, there are pros and cons to using each one, the oven will allow you to heat your buns up to a higher temperature, but will take a lot longer. Alternatively, the microwave is a lot faster than the oven, but won’t get them as hot.
Reheating Your Cinnamon Buns In The Oven
The process for reheating your Swedish Kanelbullar is fairly simple, and as long as you follow these steps you really shouldn’t find too much of an issue.
Preheat your oven to 350 degrees Fahrenheit
Use a spray bottle filled with water to spray your Swedish cinnamon buns prior to them going into the oven, and then place them onto a baking tray lined with baking parchment.
Put your buns into the oven and cook them for between 7 to 10 minutes. The time it takes depends on both the size of the buns, and how cold they were prior to going into the oven. If you’re reheating frozen buns then you’ll need to give them plenty of time in the oven.
Once done, remove them from the oven and allow them to cool down slightly before enjoying!
Reheating Your Cinnamon Buns In The Microwave
If you want to have your cinnamon buns ready faster than you would when reheating them using an oven, then using a microwave is a good alternative.
Although it’s faster, you have to be careful not to overdo them in the microwave, as it will cause them to go soggy, ruining the taste and texture!
So, in order to reheat your Swedish cinnamon buns in the microwave:
Place your cinnamon buns on a microwave-safe plate
Heat the rolls for 15 to 20 seconds, or until they are warm all the way through.
Don’t over do them, as you’ll cause them to go soggy.
Take them out of the microwave, and enjoy!
As you can see, using the microwave to reheat your cinnamon buns really is that easy, so you’ll be able to enjoy them all warmed up no matter how long you store them for!
If you’re trying to reheat frozen cinnamon buns, it’s probably best to use the oven instead of the microwave though.
Frequently Asked Questions And Troubleshooting
Although the process of making these cinnamon buns is generally quite easy, there are often a load of questions asked about certain aspects of the recipe, as well as a number of problems that can arise.
This section aims to cover some of the most popular questions asked and some of the most common issues people encounter when attempting to make these buns for themselves.
What Yeast Should I Use?
When it comes to making Kanelbullar, it doesn’t tend to matter what yeast you use in order to make it, so whether you want to use instant yeast or active dried yeast is entirely up to you.
You’ll need to adjust the measurements however, and for every teaspoon of instant yeast, you’ll need to use 1 and a ¼ teaspoon of active dried yeast.
Keep in mind that when you use active dried yeast you add it to the liquid mixture exactly as you would the instant yeast. Allow the yeast to dissolve entirely and to activate before you go ahead and add the flour in.
You’ll know the yeast is ready as the mixture will begin to foam up, which indicates that you are able to add the flour!
My Buns Are Dry And Dense – Why?
Unfortunately, one of the most common issues when it comes to making these incredible buns is that they can sometimes end up turning out much dryer and denser than they are actually meant to be, and there are a number of reasons why this might actually be the case, so you’ll need to consider whether you might have done any of the following:
-Added too much flour to the mixture -Over-baked the buns -Didn’t allow them to proof for long enough
Chances are you’ll realize instantly where you went wrong, but don’t get too disheartened, as it means you’ll be much more careful when making them in the future.
Next time, you can check to make sure that your dough is okay by ensuring that it’s soft and smooth before you go ahead and use it, that you allow the buns to double in size when proofing, and that you bake the buns perfectly!
It’s always worth checking whether or not your yeast has expired, as this can also cause this issue.
Can You Make The Dough For The Buns Ahead Of Time And Bake Them On The Day?
If you’re looking to serve up your buns fresh from the oven but want to save yourself some time preparing and baking them, then one of the commonly asked questions is whether or not it’s possible to make the buns as far as baking them, and then baking them on the day you need them.
You can absolutely do this, just make your dough as far as the end of step 1, and then place them in the refrigerator for them to rise overnight.
Then, take them out of the refrigerator and let them rest for 20 to 25 minutes to bring them to room temperature, rolling, filling, shaping, proofing, and eventually baking them!
Final Thoughts
We hope that you’ve found this guide to making delicious traditional Swedish Kanelbullar cinnamon buns useful. They’re a much nicer alternative to the usual American cinnamon rolls, and it’s all down to the addition of the cardamom!
This guide is extremely comprehensive, so by following it, you should be able to make the buns with no issue, so good luck!
Have you ever made something so delicious that you wished you could savor it forever?
Only to find that the recipe has now mysteriously vanished from your phone and the entirety of the internet. Yep, there’s not much more painful than that.
Hi, my name is Mark Williams and I have been infatuated with cooking since I was young. I would beg my mother to pull a chair up to the counter so I could watch what she was doing.


")

