Did you know many people recommend using a water bath to cook a cheesecake? Cheesecakes are a delicate dish, and it’s riskier to cook them in the oven. You could overcook the edges, crack the top layer, or it would just become too rubbery to eat.
Using a water bath, you can keep the oven moist and moderate the heat so everything cooks evenly. But how do you make cheesecake in a water bath? Well, follow our advice, and we’ll be able to help you understand how to make a cheesecake in this way.
What’s A Water Bath?
Now, if you’ve never used a water bath, it’s easy to get confused by what we’re talking about. A water bath is just a pan of hot water that protects the cheesecake when you’re baking it in the oven.
It doesn’t affect the time it takes to cook your cheesecake, so you don’t need to know any specific temperatures of the recipe you’re using. It’s just there to protect it.
Why Should You Use A Water Bath?
Essentially, you should use a water bath because they’re a safe way to guarantee your cheesecake is safe. It should prevent curdling, and you can avoid a rubbery taste when using one.
If anything, your cheesecake will leave your water bath with a smooth and creamy texture. The cheese shouldn’t crack, and it shouldn’t be brown and overcooked.
While you can cook cheesecake without a water bath, it’s much riskier. Your cheesecake is more likely to curdle and burn. However, a water bath successfully eliminates the challenges of baking it.
What Do You Need To Make A Water Bath?
Before you make one, you’ll need to get a few items to make your water bath. All of this equipment is easy to find. So if you don’t have any of these items on hand, you can buy them online or from a store.
Springform Pan
You’ll need to use a springform pan to hold your cheesecake. You should use them because it’s easier to remove your cheesecake from it when it’s done. Ideally, you should have a non-stick one. However, they can leak.
To prevent leaking, you can use other items to stop this from happening.
Aluminum Foil
No, I’m not talking about regular aluminum foil. You’ll want some heavy-duty ones. When you coat your pan with aluminum foil, you can cover both the sides and the bottom of your pan.
You’ll want to ensure there’s enough, so you can cover it with at least two layers so that no holes form.
Large Pan
You need a large pan bigger than your springform pan to fit the springform pan inside. You can use a roasting pan, baking pan, or even a skillet. So long as you can hold your springform pan inside, any pan will do.
Oven Bag
As an extra measure, you should have an oven bag to cover your pans. If you want to ensure no spillages, an oven bag can guarantee that you won’t have any leaks. While you don’t have to include an oven bag,
it’s better for those who are particularly anxious about getting burned by leaking aluminum foil.
Kettle
Now, I suggest a kettle because it’s an effortless way to boil water. It often works much quicker than boiling your water on the stove, and it’s an easier way to pour freshly boiled water into your pan without getting burned.
Making A Water Bath
Many people don’t like using water baths because it’s an extra step that requires a little bit more effort. Some bakers may have stepped away because the water had leaked before.
However, you can avoid that with the proper preparation, and with the items mentioned above, you should be able to prevent that.
So, let’s give you some advice. You’ll use a springform pan, so prepare it before putting the cheesecake batter into the pan. You may have already heated the cheesecake crust, so don’t worry if that’s already in the pan.
Line the bottom of your pan with foil and fasten it to the side piece. Then, once you’ve done that, you should wrap the outside and sides of your pan with two layers of heavy-duty foil. Using two layers will help prevent a hole from forming in both of them.
Once you’ve done this, put your foil-wrapped pan into your oven bag before you start baking. By doing this, you can ensure that there’s even less chance of leaking. Then pop your pans so far into a larger pan.
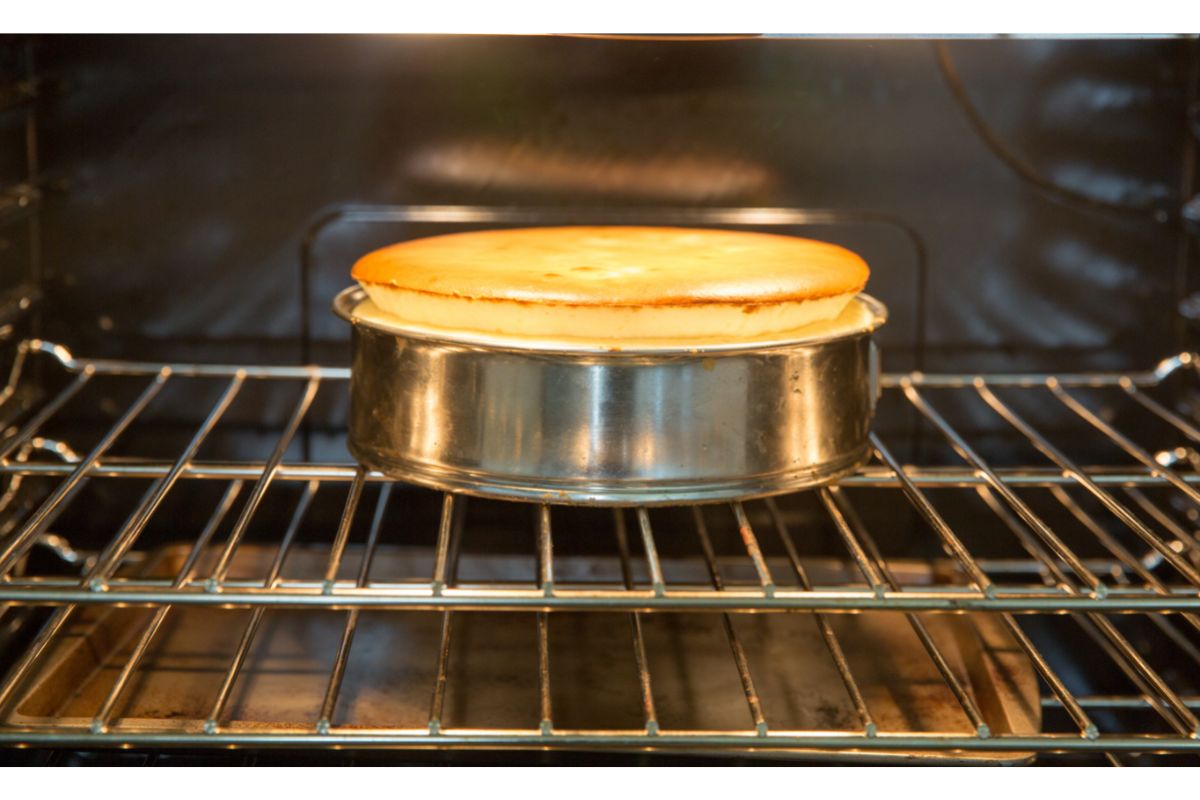
A great way to prevent leaking is by putting the springform pan into the oven bag and a larger pan before you add your cheesecake filling. Then, move the larger pan onto the oven rack before you add your water to the water bath.
By doing this, you can prevent the risk of spilling and ensure your own safety because you don’t want to spill any boiling water on yourself.
Before you put in your boiling water, put the cheesecake batter onto your crust. Once done, you can pour a few inches of water into your larger pan in the middle of the oven. Just make sure you don’t put in too much water.
You might think that you need to follow specific heating instructions for a water bath, but the temperatures used are the ones you would typically use for your recipe.
So, if you’ve ever been worried about using a water bath before, this should make it a more straightforward process for you.
Final Thoughts
If your cheesecakes haven’t turned out according to plan before, a water bath could be a way to remedy the situation. Although new bakers can feel intimidated by them, there’s nothing to worry about if you have the proper instructions.
While water baths can feel like more hassle than they’re worth, the extra steps will ensure that you don’t have to worry about making a completely new cheesecake when something goes wrong.
- How To Reheat A Cheesesteak - November 5, 2023
- What Are Three Must Have Kitchen Knives? - September 22, 2023
- How To Protect Edges Of Pie Crust - June 15, 2023


