Do you want to get into baking bread, but worry about the time and effort it takes to make your average loaf?
Kneading is a big part of the traditional bread-making process, and it can take a lot of time and energy. Plus, for most bread recipes, you’ll need a stand mixer to combine a lot of different ingredients.
Luckily, this fruit bread recipe is an exception to the rule. It doesn’t require a lot of ingredients, you don’t need any kitchen appliances other than your oven, and most importantly, there’s no kneading involved!
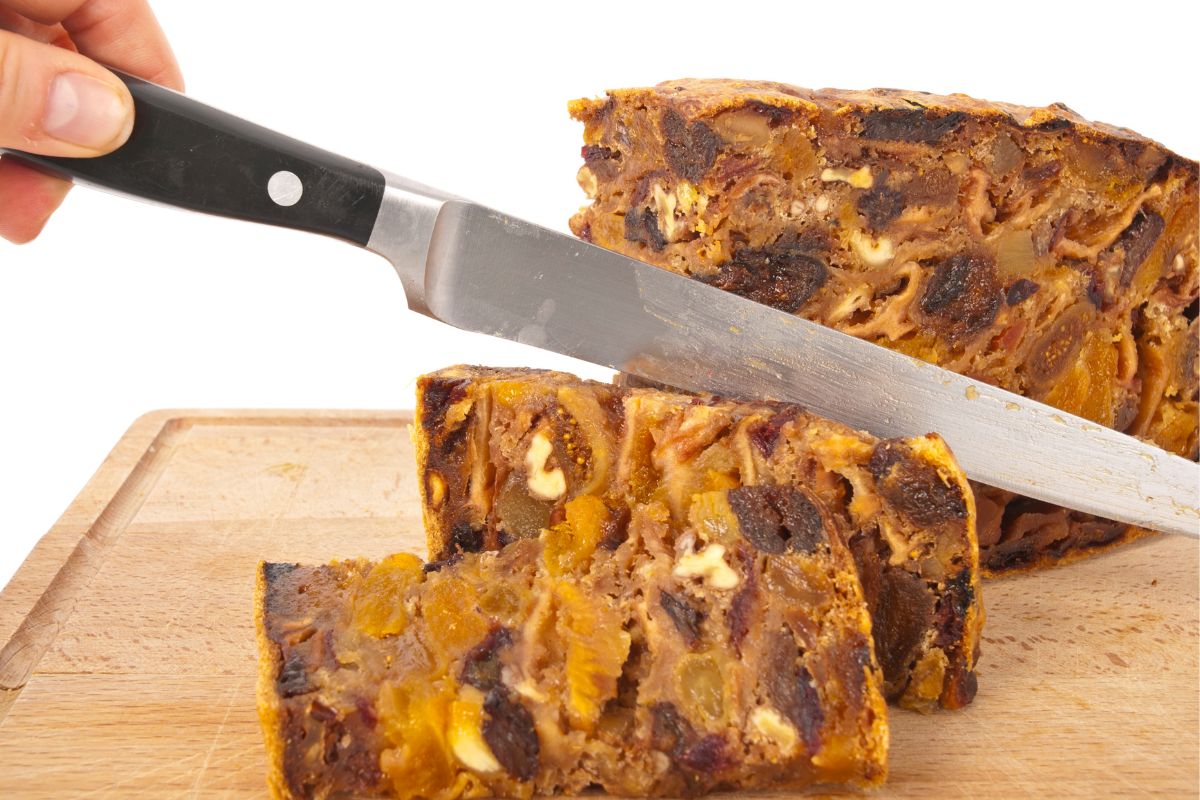
Follow this fruit bread recipe if you want to make easy, delicious, fruity bread with a golden crust and a soft interior. This is without a doubt the best fruit bread recipe with no kneading!
Ingredients For Fruit Bread
Before you can jump into making this fruit bread, you’ll need to make sure you have the right ingredients. Although this recipe doesn’t use a lot of complicated ingredients, you’ll need to use the specific ingredients listed here to achieve the perfect flavor combination:
Dough Ingredients
- Flour (2 ¾ cup / 375 g)
- Butter (3 tbsp / 42.6 g)
- Sugar (2 ½ tbsp / 32 g)
- Salt (1 tsp / 5.9 g)
- Instant yeast (1 tsp)
- Warm water (1 cup, 2 tbsp / 210 ml)
Dried Fruit And Spice Mix
- Raisins (½ cup)
- Cranberries (½ cup)
- Whole, dried cherries (½ cup)
- Currants (½ cup)
- Vanilla sugar/extract (½ tsp)
- Nutmeg powder (¼ tsp)
- Cardamom powder (¼ tsp)
- Cinnamon powder (½ tsp)
For the dried fruit and spice mix, you can treat the quantities as rough guidelines. You can add more or less of a specific fruit if you like, but it’s best to keep the total weight of the dried fruits between 300 and 340 grams.
Candied fruits can work just as well as dried fruits, so you can use candied fruits instead if these are what you have available, or what you prefer.
If you really don’t enjoy spices, you also don’t have to add these. We find that they complement the flavor of the dried fruit nicely, but the spices aren’t necessary for the overall texture of the bread, and it will still taste delicious without them.
No-Knead Fruit Bread Instructions
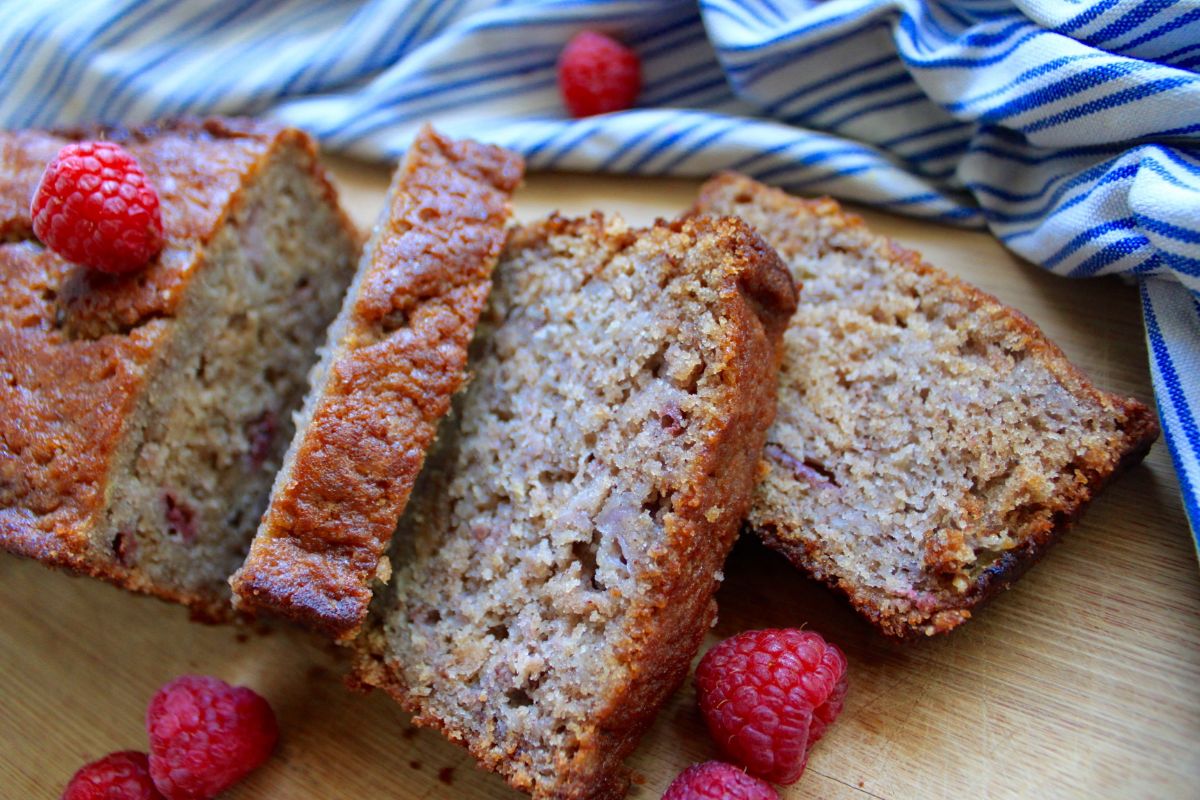
1. Combine the Dough Ingredients
To make this no-knead fruit bread, start by combining all the dough ingredients in a large bowl. Don’t add them all at once, though. There’s a specific order in which you should add the ingredients to ensure that the bread rises properly and develops the ideal texture.
Add the water to the bowl first, and then add the sugar, salt, and yeast, stirring well to make sure the dry ingredients dissolve fully.
Now, you can add the melted butter and the flour. Again, stir so that the ingredients are fully combined. By the time you have finished stirring, there should be no visibly dry ingredients left in the bowl.
You should be left with a shaggy dough that holds together nicely. If you’ve been using volume measurements, the texture may be a little different, but as long as everything is combined and there are no dry areas, you should be ready to proceed to the next step.
2. Let the Dough Rise
Leave your dough in the bowl and cover the top of the bowl with plastic wrap. Once the bowl is covered, you can leave the dough to rise for about an hour. During this time, you can expect the dough to increase significantly in size.
Proofing the dough works best if your baking area is warm. If the temperature of the room isn’t warm enough, you may need to leave the dough for an extra 30 minutes.
3. Add the Dried Fruit and Spice
Now is the time to add your dried fruit and spice mix. Pay close attention here because this part is really important. If you do it wrong, you could compromise the texture of the dough and interfere with the final rise.
The best thing to do here is to pull the dough at the sides and fold it inwards. This allows you to incorporate the new ingredients and deflate the dough at the same time.
It’s really important not to overwork the dough at this point. All you need to do is fold it over. Remember, there’s no need to knead the dough.
4. Press and Shape
Once you’ve added the dried fruits and spice mix and folded the dough, it’s time to shape the dough ready for the final rise.
Gently press the dough into a rectangle shape. We like to use a loaf pan measuring roughly 8 x 5 x 5 inches.
Roll your dough sheet after greasing the pan, and place the dough sheet inside. Cover the pan with cling film, and you’re ready for the final rising process.
5. Wait 90 Minutes
You’ll need to wait about 90 minutes for the dough to rise sufficiently. During this time, it’s important for the dough to be left in a warm environment. A cool room will slow down the process, and this bread already takes longer than average to rise because of all the dried fruits (if you’re looking for the perfect dairy free bread recipe, read here).
After 90 minutes, check on your dough. Hopefully, it should have visibly risen, and you can then go ahead with the final touches before baking.
6. Bake the Bread
Before you put your bread in the oven, lightly beat an egg to create an egg wash and gently brush it over the surface of the dough. This will help to ensure that the top of the loaf is a nice, golden brown color when it comes out of the oven.
You should have preheated your oven to 350 degrees Fahrenheit, so at this point, you can simply put your bread in the oven for roughly 35 minutes. Then, lower the temperature to 325 degrees and continue to bake for another 4 to 5 minutes.
Please note that it’s normal for the top of the loaf to turn brown before the end of the baking time. Don’t panic and remove the bread from the oven if it happens.
The browning doesn’t mean that the bread has finished baking. In fact, if you take it out around the 25-minute mark, it will still be doughy and have a distinct, yeast-like smell, which is not what you want.
Tips and Tricks
Preventing Over-Browning
As mentioned above, the top of your bread may start to brown when you still have 10 to 15 minutes of baking time left.
While this doesn’t mean you should remove your bread from the oven, it does mean that by the time your bread is fully baked, the top might be too dark for your liking.
So, what can you do to stop the top of your bread from getting too brown? The answer is simple: aluminum foil.
When you notice that the top of your loaf of fruit bread is getting very brown, you can put a tent of aluminum foil over the top. Try to do this quickly, without completely removing the bread from the oven, so that the process doesn’t interfere with the overall cooking time.
Continue to bake the bread as normal, and once you take it out, let it sit for 2 or 3 minutes. Then, remove the mold. This should stop the steam from condensing and prevent your bread from getting soggy.
Now, your crust may still be very firm at this point, even if the browning has been reduced. You can fix this by adding a little butter to the top of the loaf before it cools. This should soften the crust and add a buttery flavor.
Residual Baking
When you’ve just finished baking a loaf of delicious fruit bread, you may be tempted to cut into it straight away. However, it’s best to resist this urge.
That’s because even when the bread is removed from the oven, some steam is still trapped inside, and this steam continues to cook the bread.
The baking time we’ve specified in this recipe takes into account residual baking time. So, if you slice into the bread right away, you will probably notice a smell of yeast, and potentially a slightly doughy, crumbly texture.
It can take up to 3 hours for the fruit bread to cool down completely. You should wait a minimum of 2 hours before cutting into the bread.
Frequently Asked Questions
Yes! In our opinion, this bread is absolutely perfect for making French toast because it already has the sweetness and spiciness most of us associate with this delicious breakfast dish.
To make French toast from this fruit bread, you’ll need to combine 2 eggs with ¼ cup of milk, a tablespoon of sugar, and a pinch of salt. Then, slice your bread while you heat up some oil in a pan.
Dip your slice of bread in the French toast mixture on both sides and cook it in the pan until the bread turns golden brown.
If you want to enjoy this fruit bread while it’s hot, but don’t want to interfere with the residual baking process by cutting into it before it cools, you can simply slice the bread and bake the individual slices in the oven for 5 minutes at 350 degrees Fahrenheit.
To avoid drying out the bread in the process, make sure to brush a small amount of water onto the slice before baking. This should contribute enough moisture to allow the bread to heat up without getting too dry.
To prevent your fruit bread from going stale before you can eat it, make sure to use a sealable plastic bag for storage. Alternatively, you can wrap the bread in aluminum foil.
Assuming that you don’t live somewhere very warm and humid, you should store the bread at room temperature. In this case, it should stay fresh for up to 4 days. However, if there’s a lot of heat and humidity where you live, it’s best to freeze the bread.
If you’re going to freeze the bread, make sure to use a heavy-duty plastic bag designed for freezing. Plastic wrap or aluminum foil can also work.
You just want to prevent air in the freezer from getting to the bread and ruining the texture. When stored correctly in the freezer, your bread should last for up to 3 months.
You can substitute water for milk easily in this fruit bread recipe by using exactly the same quantity of milk instead of water. Using milk can help to make your loaf softer because it will increase the fat content. The richer flavor of milk also works really well with the spice mix.
If you’re trying to help your bread to rise more and make the finished loaf extra moist, you can add an egg in place of some of the water. A medium-sized egg is roughly equal to 45 ml of water, so subtract 45 ml from the total amount of water before you add your egg.
Don’t try to add an egg on top of the usual quantity of water, since this may make the dough too moist and prevent it from holding its shape.
Final Thoughts
This bread recipe is fruity, subtly spicy, and the perfect texture. Most importantly, there’s no kneading! You can enjoy it with butter, or your choice of spread. Alternatively, you can get creative and use this bread to make delicious French toast.
You can substitute the water for milk, or replace a small amount of the water with an egg. Both of these methods have benefits in terms of flavor and texture.
Remember to wait a few hours before cutting into the loaf after baking, since this will allow for residual baking. You can always reheat individual slices of bread in the oven later.
- How To Reheat A Cheesesteak - November 5, 2023
- What Are Three Must Have Kitchen Knives? - September 22, 2023
- How To Protect Edges Of Pie Crust - June 15, 2023

