We all know that a favorite American pastime is pie baking. Few things are as wonderful as a hot, fresh pie that is cooling on the ledge while waiting to be eaten.
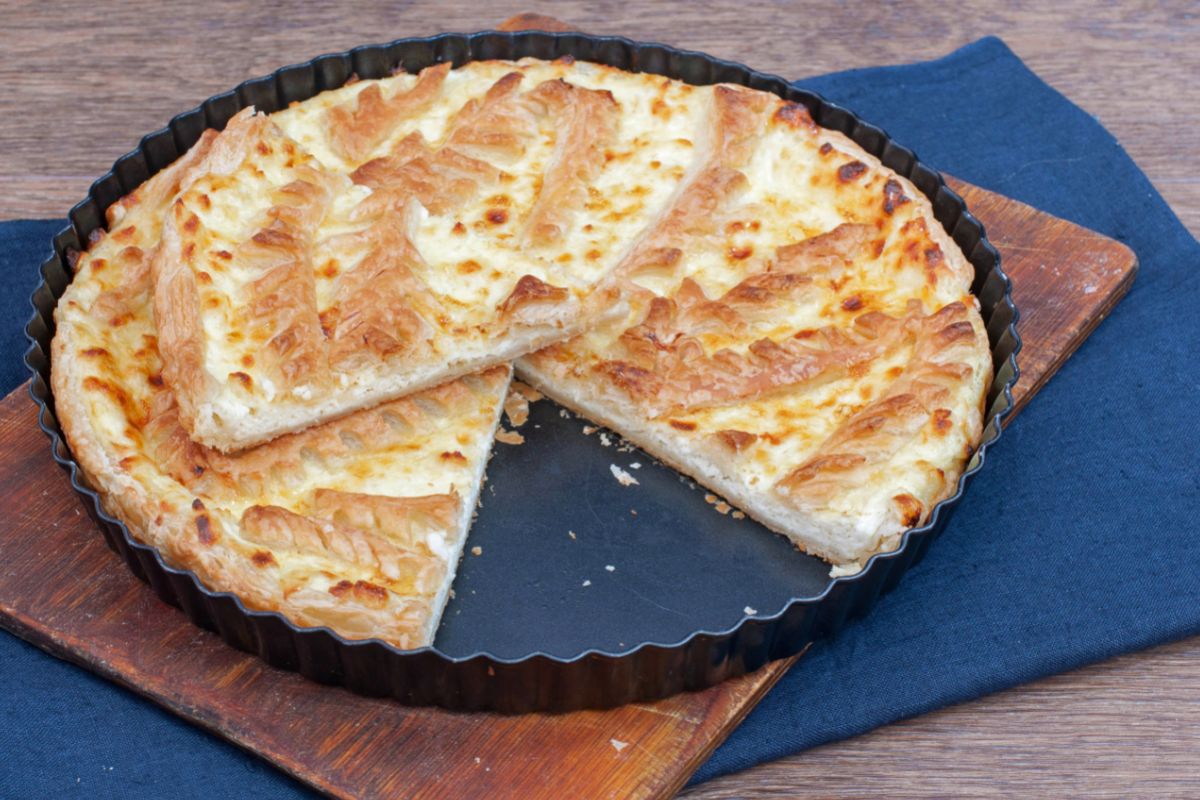
However, there is one aspect of baking that every baker dreads: the pie crust’s burned edges.
This is as a result of your pie’s edges being significantly less dense than the center. The pie’s center is the part that takes the longest to cook.
Your pie could suffer if the filling is improperly cooked.
Your pie will be absolutely unappealing and ruined if it is undercooked, which can result in the pie filling becoming runny and soupy.
Pie cooks considerably more quickly towards the edges because there isn’t as much crust and filling there as there is in the center.
This is what causes those unpleasant, burnt pie edges that can reduce the overall enjoyment of even the most delicious dishes.
In this guide, we’ll help you avoid those unsightly burned pie crusts and tell you everything you need to know about baking the perfect pie.
How To Prevent Burning?
Create A Pie Crust Shield
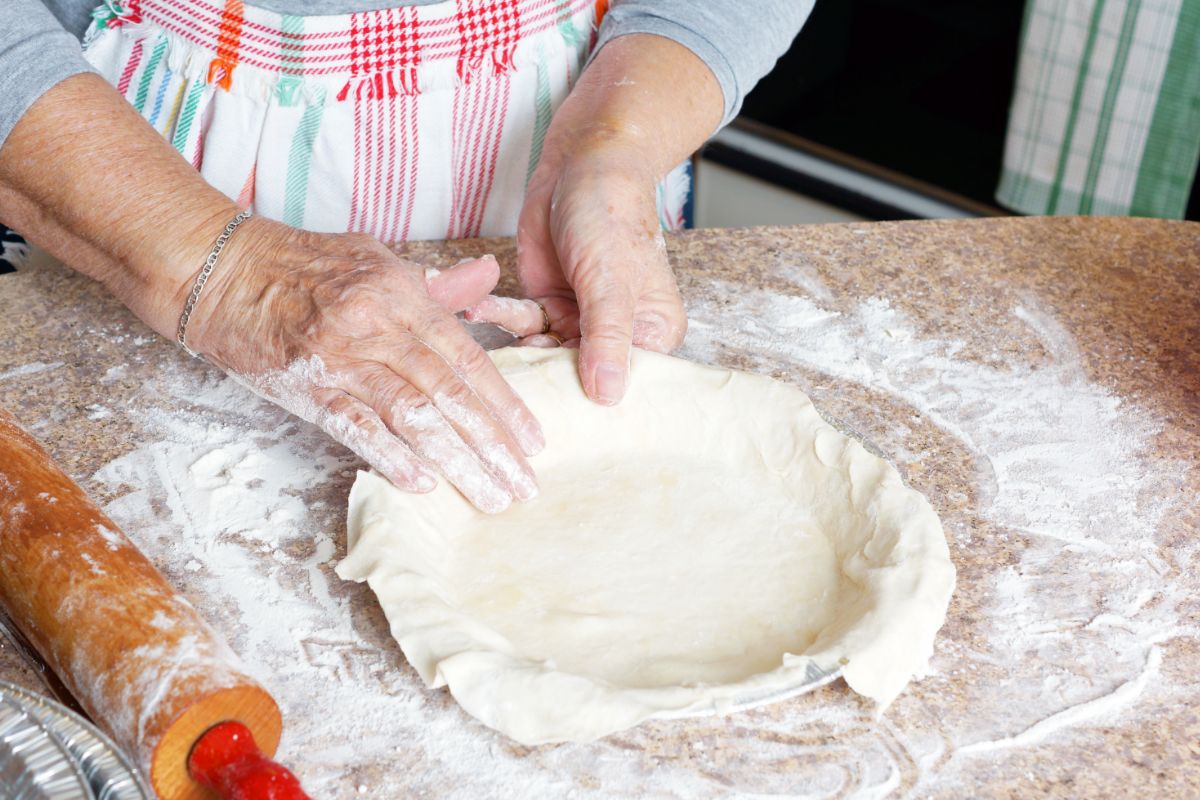
To begin, you must first rip a large enough piece of aluminum foil from the roll to cover your pie in its entirety.
Even better, you can accomplish this without purchasing heavy-duty foil. You must fold your ripped-off piece of aluminum foil in half twice after tearing it off the roll.
The next step is to cut a curve all the way around the edge of your foil.
By doing this, you can ensure that the circle you create will be wide enough to completely round the pie dish you are transferring.
You should end up with a ring that is huge in size after cutting a second curve that is around three inches inside of your first slice.
Your pie shield is made up of this, so it’s okay if the cuts don’t produce a perfectly round shape.
Using Your Pie Crust Shield
It is now time to use the pie crust shield that you have prepared. The shield must be fastened to keep the pie’s edges safe and secure.
It’s actually very easy to use the pie crust shield once you’ve done cutting it out of aluminum foil.
Once you’ve secured the pie crust shield, start to gently crimp the foil all the way around the pan’s edge.
This is done to ensure that it will stay in place and protect your pie crust’s edges from any potential burning that may otherwise take place.
It’s important that you don’t crimp your aluminum foil around the pie’s edges too tightly.
This might not affect the way your pie cooks overall, but it will undoubtedly make the decorative pie edges seem smashed and uneven.
In reality, there are two methods to incorporate the pie crust shield into the baking process of your pie: add it early or add it late.
Whatever your favorite technique for implementing the pie crust shield, it will work out just fine.
If you choose to use the pie crust shield at the start of cooking, crimp it all the way around the edge of your pie as per the directions above.
You should take off your shield when there are roughly 20 minutes left in the baking time.
Of course, there is the process of applying it when your pie is almost done baking.
Pull the pie out and crimp the pie crust cover over the edges when you believe your pie is just about the crisp, golden color it should be.
By doing this, you will prevent your pie’s sides from overbaking because the middle will cook more evenly.
That will prevent your edges from burning to a crisp and spoiling the entire pie, keeping them beautiful and golden brown instead.
Don’t Use Foil Along The Edges
The majority of people bake pies by randomly scrunching up some strips of aluminum foil all over the pie’s edges.
The goal behind this is to warm the pie’s edges without causing them to become burnt and crispy.
But more often than not, the foil will come off the sides, leaving you with a scorched, nasty pie crust.
Aluminum foil could be used incorrectly, but that doesn’t necessarily mean that it isn’t the best material for the purpose.
Your best option is to create your own pie shield, as we’ve previously discussed.
While it might take a little more time, it will benefit you to take a few extra moments of work to achieve the delicious pie you’re hoping for.
Let It Cool Properly
What happens after you remove a pie from the oven, especially one with fruit, is one of the most essential stages in baking a pie.
It’s crucial to allow your pie to completely cool before cutting it. Since fruit pies make up the majority of pies, their sugar content is higher.
They cook at a higher temperature, which is why the middle of the pie takes longer to cook. We must allow it to cool because of the sweet center.
By allowing the pie to rest, you give the filling’s starches time to solidify.
The filling becomes gelatinous as it sets up, giving it the malleable texture that keeps everything in place. This results in a neat, delectable pie slice without the mess.
Your pie may need some time to cool completely, but you will be glad you were patient.
Your pie will be the type of solid, delicious pie that will melt in your lips rather than all over the pie plate once it has had time to cool and set up.
Final Word
Although making the ideal pie may appear to be a challenging task, there are simple steps to take.
Maintaining the edges of your pie is crucial to prevent the burnt flavor from ruining the dish.
However, in order to get the pie to set up properly, patience is also required.
If you follow these instructions, you end up with a nicely baked pie that is ready for enjoyment by all.
Have you ever made something so delicious that you wished you could savor it forever?
Only to find that the recipe has now mysteriously vanished from your phone and the entirety of the internet. Yep, there’s not much more painful than that.
Hi, my name is Mark Williams and I have been infatuated with cooking since I was young. I would beg my mother to pull a chair up to the counter so I could watch what she was doing.