The combination of pita bread and a delightful filling of choice is really quite heavenly. This bread is soft, chewy, and flavorsome! But what makes it really special is just how easy it is to make at home.
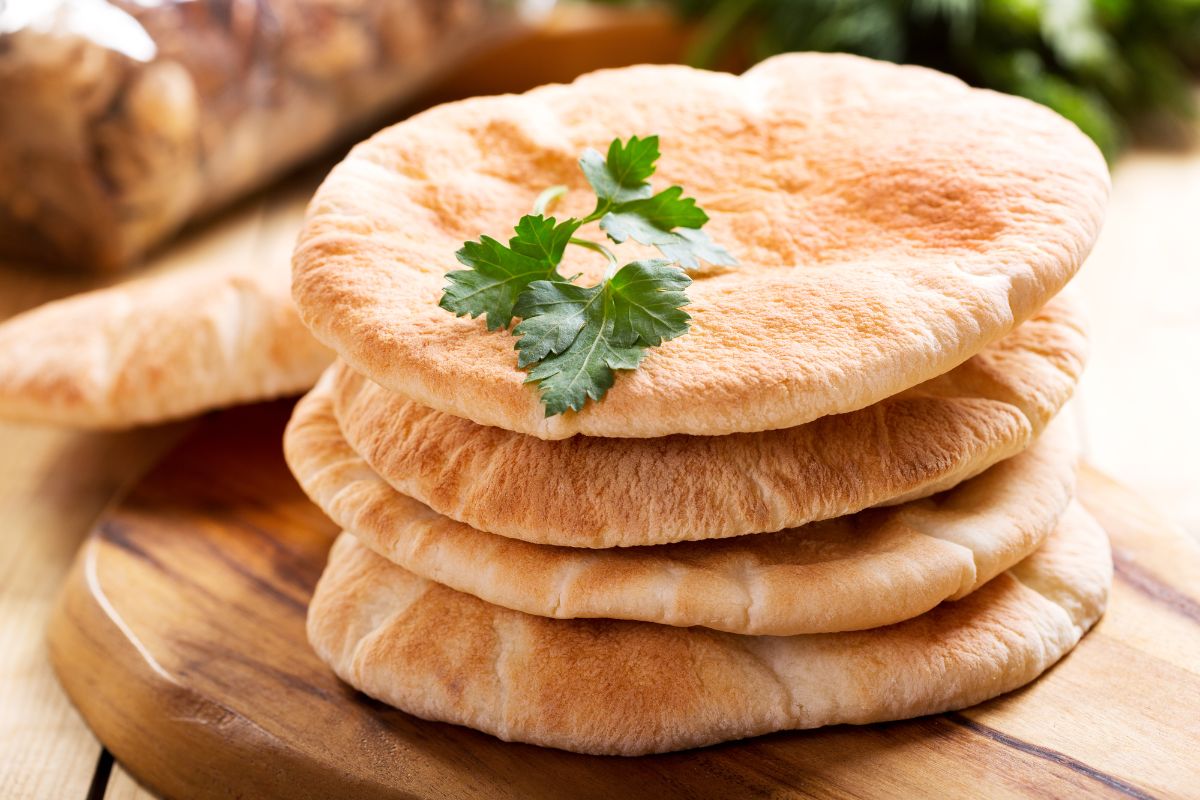
If you have been to any Middle Eastern country, you will know that pita bread is a popular choice for many. It can be hard to imagine making pita bread that is better than where it originated. But by making this delicious bread at home, you get pretty close.
You will need only a few basic ingredients to make pita bread. Flour water, salt, sugar and olive oil will do the trick. Along with these few ingredients, you are going to need instructions to show you how to make the best pita bread.
But, that is what we are here to help you with. In this article, we are going to go over how to make the most perfect and delicious homemade pita bread.
What Ingredients Will You Need?
To make pita bread, there are a few things that you are going to need. Luckily for you, we have listed everything you will need below:
- Warm Water – You will need one cup of mildly warm water.
- Dry Yeast – You will require a half of a teaspoon of dry yeast.
- All-Purpose Flour – Two cups of flour are required.
- Whole Wheat Flour – You will need a three-quarter cup of whole wheat flour.
- Salt – One teaspoon of salt is needed.
- Sugar – You will need one tablespoon of sugar.
- Olive Oil – You will need between one and two teaspoons of olive oil. This is optional.
With these seven ingredients, you can start the process of baking yourself a delicious batch of pita bread.
Step-By-Step Instructions For Making Pita Bread
If you have all your ingredients on hand, it is time for you to start making your pita bread. So, in this section, we are going to go over each step that you should follow to make perfect pita bread.
1. Get Your Pita Bread Dough Ready
As you might have guessed, you need to start by making your pita bread dough. Before you do any mixing or measuring, it is essential that you activate your yeast, especially if you are using an active dried yeast.
Alternatively, an instant yeast can be used immediately after opening the packet. As such, an instant yeast can be directly added to the flour mix.
To activate your yeast, you should add water, sugar and yeast into a bowl and mix well. Set your bowl aside for about five minutes so that the yeast has time to get activated. Yeast grows best when it is in a sweet yet warm environment. In the right setting it will bloom up wonderfully.
Once your yeast has been activated, you need to mix in your flour, salt, and olive oil and stir until your dough looks a little shaggy.
2. Thoroughly Knead Your Pita Bread Dough
Kneading is an essential step for making a good pita bread dough. To properly knead your dough, it is a good idea to start off by sprinkling a little bit of flour on a clean surface.
Then all you need to do is knead the dough for between six and eight minutes until it has a smooth and elastic feel.
If you need more flour to get there, simply sprinkle a little more on and you should achieve the perfect consistency. Bear in mind that you can easily add too much flour, which can cause the dough to become stiff.
If you do not want to use your hands to knead dough, it may be a good idea to use a stand mixer. Using a stand mixer, the dough will only need to be worked for about eight minutes. Just make sure that you have a hood attachment to do this.
Working and kneading dough with your hands is superior as it allows you to really understand when the dough is at the right consistency. It is also quite fun!
3. Allow Time For The Pita Bread Dough To Rise
Grab a clean bowl, or clean the old one, and add a little olive oil so that it can be coated properly. Cover the bowl with a clean cloth or some plastic wrap so that the dough can rise.
Place it in a warm spot and allow it to rise for between one and two hours. Your pita bread dough should have risen and be double the size it was.
Once the dough has risen, you can refrigerate it until it is time to use the dough. Baking between one and two pitas at a time can be a good idea. Your dough should be good to use for up to a week if it is refrigerated.
4. Deflate The Dough And Divide It
When you are ready to use your dough, you will need to start by deflating it and then pouring it onto a clean but floured surface.
Divide your dough into equal portions and flatten them into thin doughy disks. Each disk should be sprinkled with flour and then covered with a kitchen towel or with plastic wrap until you are ready to bake them.
5. Shape The Dough
Grab a rolling pin out of the cupboard and roll the disks into flat circles that are about six inches in width and a quarter of an inch thick. Use flour frequently as you are rolling so that the dough does not stick to the counter or the rolling pin.
If you find that your dough is springing back after being rolled, it may be a good idea to set it aside for a minute or two. After a few minutes, you can continue rolling. Repeat the rolling process for each of the disks of dough.
Once all your dough has been rolled out, you should allow them to rest for between twenty and thirty minutes. In that time, the dough should rise a little and become puffy. This is what gives them that typical puffy pita bread look and feel.
6. Bake Your Pita Bread
There are two methods you can use to bake pita bread. The oven method and the stove top method. Both are good options and result in delicious bread.
The first baking method we are going to talk about is the oven method. For one, you are going to need to start by preheating the oven to about 450 degrees Fahrenheit.
You can use a baking stone if you have one. Simply place your stone in an oven safe dish about five minutes before you start baking.
Alternatively, you can simply place your pita bread on a sheet pan. Usually you will be able to fit between three and four pita breads on a pan, but it depends on how large your baking sheet is.
Once your oven has heated up properly, you can place your pita breads in the oven on a low rack. Allow the bread to bake for about five minutes before you flip it and allow it to bake for a further five minutes.
If you would rather use the stove top method, you will be pleased to know that it is quite easy to do. Simply start off by warming up a skillet on a medium heat. Once it is sizzling hot, add a little oil to the pan. Any excess oil should be wiped off.
Next, you will need to place a rolled out pitta bread on the skillet and allow it to bake for about thirty seconds. Once you see bubbles start to form, flip it and allow it to cook for another one to two minutes.
Flip the bread again when you see toasted spots start to appear and cook for another one to two minutes. Your pita bread should puff up wonderfully at this point, this means that it has finished baking.
Hints And Tips For Making The Best Pita Bread
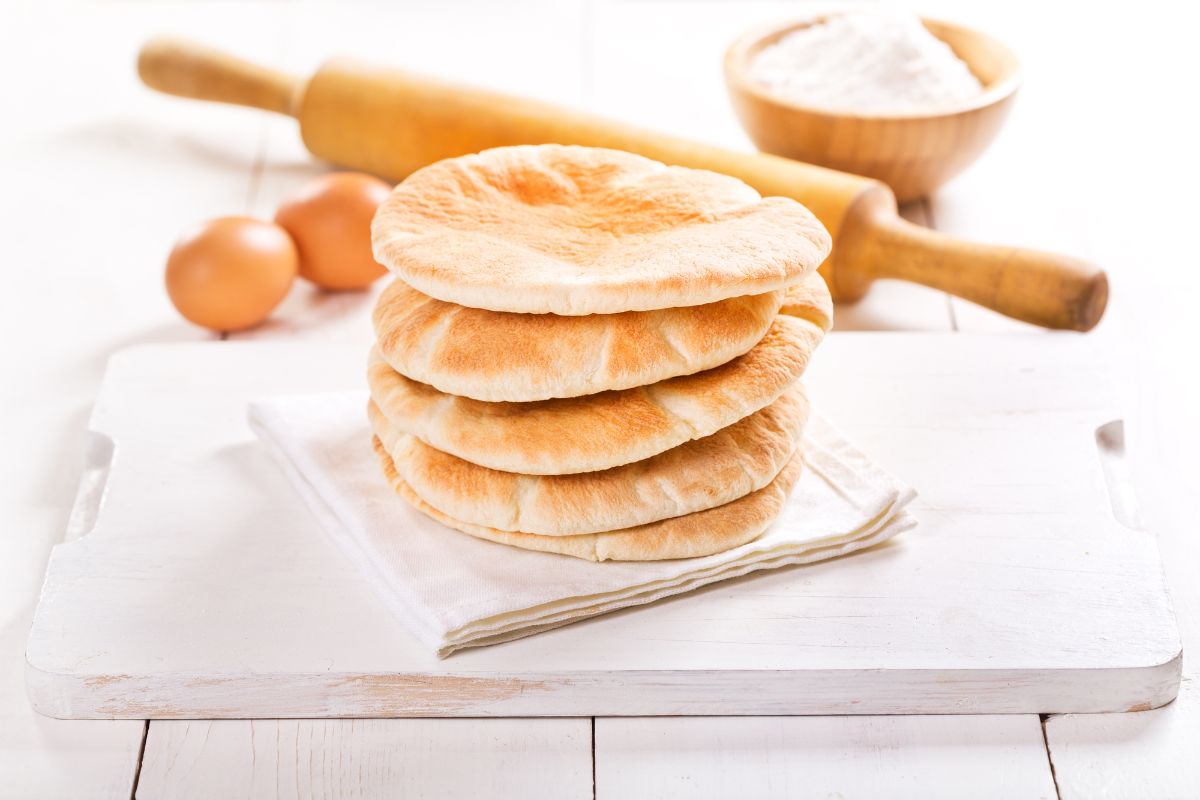
While it may look easy to make good pita bread, there are some things that you need to bear in mind to get the best results. As such, we have gathered the knowledge and listed it below for you to check out:
- Dough Storage – Once your dough has risen and doubled in size, you will be able to store it in the refrigerator. This way your dough stays safely stored away, and you can use the dough as needed. The dough should last you about a week if you store it this way. So you will be able to prepare your dough and bake pita bread as needed during this time.
- If Your Pita Bread Isn’t Puffing – Sometimes your pita bread does not puff up as it should. There are a few reasons that this might be happening to you. Most often the reason for your pita breads not puffing up is that your skillet or oven are not hot though. As such, you need to make sure that your cooking implements are properly heated before you bake the bread.
- Knead Your Dough Properly – It is essential that you knead your dough thoroughly. It needs to be very soft, supple and smooth by the time you are done. The more soft the dough is, the more delicious and soft the pita bread will be. So, do not try to cut corners. Get stuck in and knead the dough until it is the perfect consistency.
- Don’t Add Too Much Flour – While you are kneading your dough, you will inevitably be adding flour on the counter to stop it sticking. It is essential that you do not add too much while you are kneading as this can affect the dough.
- Preheat Your Oven – As we mentioned before, if you do not preheat your oven properly, it can mean that your pita bread will not puff up as it should. As such, make sure that the oven has reached the specified temperature before you bake the bread.
As long as you bear these five tips in mind, there is no reason why you should not end up with perfectly baked pita bread.
Frequently Asked Questions
In this section, we are going to answer some of your most frequently asked questions regarding making your own homemade pita bread!
You can use any flour you have on hand to make this delicious bread. As such, you can easily use one hundred percent all-purpose flour or whole wheat flour. Alternatively, you could use a mixture of both flours for making pita bread.
We like to use a mixture of both flours in this bread. However, you can choose either one you like. It is entirely up to you and what you prefer.
Both whole wheat flour and plain flour have different properties. They can add an extra bit of flavor and texture to the bread, which we liked.
But you can use just one type if you prefer. It is up to you to decide what kind of flour to use. In our recipe, we use one third whole wheat flour and the rest plain flour. But you can use a split of any percentage.
If you use whole wheat flour in your pita bread, it will ferment faster than a dough that is made up of white flour. This happens because whole wheat flour contains more nutrients, which yeast likes to feed on.
On top of that, whole wheat flour will give your dough a better texture as well as adding a slightly nutty flavor to the dough. This adds flavor to your pita bread and also makes rolling the dough much easier.
Whole wheat flour is also a much healthier alternative than white flour. It is more nutritious and contains more complex carbohydrates. Which is good for your physical health.
White flour on the other hand is mostly made up of something called endosperm, which is made up of proteins and starches.
The proteins in white flour means that a bread dough will have a lot of strength, and it will also be able to trap gas which is produced by the yeast. When this happens, your dough will have to gain more volume.
The bran flakes and germ that is in whole wheat flour are a little like little razor blades which cut through those strands. This blocks gluten development.
As such, if you use more whole wheat flour in your bread, there will be more bran and germ in it. This makes your dough, more gluten gets shredded.
As this happens, you will increase whole wheat flour. However, the volume you get will not be as much as it would with plain flour.
If you are baking with a flour that only has endosperm. Like plain flour, you are not getting the fats, fiber, minerals and vitamins that are in germ and bran. This adds to the health benefits of using whole wheat flour in your bread making endeavors.
So, by using a combination of whole wheat flour and plain flour in your baking, you are getting the health benefits of the whole wheat flour and the structural integrity of the white flour. You really will get a loaf of bread that is the best of both worlds.
Kneading your dough is an essential part of bread making. By kneading the dough, you are helping to create structure and strength within the dough. This will mean that your bread will be soft and fluffy when it comes out of the oven.
Once all your ingredients have been incorporated, the proteins will be randomly dotted around and kind of knotted together.
As you knead the dough, the proteins will line up in a pattern, which will help gluten strands to develop. This helps to create structure for trapping gasses. When this happens, the dough will rise much more easily.
If you want to knead your bread by hand, there are a few things that you need to bear in mind. For one, you will need to have your dough on a clean counter top which has been sprinkled with flour. Then you start kneading.
To do this, you should push down and outward using the heel of your hand. Fold your dough forward and press down again. Take care to use the heels of your hands to do this.
Repeat this process, and you should lengthen your gluten strands and stretch the dough fibers. Continue pushing down and folding your dough until it is smooth, supple, and soft.
If your bread dough is good it will start out a little but sticky and then within five minutes it will not be sticking to your hands but still be a little tacky. Do not add too much flour to the dough as it can cause issues down the line.
If your dough does not lose its stickiness, we recommend that you put the dough aside and allow it to sit for about five minutes.
By doing this, you give the dough time to absorb water. When this happens, the dough can become easier to handle.
How do you know that your bread dough has been properly kneaded? For one, the dough should be soft, smooth, elastic and supple. It needs to have these qualities so that it can withstand the baking process later down the line.
A good test to tell if your dough has been kneaded enough is to stick your finger in it. It should feel soft when it goes in, but when you remove your finger, there should be a little resistance.
It is not a good idea to use the window pane test for this type of bread. This is because of the whole wheat flour and plain flour combination.
Pita bread puffing up will hinge on you having the right level of moisture, structure and heat. As you place your rolled out pita dough in the oven, there are two main things that happen which cause the bread to puff up.
The first thing that happens is the heat of the oven or stove top will dry and set the dough on both the top and bottom. While this is happening, the moisture within the dough will turn into steam.
As the steam builds up in the dough, it will start to build pressure, which will cause the pita to puff up and inflate. As the pita bread has been set it does not rupture and the pita bread stays puffed as the steam remains trapped inside the pita.
Pita bread can be stored in a few ways. Bear in mind that this bread is most tasty when it has been freshly baked. If you happen to have leftover pita bread, we recommend that you keep it stored in an airtight bag or container for a few days.
You will need to warm them up in the oven or toaster if you are doing this. Alternatively, you can freeze pita bread. You should wrap it in wax paper to do this. But, by storing your pita bread, this can allow you to store it for up to three months.
Final Thoughts
We hope that you have enjoyed reading this article and learning how to make perfect pita bread. It really is a straightforward and easy variety of bread to make. You should not struggle with making some for yourself, even if you are just an amateur baker.
If you have enjoyed reading this article and wish to learn how to make other foods, you should check out our website. We have a wide range of articles there, some of which you are bound to find useful and interesting.
Thanks for reading!
- How To Reheat A Cheesesteak - November 5, 2023
- What Are Three Must Have Kitchen Knives? - September 22, 2023
- How To Protect Edges Of Pie Crust - June 15, 2023

